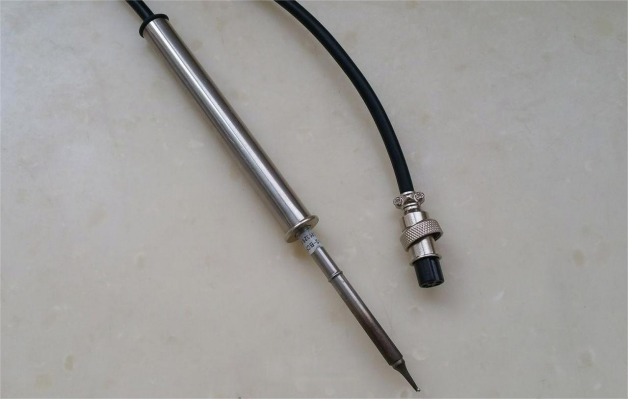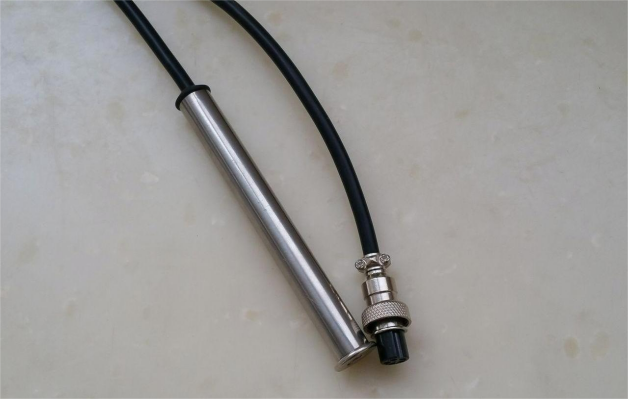
If you're interested in making your own DIY T12 handle, this guide will walk you through the process step by step. Let's build a T12 handle together!
Here's what the final product will look like.
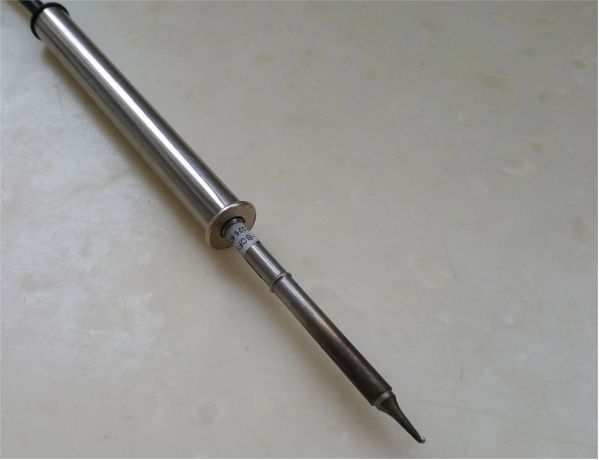
To start, you'll need a double-sided copper-clad board.
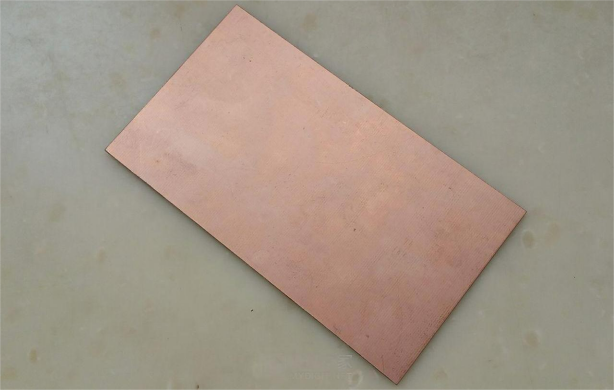
Use a utility knife to score a small section, then cut out the excess material in the middle with a hacksaw.
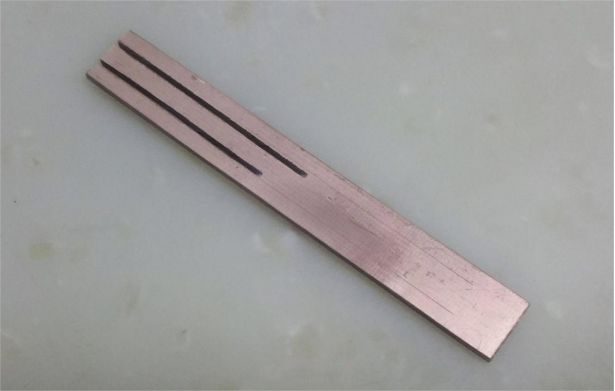
When sanding, make sure to bevel the edges and any areas that will make contact with the T12 metal parts to prevent short circuits.
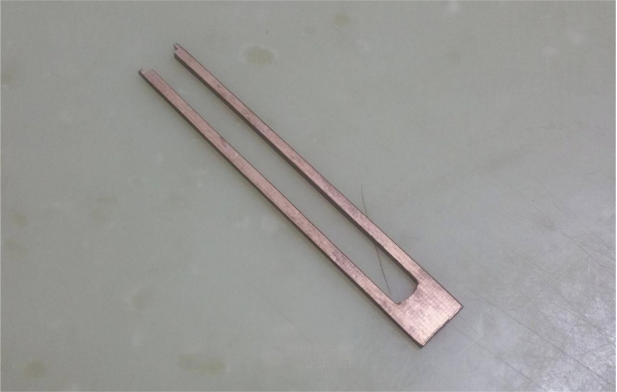
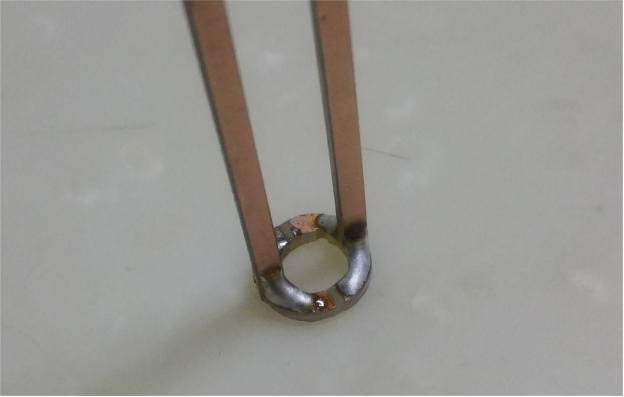
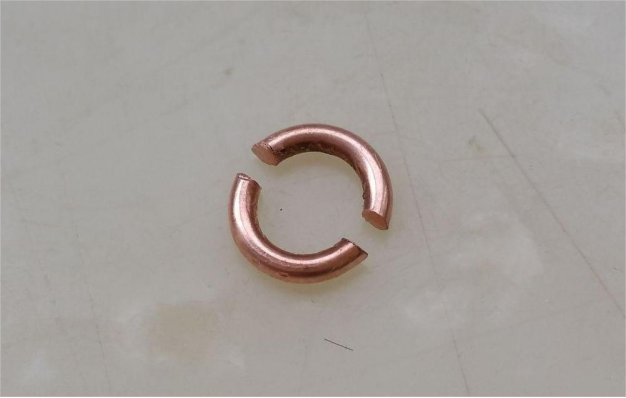
Next, you'll need to create two small circular pieces.
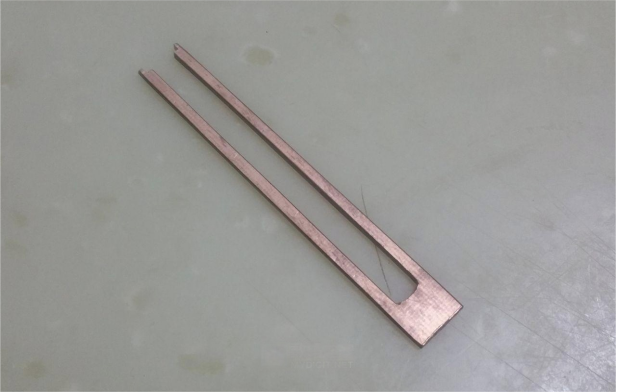
One of them should be shaped like this—you don't necessarily have to remove the copper in the middle.
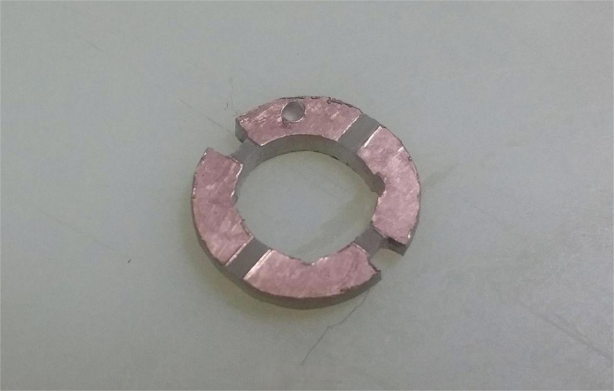
Once all the parts are ready, assemble them like this.
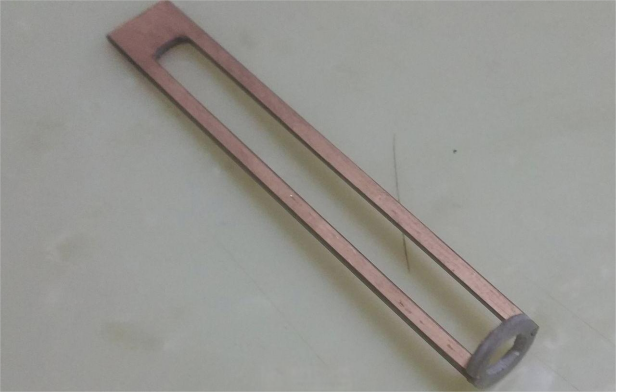
Now, solder everything together.
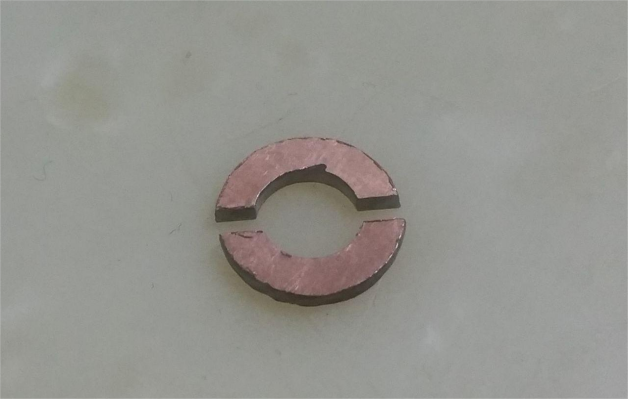
Cut the second circular piece in half—you can use the copper foil edge from a metal handle, but make sure to sand it down to prevent short circuits.
Modify the battery contact springs from an old device like this (you'll need one for the positive and one for the negative terminal).
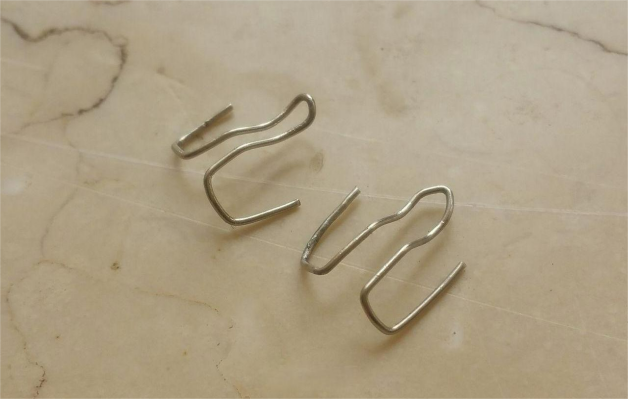
Before soldering, carefully align everything to ensure proper contact while avoiding short circuits with the casing.
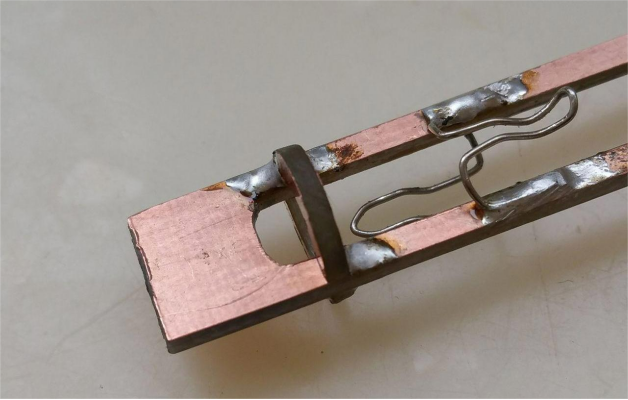
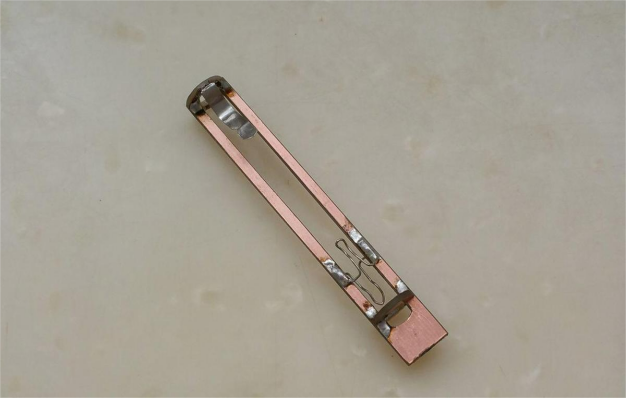
Once the T12 is installed, the contact points should be well-positioned.
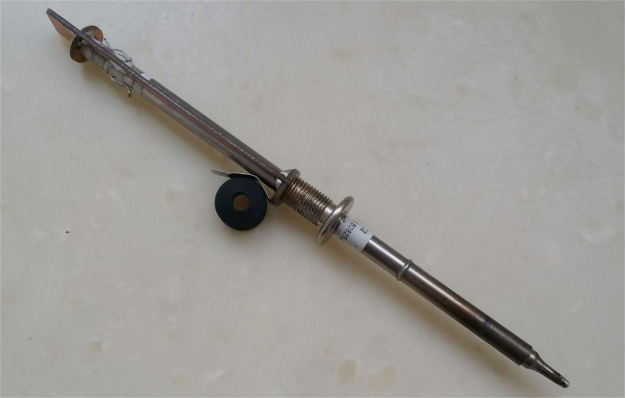
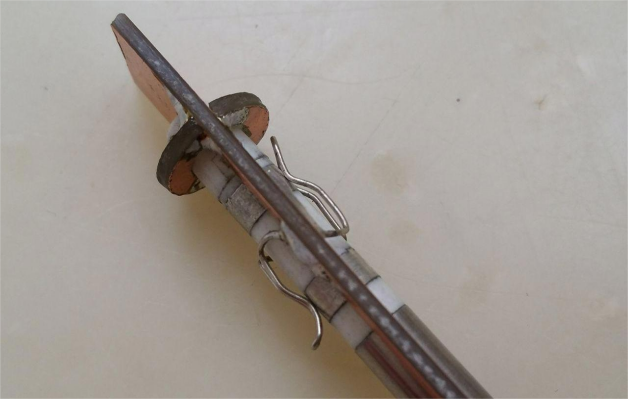
If you find that the T12 shifts when plugging or unplugging and presses against the contact points, you can add a positioning ring to keep it stable.
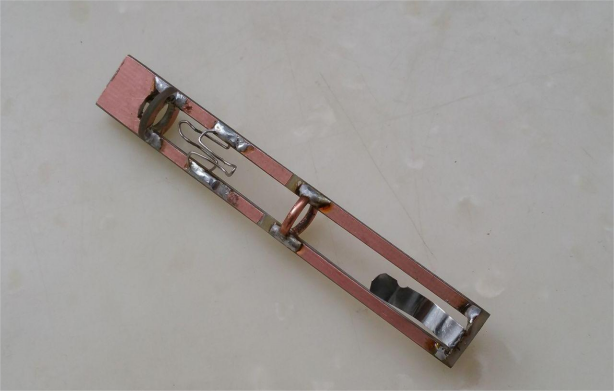
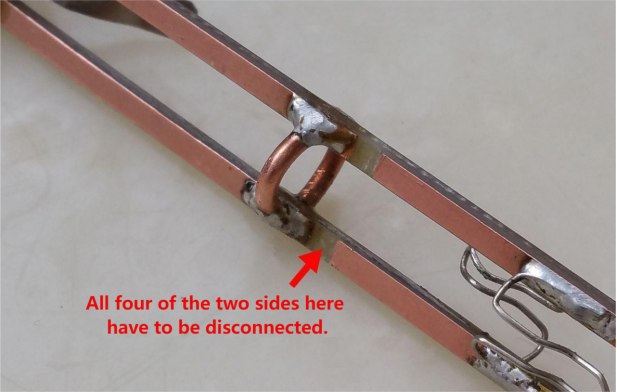
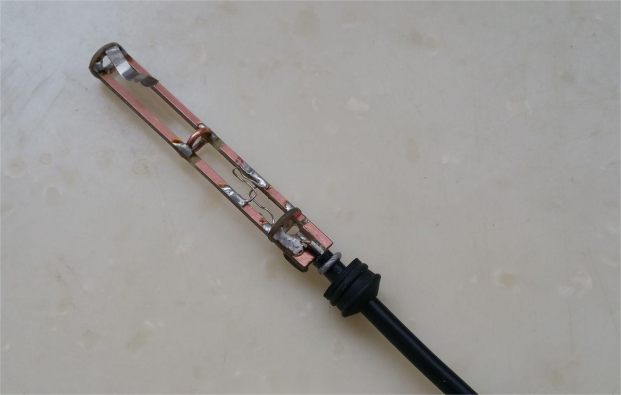
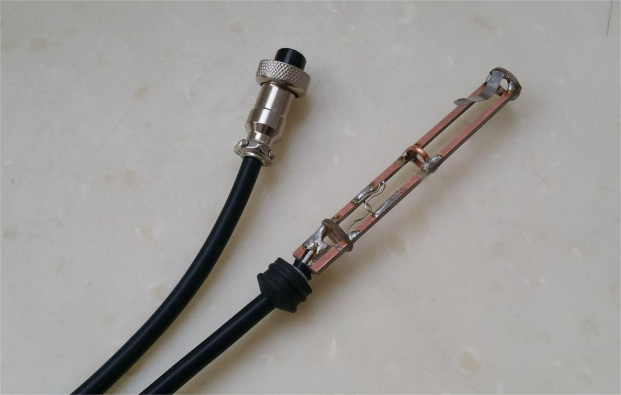
The copper section in the middle of the bracket should be cut off, with the lower part used for grounding. The purpose of the copper ring is to prevent the soldering iron core from moving around and damaging the contact points when inserted or removed.
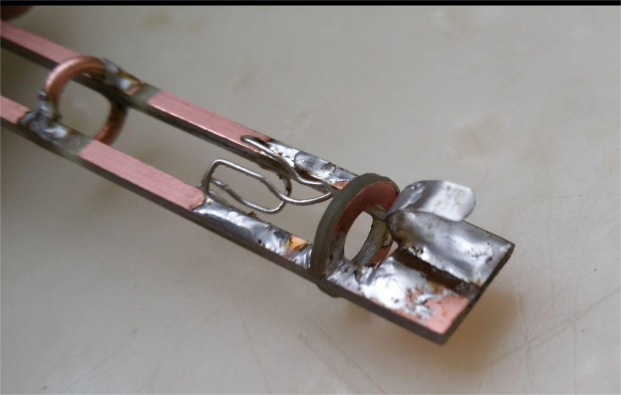
Now, connect the wiring.
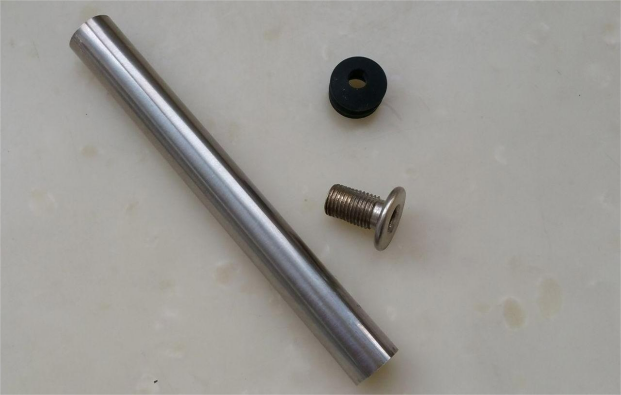
You'll also need a stainless steel tube, a bicycle valve stem, and a silicone plunger from a disposable syringe.
Finally, assemble everything—and you're done!
