
If you're interested in enhancing the battery performance of your DIY electric mosquito swatter, this guide offers valuable insights.
When your electric mosquito swatter fails to catch mosquitoes, with the indicator light turning red but mosquitoes passing through unscathed, it might be time to inspect the battery. If the battery measures only 2.1V, it likely indicates a low charge.
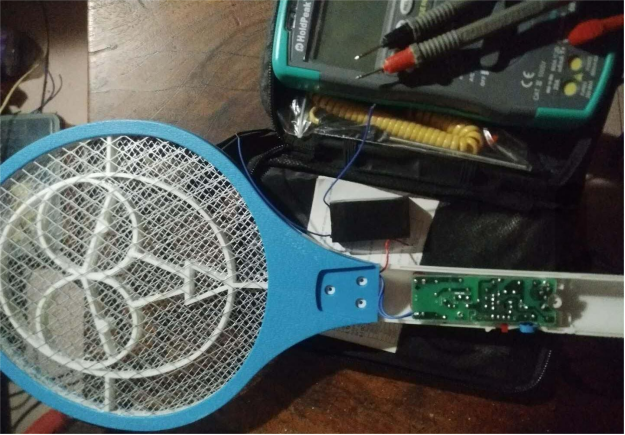
Traditional 4V lead-acid batteries are commonly used in these devices, but they often have limited capacity and rely on direct charging through resistive-capacitive drop, lacking proper protection. This setup makes the battery prone to damage and rapid depletion, often requiring hours of charging for just a few minutes of operation. Such batteries are not ideal for continued use, but you can enhance your device with a simple modification.
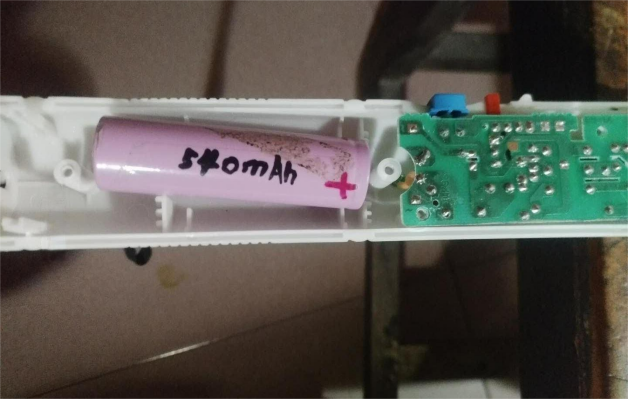
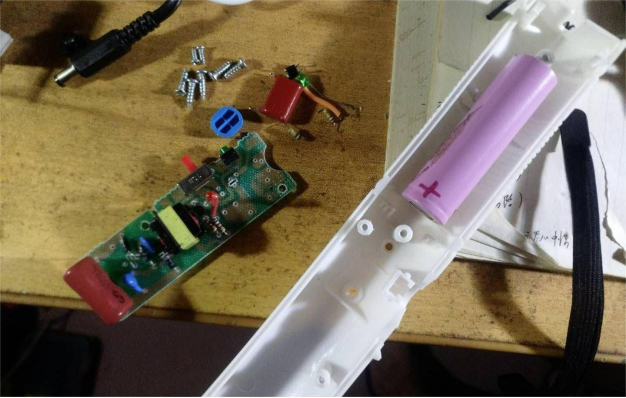
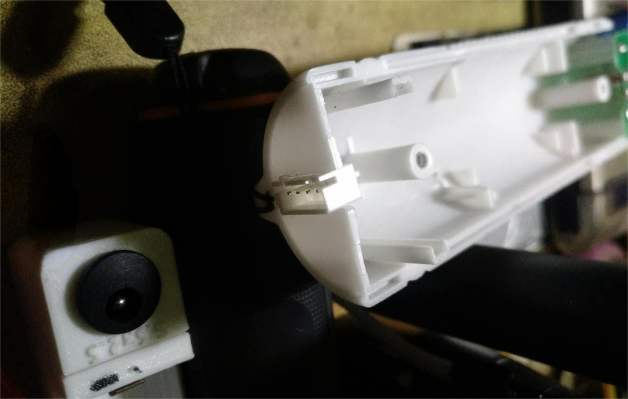
Replacing the original battery with a more efficient 18650 lithium battery can significantly improve performance. Adjust the casing to fit the new battery, ensuring space for an XH2.54 socket and the battery itself.
After securely connecting the battery protection board to the battery, use hot melt adhesive to fix both the battery and the XH charging socket in place. If you already have a suitable charger, an additional charging module may not be necessary.
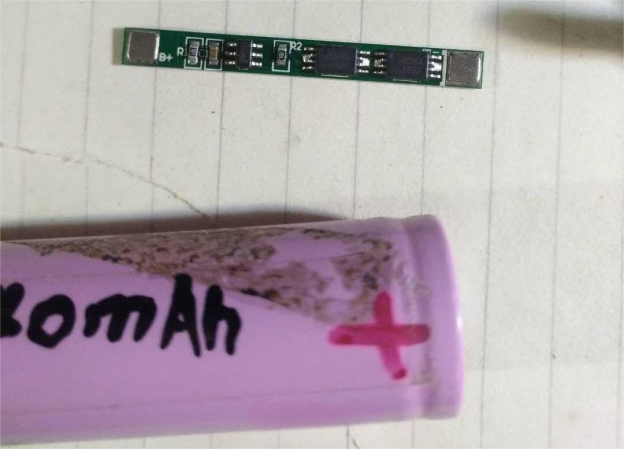
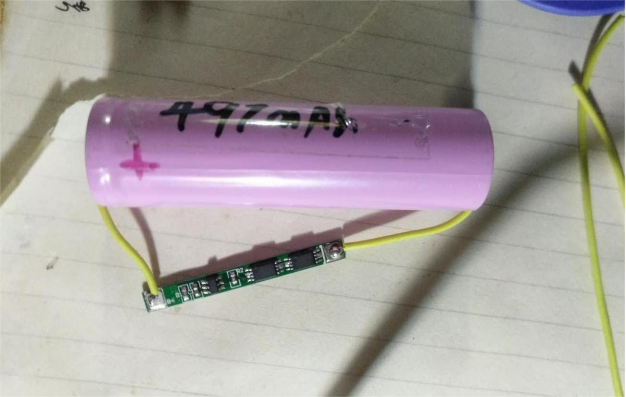
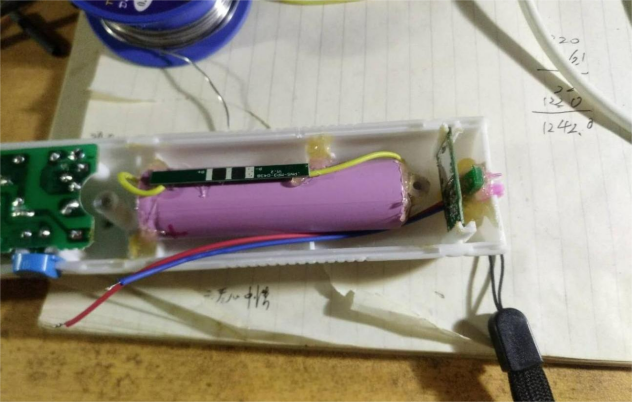
Once all components are properly soldered and enclosed within the casing, testing confirms that the modified mosquito swatter functions effectively.
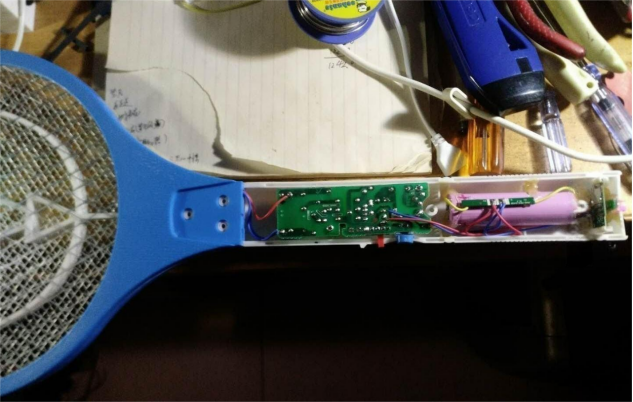
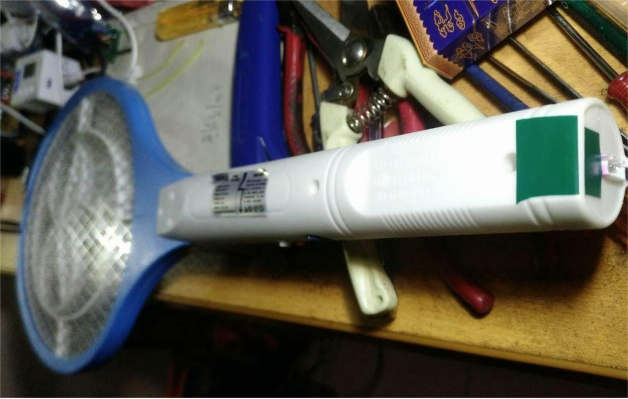
This straightforward modification can greatly enhance battery performance and device longevity, making it a practical and efficient DIY upgrade.


