
If you're into DIY audio projects, this guide on building a TPA3110D2 digital amplifier might just be for you.
To get started, you'll need a few small aluminum enclosures and some TPA3110D2 amplifier chips. Once you have the parts ready, you can begin assembling your own mini digital amp.
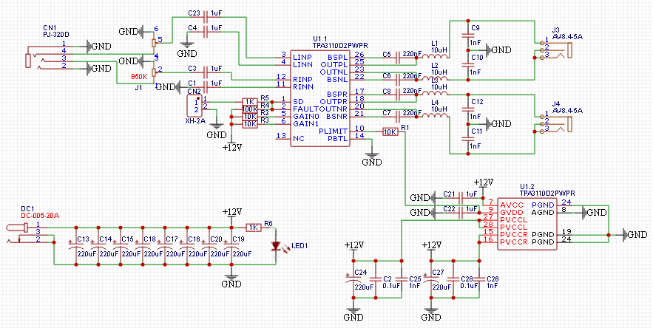
Let's start with the schematic. A 10cm by 6cm PCB might be a bit spacious for such a small amp, which gives you room to load it up with capacitors if you like.
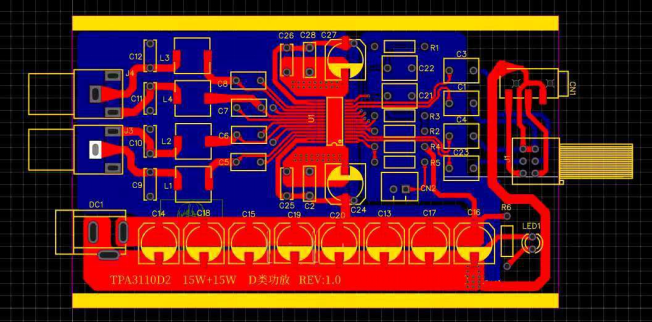
Here's what the PCB looks like:
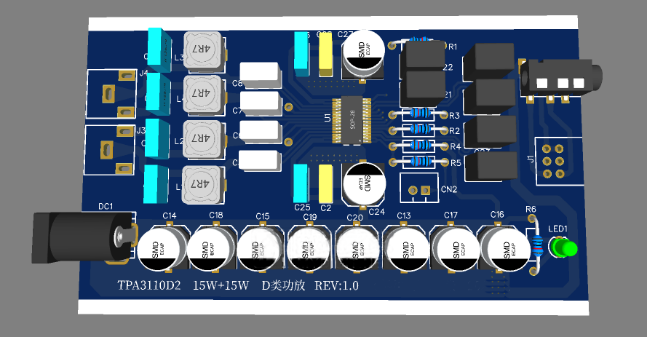
And here's the 3D model view:
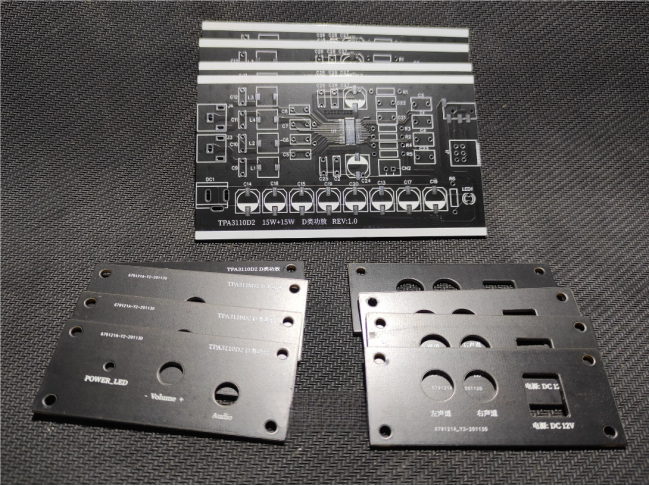
Once the design is finalized, it's time to get your PCB fabricated. The standard choice is green solder mask, but in this build, I went with a matte black finish — feel free to pick what you like!
Next, solder the components onto the board.
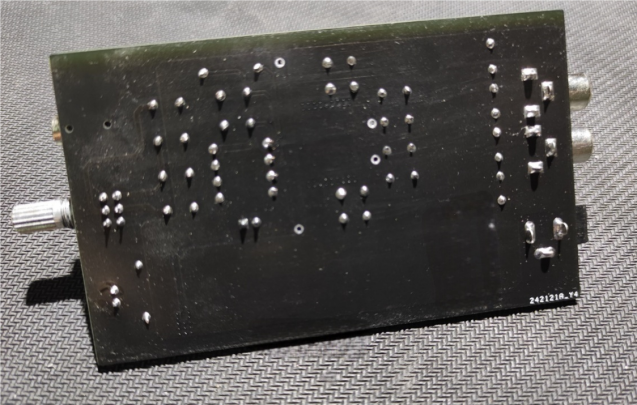
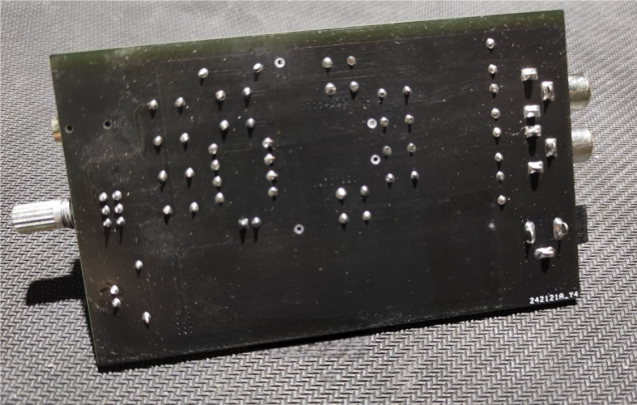
Back side view of the PCB:
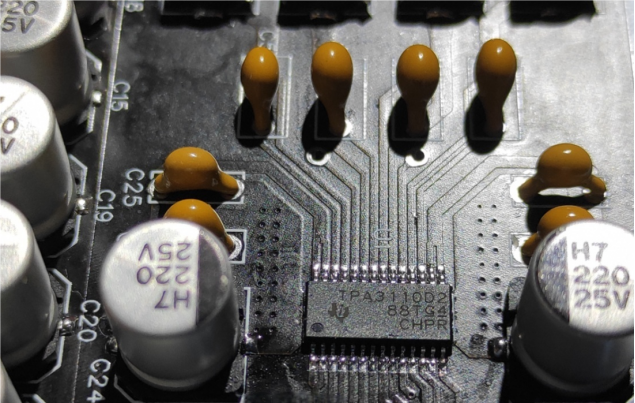
Close-up of the TPA3110D2 amplifier chip:
As for the case, you can go with something like this:
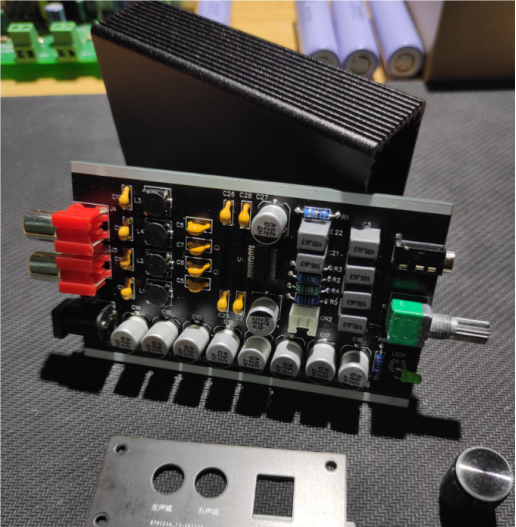
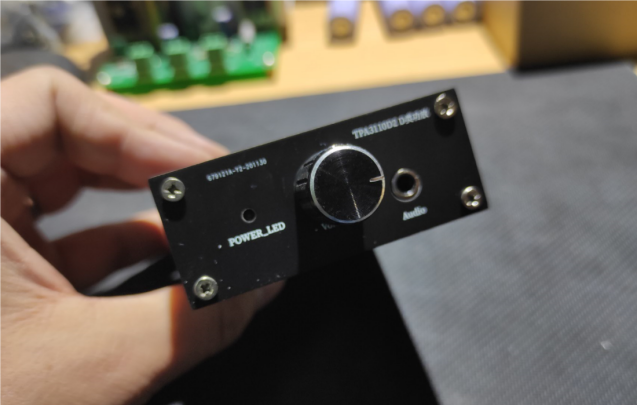
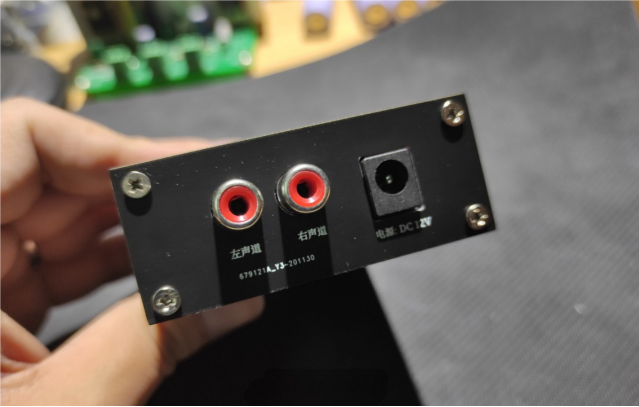
Now it's time to assemble the enclosure. Be sure to pay attention to the dimensions when designing the case. Here's what it looks like once everything is installed:
Front view:
Back view:
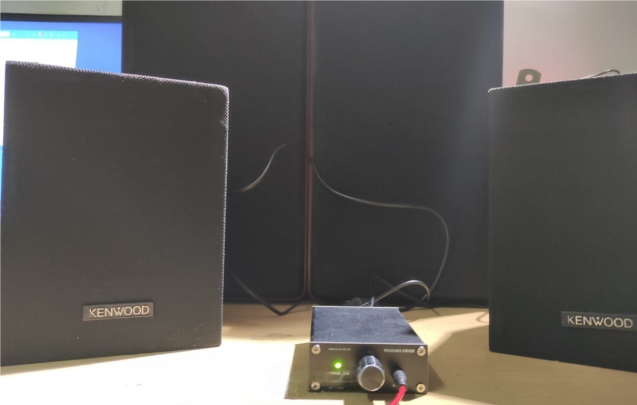
After everything is in place, go ahead and hook it up to a speaker and give it a listen.]
Conclusion:
1. The sound is a bit thin — probably it wasn't testing with a small speaker. May not connect a larger speaker for comparison.
2. There's a slight issue with the preamp coupling. If your computer doesn't have a dedicated audio input, then you could turn the volume all the way up, there was a noticeable hissing noise. It might be related to the chip's gain setting, which it had been maxed out at 20x.
3. On the bright side, the whole setup is compact and clean-looking — a neat little build overall.


