
If you're interested in disassembling and modifying the Yonii TC1 lithium battery charger, this article is for you.
The Yonii TC1 18650 lithium battery charger looks like this:
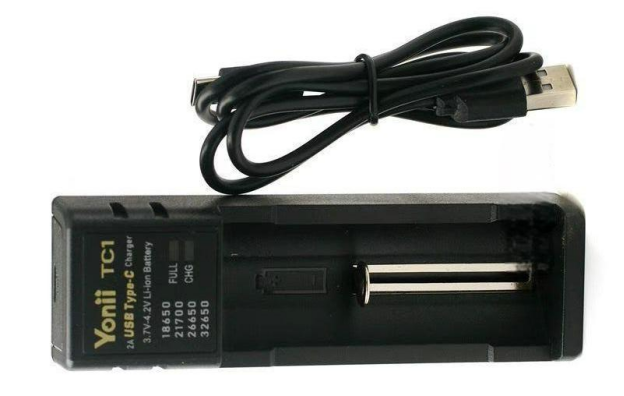
This charger doesn't allow for adjustable current—it only charges at 2A. So, what can you do about it? Start by taking it apart.
If you're not sure how to reassemble it afterward, you can go for a brute-force teardown—cut open a corner with a hacksaw and pry the casing open with a flathead screwdriver:
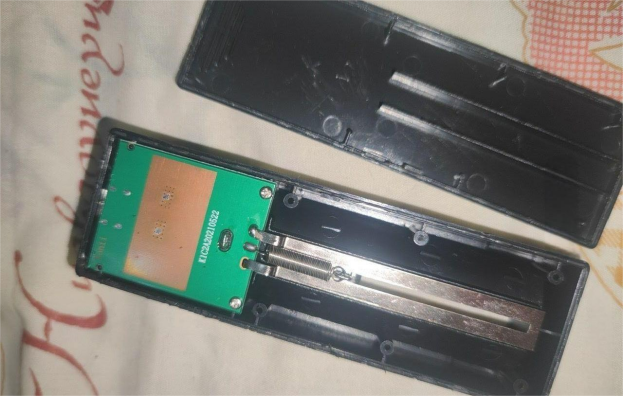
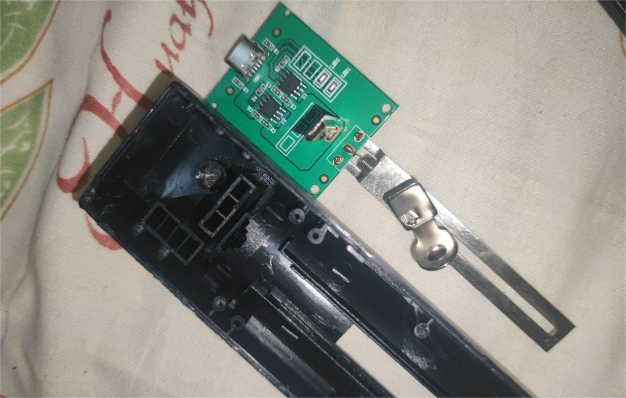
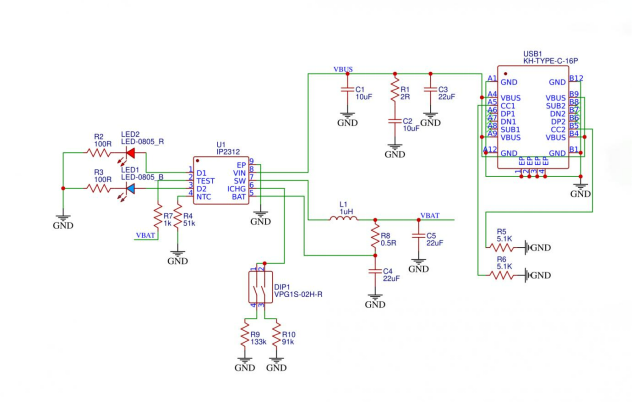
It seems like it uses two 4056 chips in parallel. Most likely, uneven current distribution between the two is causing unreliable charging status indicators. To fix this, you can refer to the following schematic for modification:
Based on the original board's hole layout and dimensions, route the PCB as shown below:
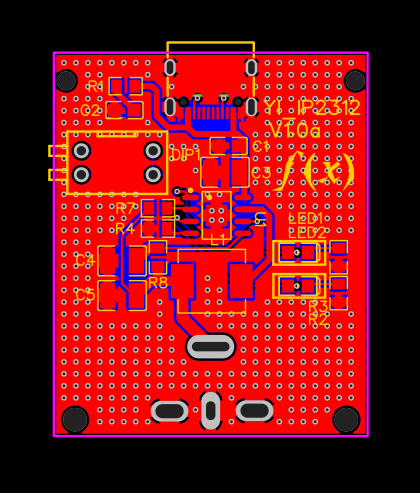
Once the PCB is made:

Try fitting it into the original case. If it fits, great. If not, you may need to make additional adjustments.
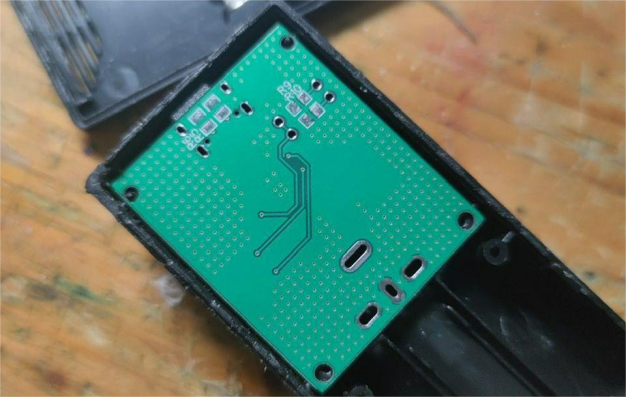
Next, apply solder paste:
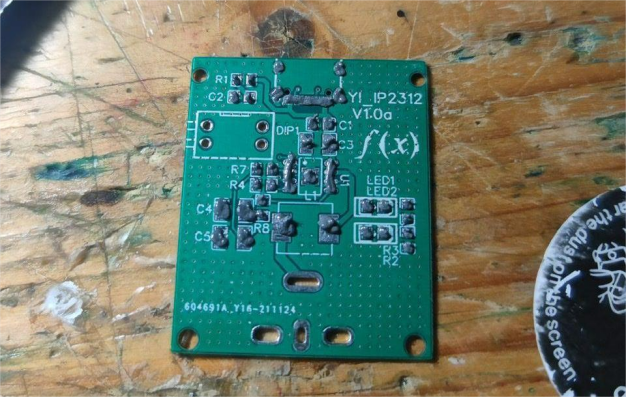
Then mount all the components on both sides of the board:
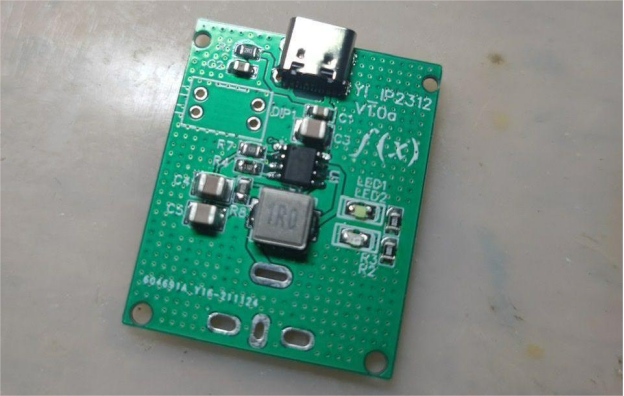
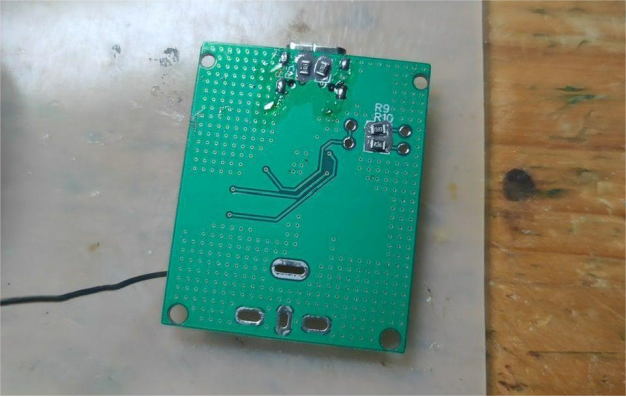
After that, install the DIP switches on the front side:
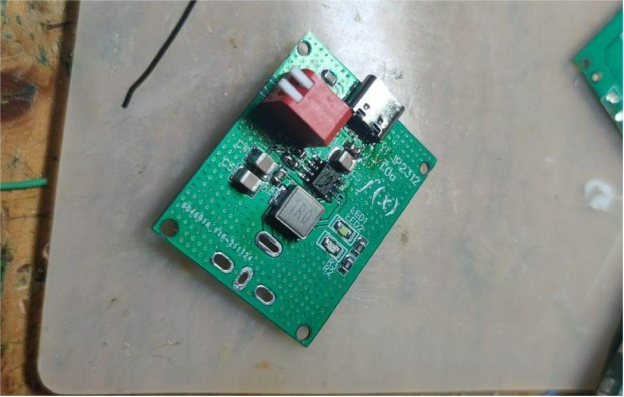
Then solder the positive spring contact:
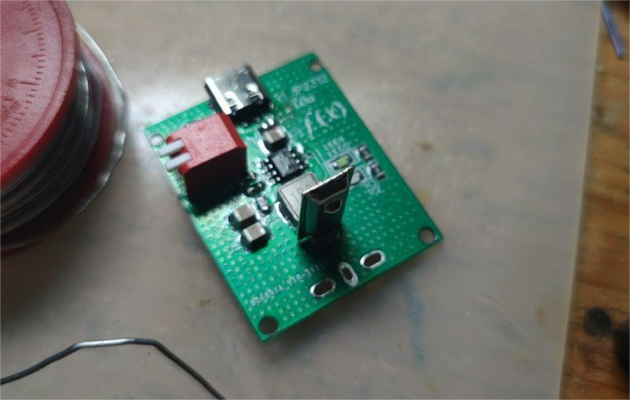
Be careful here—components like the output capacitor and inductor might press against the case. You can soften them with a hot air gun and trim off any excess material.
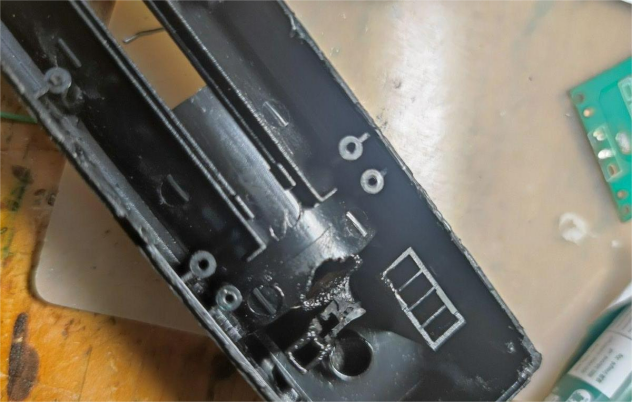
Now, cut an opening on the side of the case for easy access to the DIP switches:
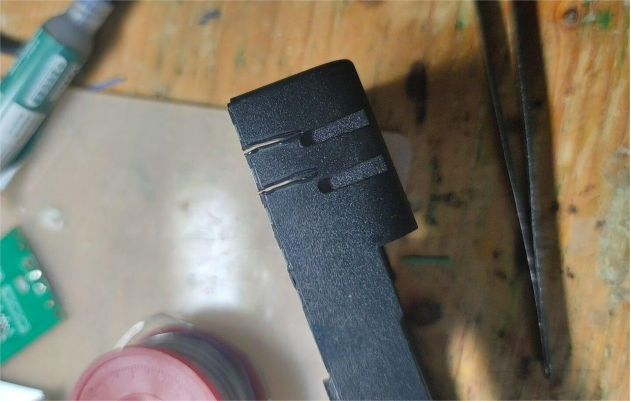
Insert the board and check if it fits perfectly. If not, continue trimming the plastic that's in the way.
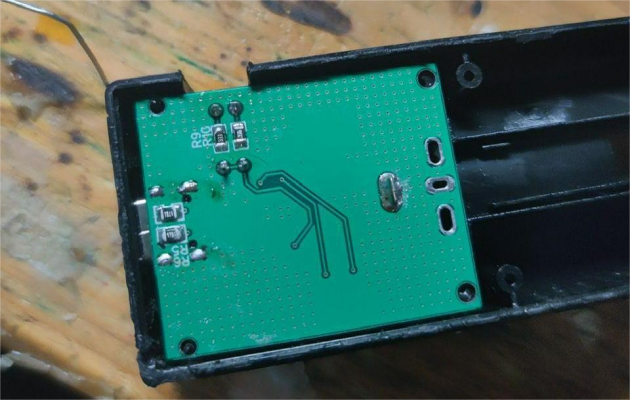
Next, re-solder the sliding rail back into place:
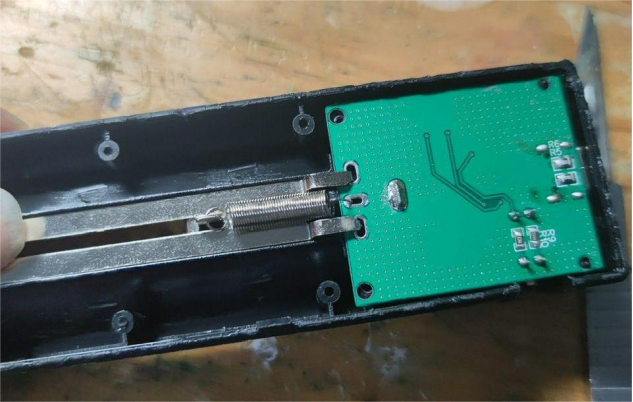
Finally, snap the casing back on.
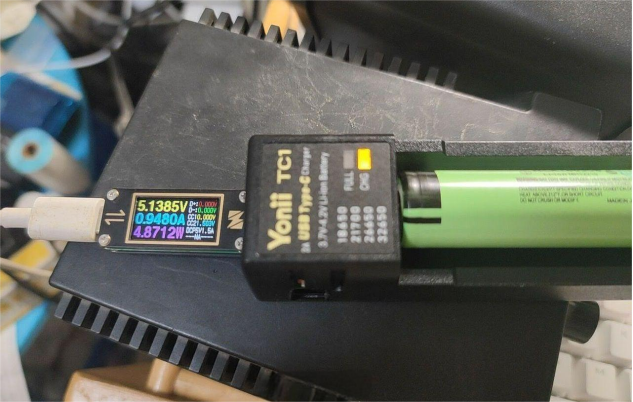
After testing, all current levels work properly.
Based on the schematic, you can adjust the current using the DIP switches as follows:
Current | Left dial code switch | Right dial code switch |
1A | Down | Up |
1.5A | Up | Down |
2A | Up | Up |
2.5A | Down | Down |
And that's it—modification complete!


