
For those interested in building a DIY weather clock, this article is worth a look.
The project involves modifying a mini TV-style display by adding a battery connector and a charging chip, helping reduce the overall size. A 1.3-inch screen is recommended for this build.
You can refer to the PCB layout below for inspiration.
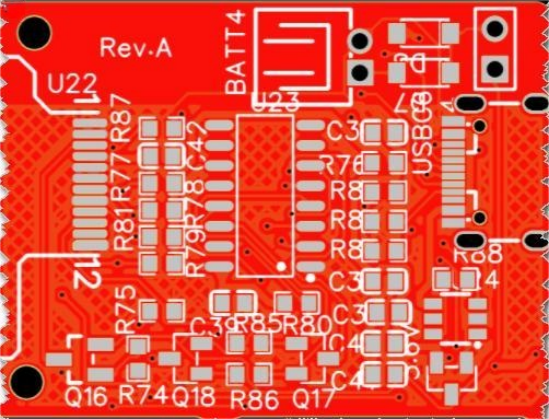
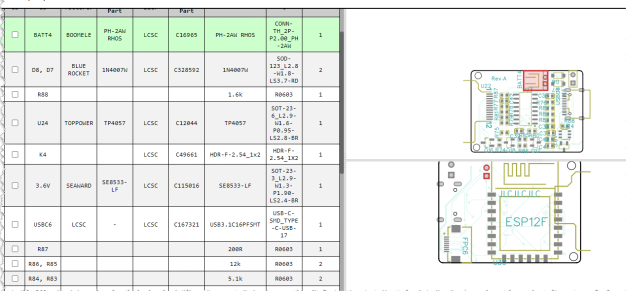
For the SMT components, hand-soldering is an option if you're up for the challenge—just be prepared for a bit of a workout. Use the iBOM tool to locate each part and solder them accordingly.
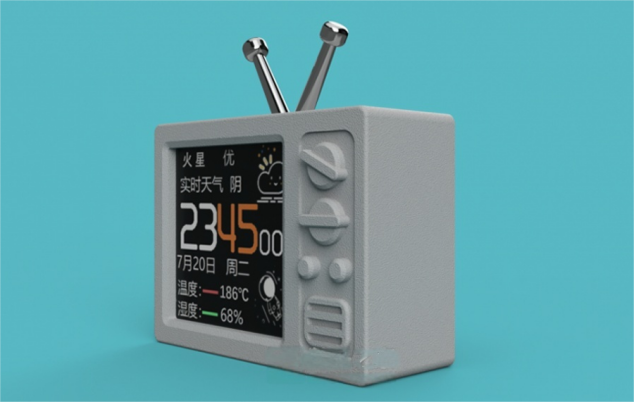
To make it look like a real mini TV, consider designing a 3D-printed shell. Model it to resemble a classic TV body.
For the left-side connector, design a TV stand. You can also opt for a vertical-style stand and route the wires to the back for a cleaner look.
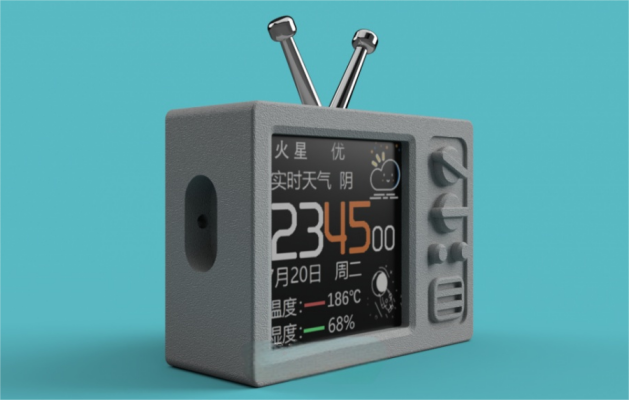
Once your case is printed, assemble all the components inside. As long as everything fits well, you're good to go.
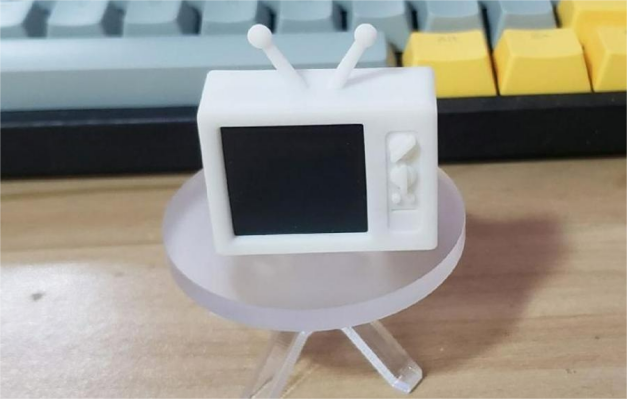
This version uses a 1.3-inch color display.
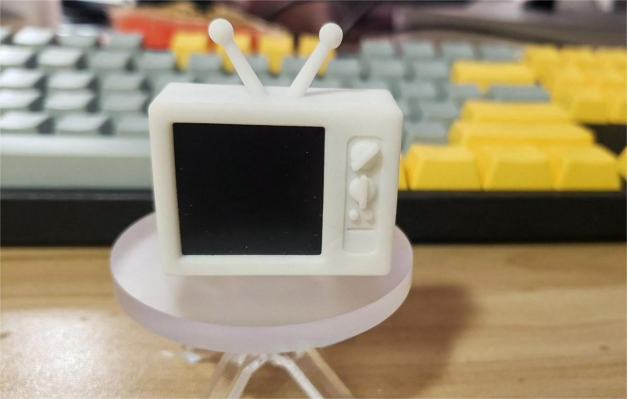
Secure the screen with screws, and your build is almost complete.
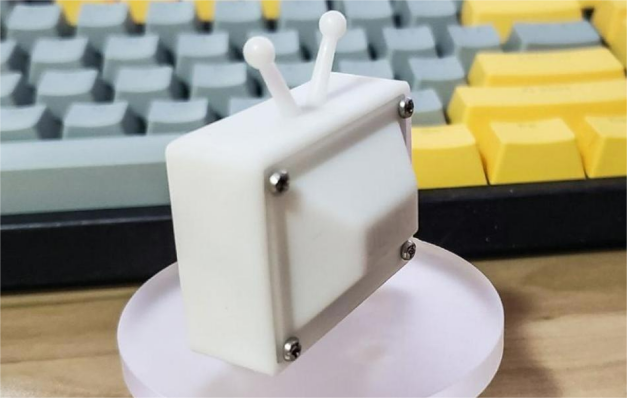
Flash the firmware, plug it in, and power it on—success on the first try!
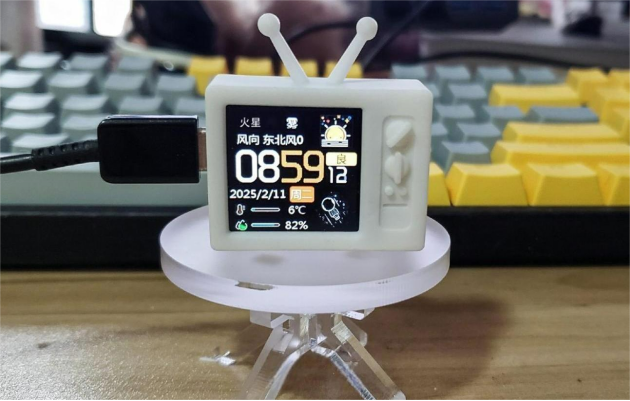
Done.


