
If you're into DIY and lightweight white light soldering irons, this article might be just what you're looking for.
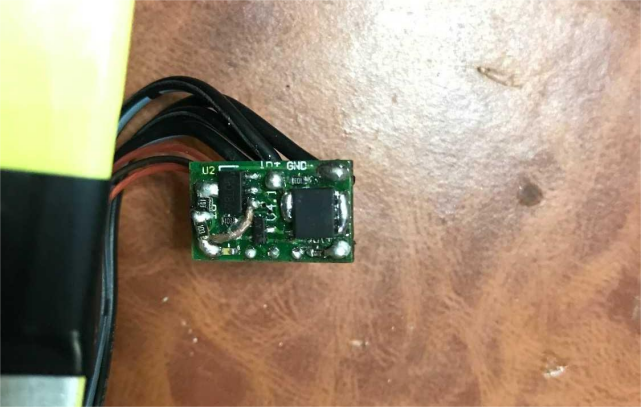
So how can we turn a 616 budget white light controller board—known for burning out MOSFETs when shorted—into a compact and portable white light soldering iron using the TPC8107? Keep reading to find out!
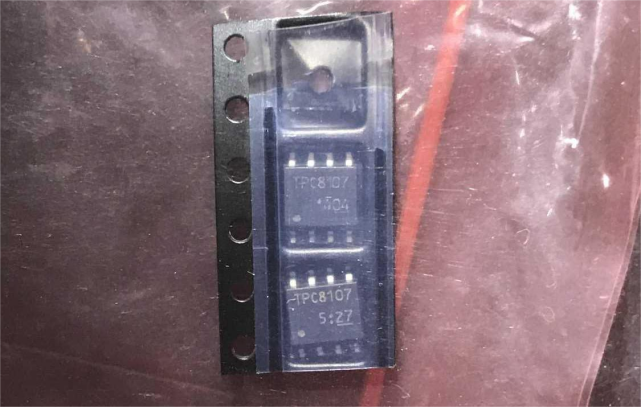
Quick tip: when the 8107 burns out, it usually takes the nearby J3Y-marked SMD transistor (8050) with it. While the TPC8107 and 8103 are similarly priced, the 8107 has better specs according to the datasheet—so it's a better choice.
If you've reused the board in different setups and the vias are damaged, you can skip using a potentiometer altogether. Instead, use four 103 SMD resistors—two on each side—to simulate a 10k potentiometer at mid-range.
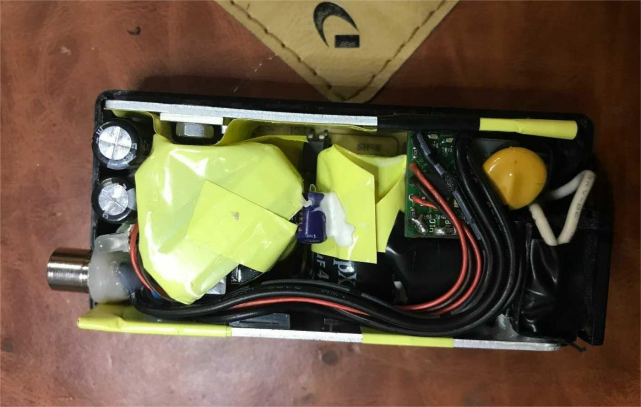
Next, find a power supply that works and is compact enough to stay portable. The one shown below uses a 5.5x2.1mm DC output jack.
Since the power input uses a figure-8 (C7/C8) socket, you'll also need a compatible power cable—slightly more troublesome but manageable.

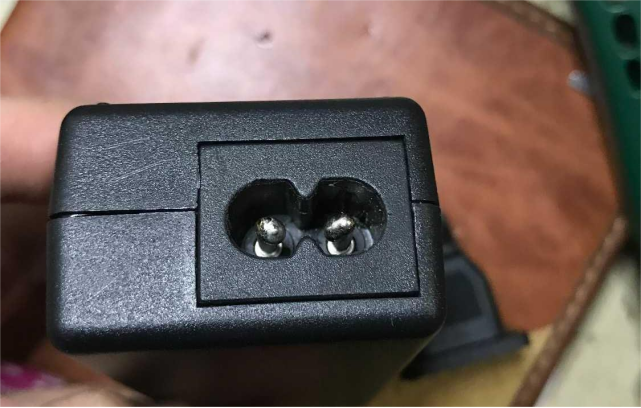
If that setup still feels inconvenient, here's another hack:
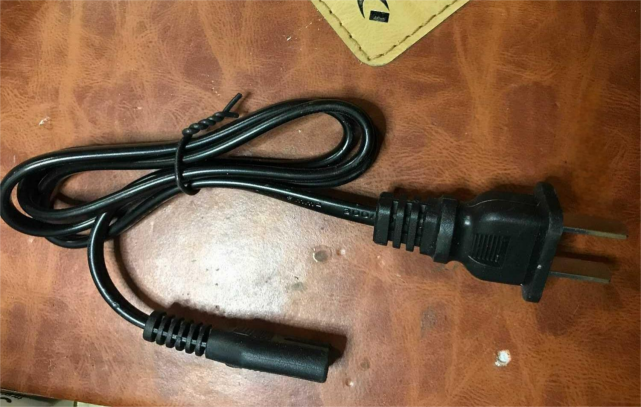
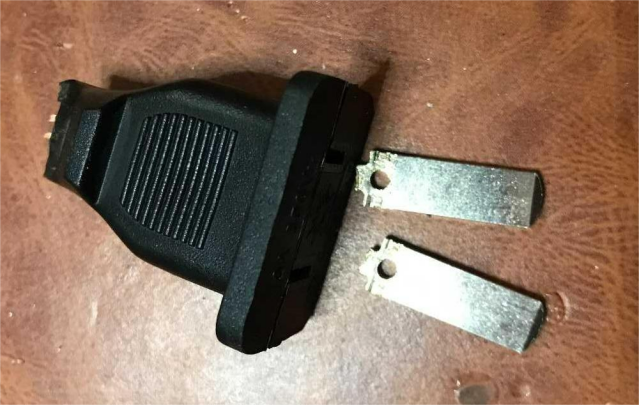
You can solder the removed plug blades directly onto the pins of the figure-8 input socket.
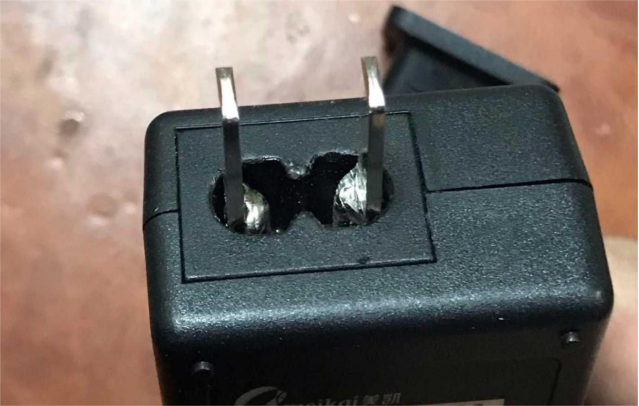
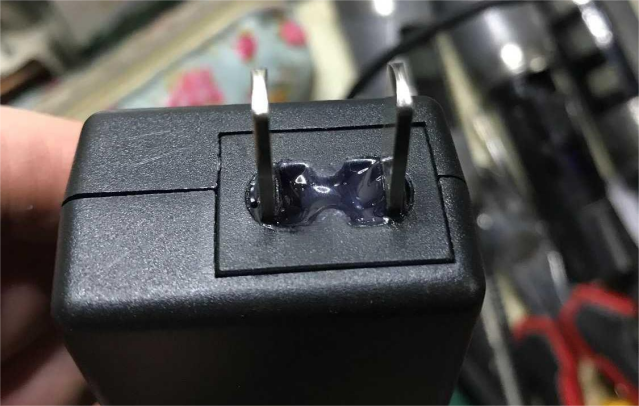
Then secure everything with some AB epoxy. Want it to look cleaner? Use a marker to color the epoxy after it sets. Here's what it looks like after sealing—pretty solid and very sturdy.
Now let's talk about the T12 D1 tip. Pair it with a 20AWG (0.5mm²) power cable and an empty M&G ballpoint pen shell—it fits just right as a casing.
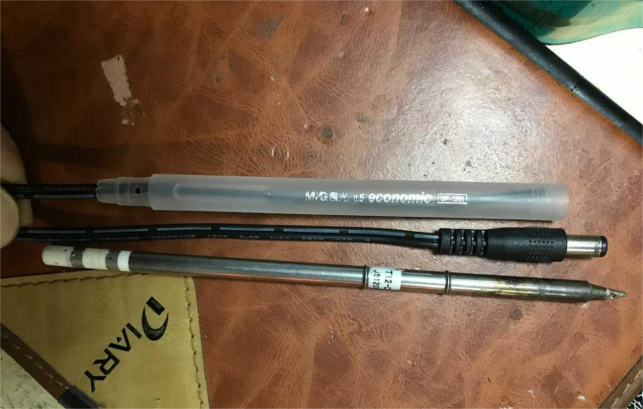
Here's what it looks like while powered on and in use:
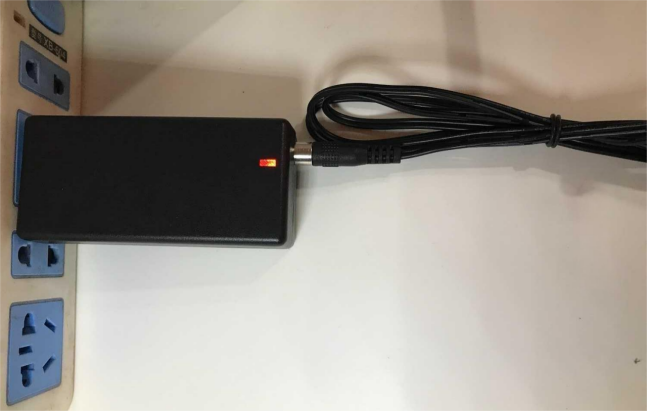
If you've ever felt that your soldering iron is too bulky to fit in your multimeter pouch, worry no more—this setup fits in there perfectly!
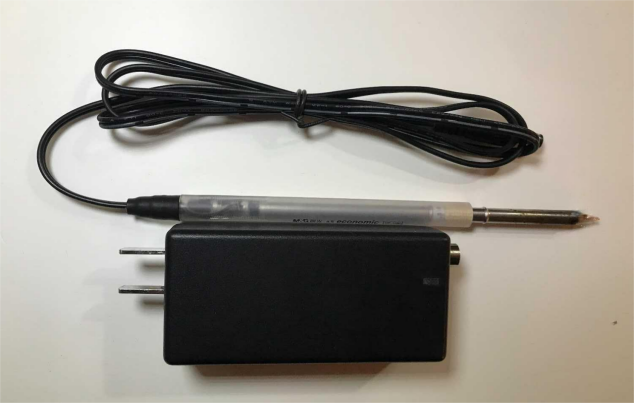
Done.


