
If you're interested in boosting the battery life of your DIY USB fan, this article might be just what you need. Among the many USB fans available on the market, the Sunpentown model stands out as one of the easiest to modify. Its casing can fit four 18650 batteries—something most other brands can't accommodate. The result? Significantly longer run time.
Let's dive into the modification process.
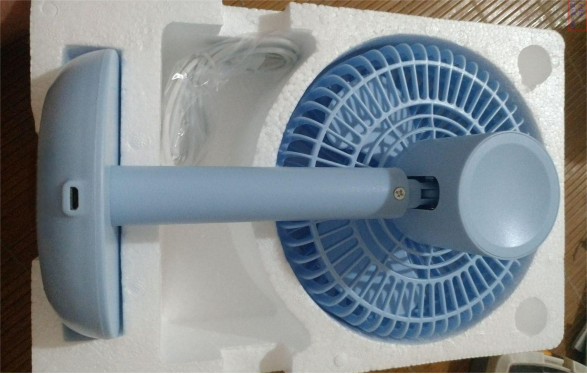
The original battery inside the fan provides just around 1800mAh.
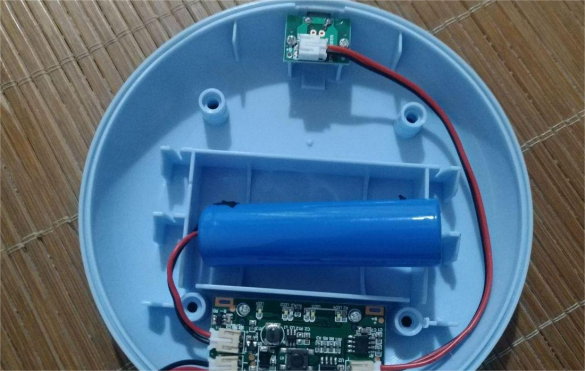
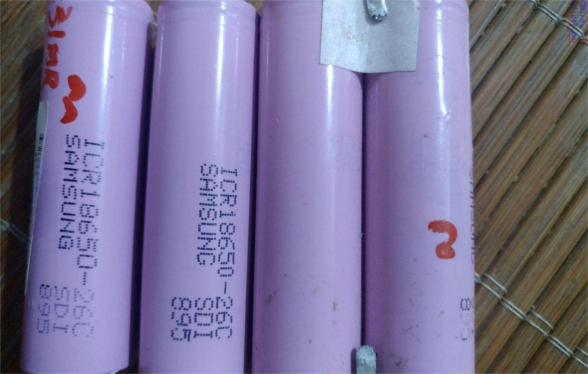
By replacing it with four Samsung 26C cells, you can push the total capacity to roughly 10,000mAh.
Before installing the new batteries, be sure to add a protection board.
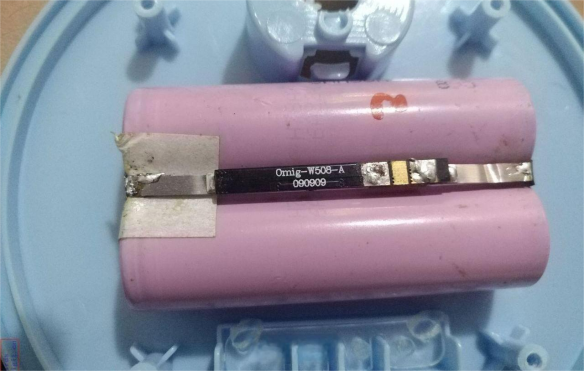
Two of the batteries can go into the bottom battery compartment.
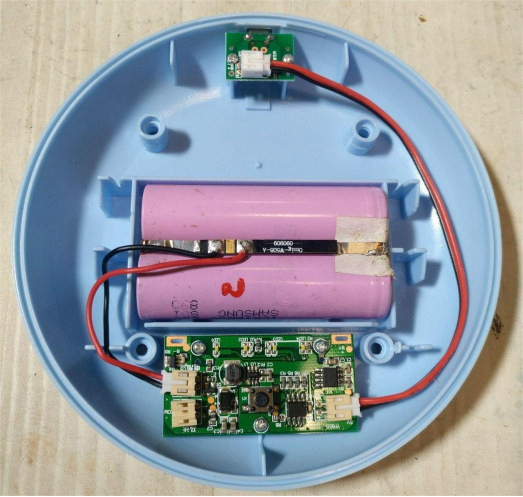
The other two will be fitted into the central support column, connected in parallel with wires.
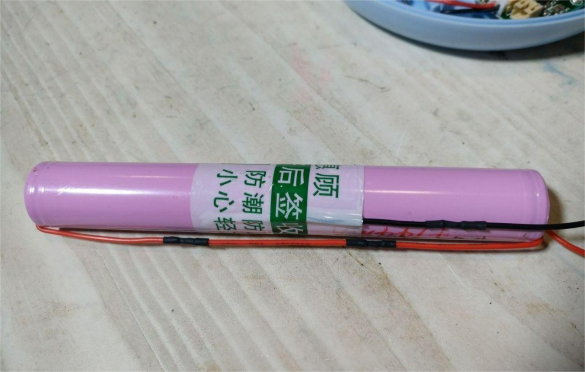
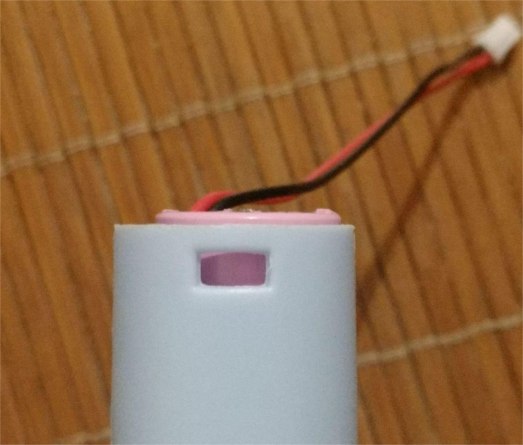
Normally, the column can hold two 18650 cells, but after wiring, the battery height slightly exceeds the column's limit. To make everything fit, you'll need to modify the structure a bit.
Start by removing the screw that secures the column.
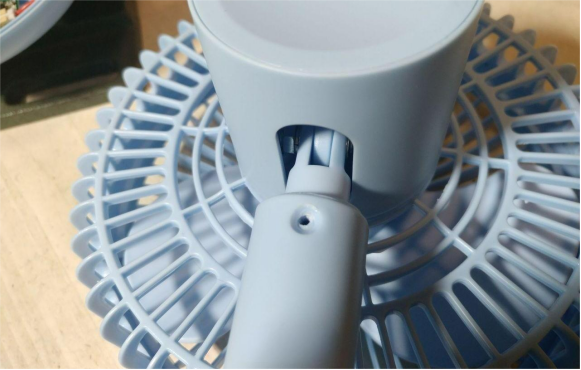
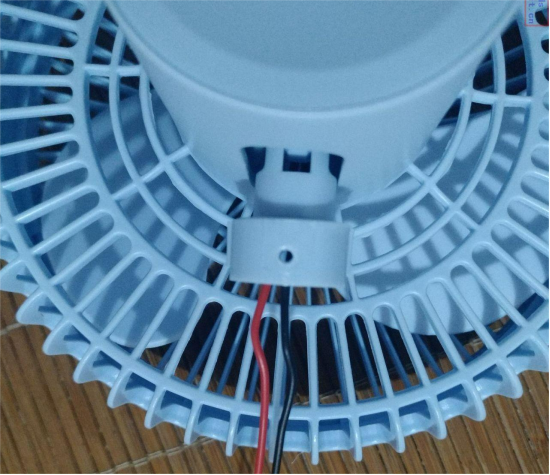
There's another mounting hole inside the column and the fan head, but the manufacturer hasn't used it—perfect for your needs.
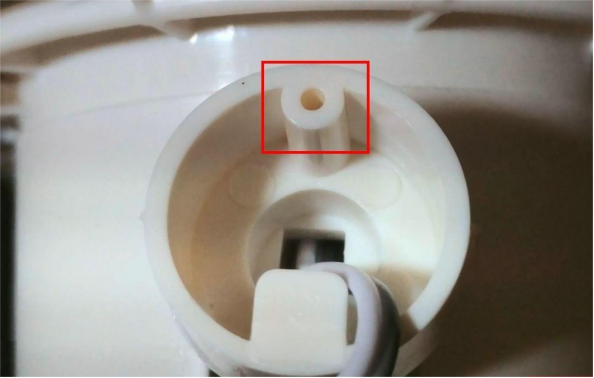
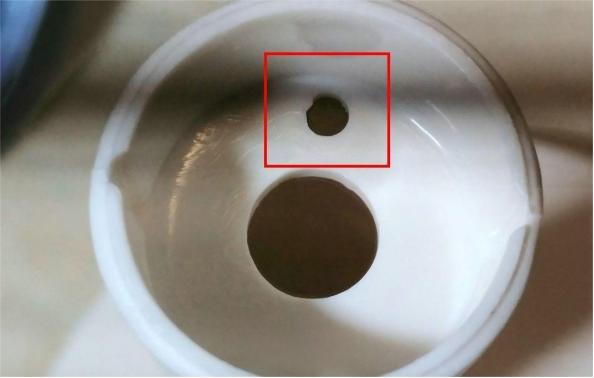
You can enlarge this hole all the way to the edge and route the motor wires through it.
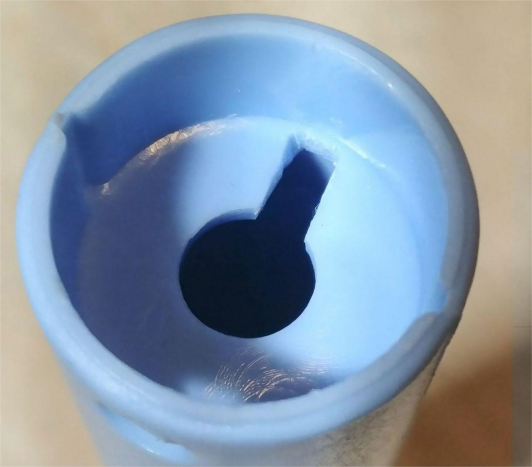
This tweak allows the batteries to sit flush with the bottom of the column, saving about 1mm of vertical space.

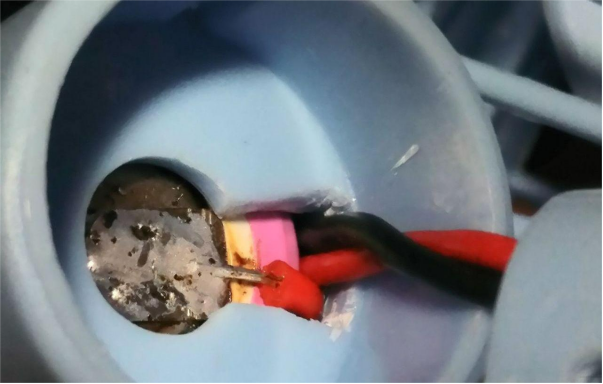
Even so, it's still a tight fit, so further modification is needed.
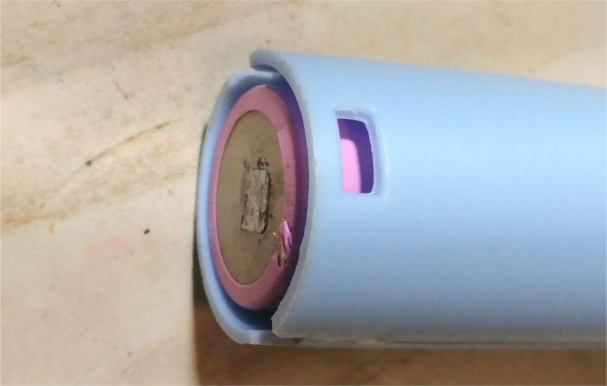
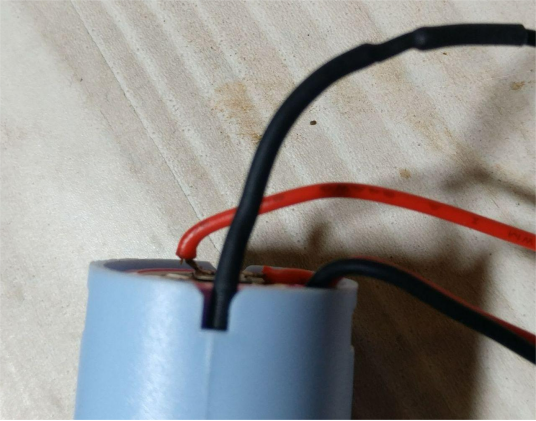
Inside the base, there are two horizontal braces that position the column.
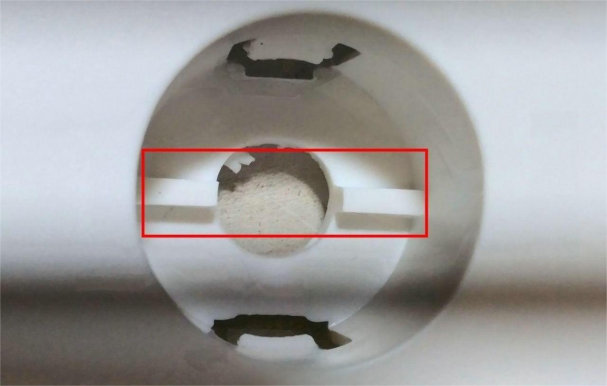
Shave down the center portion of these braces, leaving about 1mm on each side—just enough to nestle the batteries.
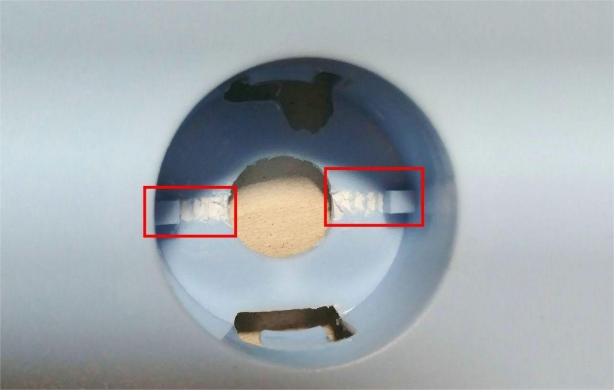
Once the batteries are in place, you'll have four wires: two for the motor and two for the battery.
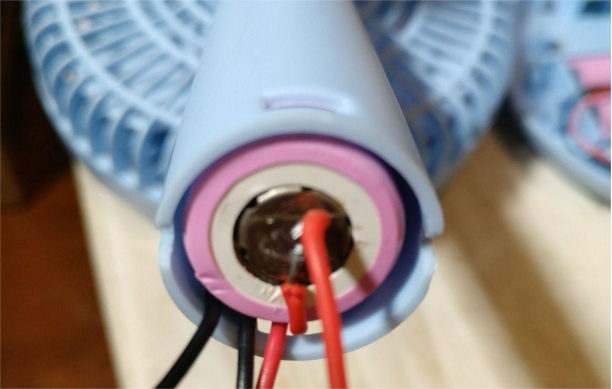
If all four wires go through the center hole, they'll press against the base and cause fitting issues.
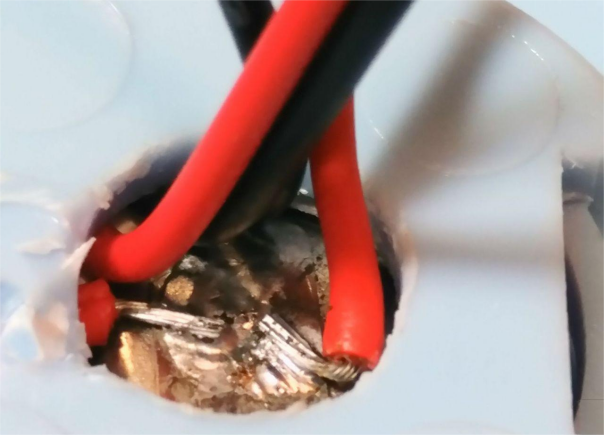
The fix? Cut an additional hole in the base to allow the motor connector to pass through freely.

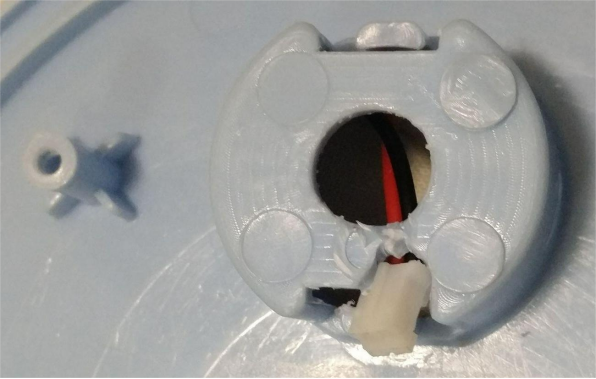
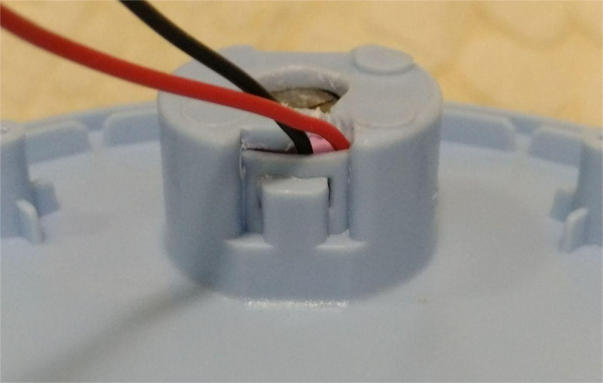
That way, only the battery wires go through the center hole.
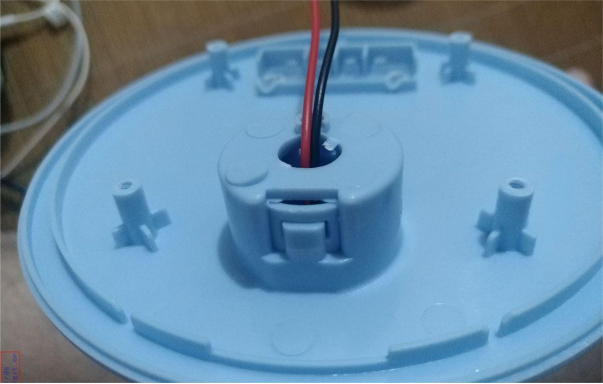
If the column latch doesn't snap into place afterward, lightly trim it with a blade for a better fit.
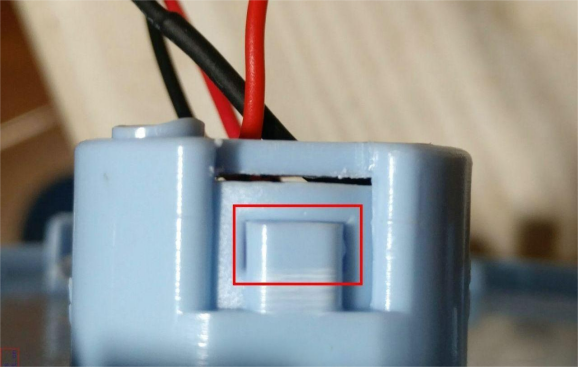
The final result is a neatly modified fan with two batteries inside the column and two in the original compartment—over 10,000mAh of capacity, giving you more than a full day of continuous use.
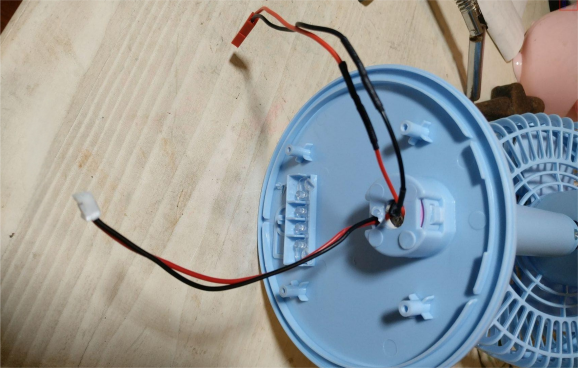
One important note: with the increased battery capacity, the original charging circuit's current is no longer sufficient. It's best to upgrade to a 2A–3A charger. This project uses an ETA6887 3A charging module. Since the fan originally uses a MicroUSB port, pushing 3A through it generates too much heat, so a Type-C port is recommended. If you stick with a 2A charging circuit, the original MicroUSB will suffice.


