
If you're interested in DIY charging for a floodlight using 18650 batteries, this article might be just what you're looking for.
The floodlight used in this project is a 10W model rated for 220V. If you own a similar type and find 220V power inconvenient, you can follow this DIY modification to make it battery-powered.
For this setup, you'll need a 4056 charging module, a 3W LED, and a 18650 lithium battery (which can often be salvaged from old devices).
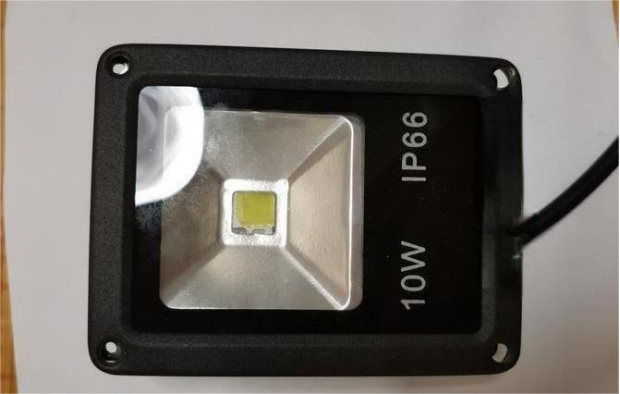
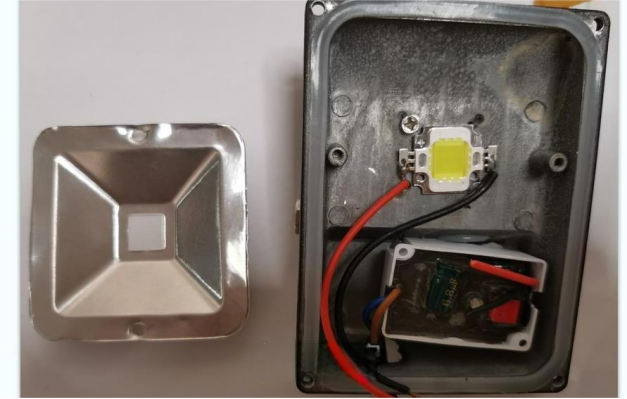
Originally, this floodlight ran only on 220V and couldn't be powered by 12V; the LED wouldn't even light up.
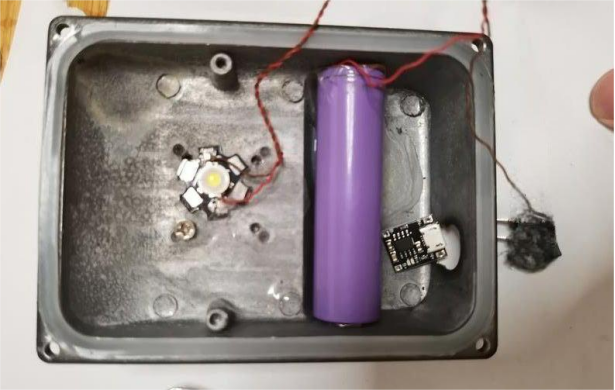
In this modification, you can enlarge the lower wire holes in the housing to create space for the switch and charging port.
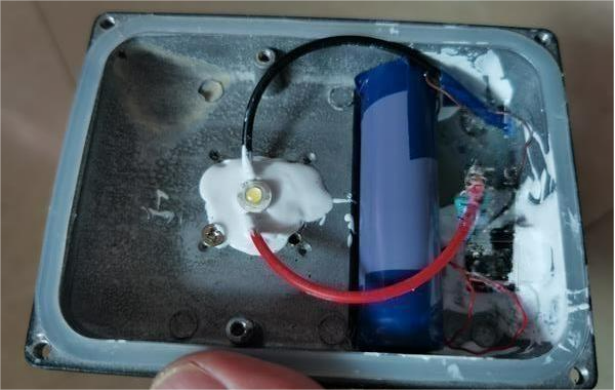
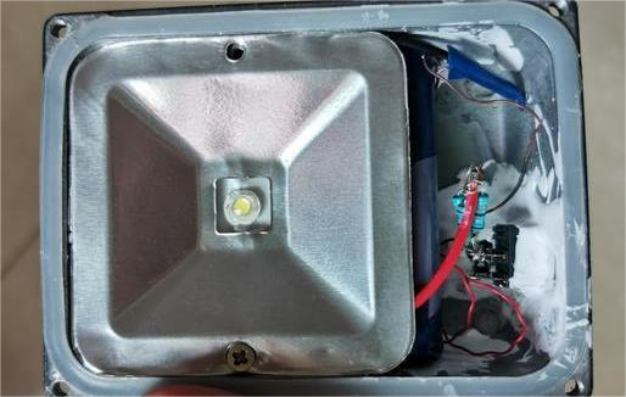
Use silicone to secure the components in place—this not only keeps them steady but also allows the metal casing to help dissipate heat.
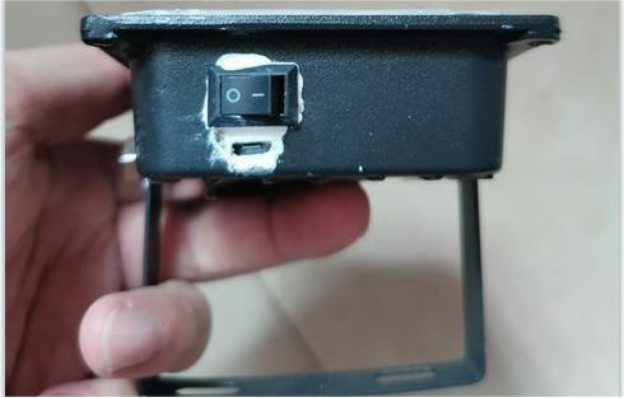
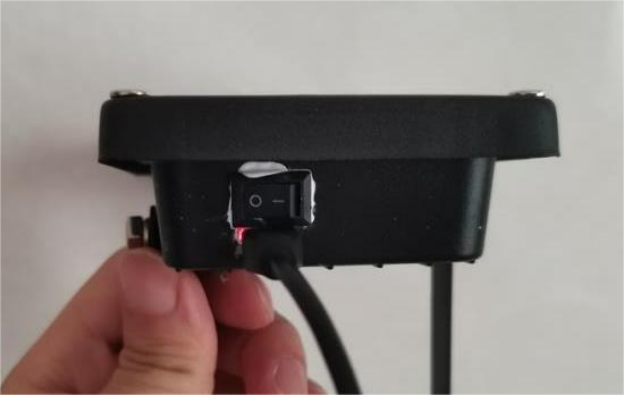
Once assembled, the charging port sits between the switch and the USB port. You can cut a piece of transparent plastic and place it over the indicator LEDs so the red light (charging) and green light (fully charged) are clearly visible.
During testing, the LED pulls about 1.2A without a current-limiting resistor, which generates significant heat. You can add resistors to reduce this, but if the brightness drops too much—likely due to internal wire resistance of around 1 ohm—you might want to skip the resistors. For example, with three 4.7Ω resistors in parallel removed, the measured current at full charge (4.2V) comes to around 0.68A, which works nicely.
And that's it—your DIY battery-powered floodlight is complete.


