
If you're interested in DIY solar lighting, this article is worth checking out.
If you've been exploring solar energy projects, this is a simple and practical one to try. Start by modifying five outdoor solar lamps and use a 5W panel—this setup can provide enough lighting for a living room.
If you're unsure whether to go with a 3.7V or 12V power supply, try experimenting with what you already have. See how it performs before making a final decision.
With a 12V system, one advantage is that the required current is relatively low. In this build, the system works with under 2A—typically around 1A during use—and the external casing stays at about 45°C.
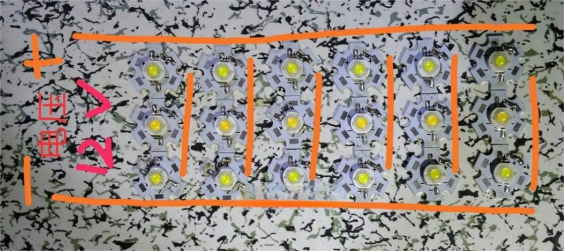
To begin assembling the components, you can use hot glue to secure them, ideally inside a metal housing like the one shown.
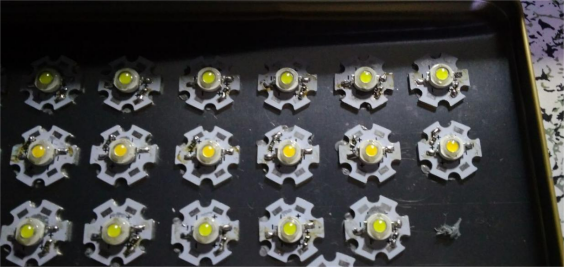
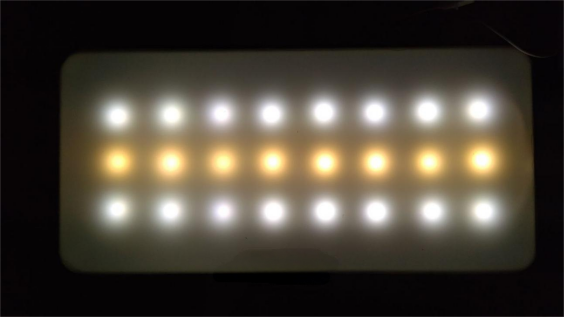
Use a 3-series 8-parallel configuration (3S8P) of 1W LEDs—24 in total, with 16 cool white and 8 warm white LEDs. A 4.7Ω resistor is used for current sharing for each LED. The maximum capacity for this setup is around 60 LEDs (6 groups of 10).
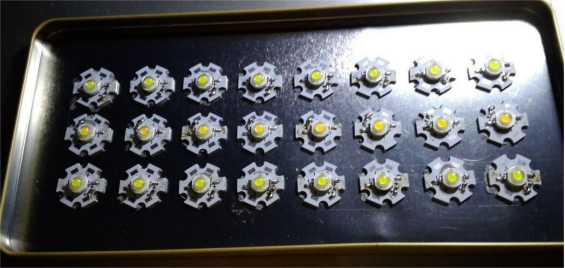
Next, use 904 silicone sealant to further secure the components.
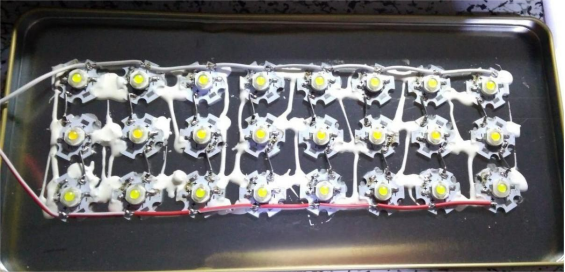
A diffusion panel can be added to the outer casing to soften the lighting at night and reduce glare.
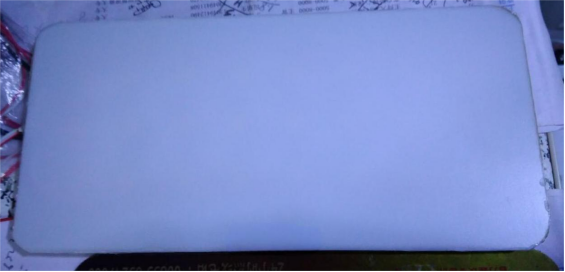
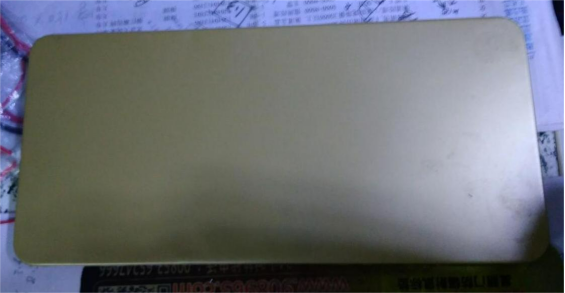
Here's how the setup looks when completed:
Core Components:
· PIR motion sensor module with an added photoresistor for light sensitivity.
· TPS61088 boost converter: At 1A, the temperature rise is about 40°C; at 1.3A, it feels hot to the touch. In standby (no motion detected), the module defaults to 3.6V output and draws only a few milliamps. When motion is detected, a pull-down resistor activates the circuit, boosting output to 11V with a standby draw of about 16mA.
· TP4056 charging module: Two modules are used in parallel, offering about 1.5A charging current for six parallel battery cells.
· Control interface board: Simplifies connections between modules. A single NMOS transistor is used to switch the boost resistor, allowing the system to jump from 3.6V to 11V.
· Battery pack: Consists of twelve 2500mAh cells—two sets of six in parallel, each with a protection board, then connected in parallel again for easier charging.
· Solar panels: Four panels connected in parallel can generate up to 2A under strong sunlight.
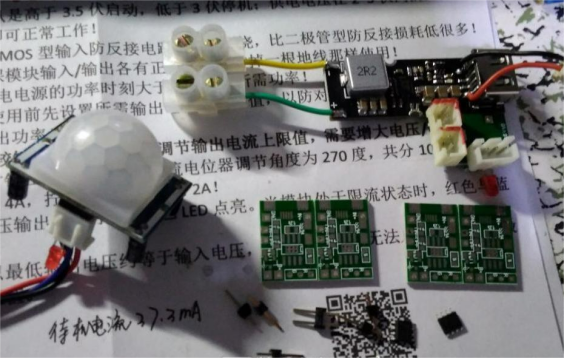
A picture above shows performance using another boost module, but standby current at 12V is 37mA—too high. The HT7167/HT7178 modules are pin-compatible with the TPS61088. HT7167 and TPS61088 support 13V at 10A, while HT7178 supports up to 20V at 14A.
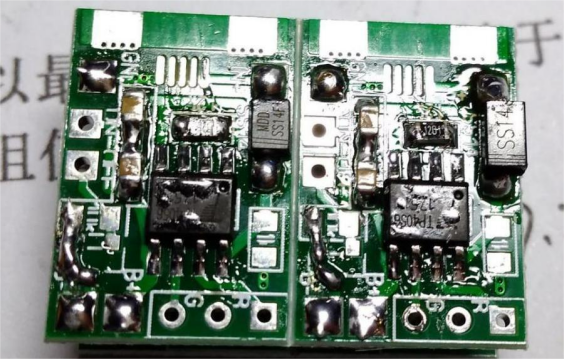
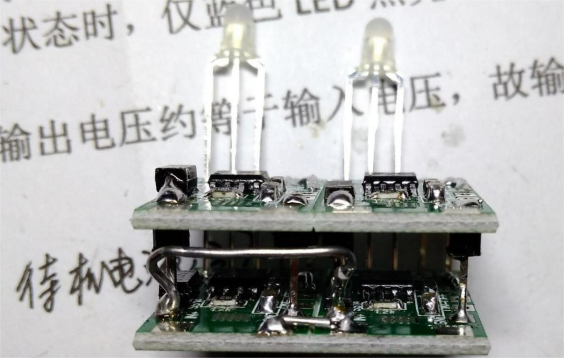
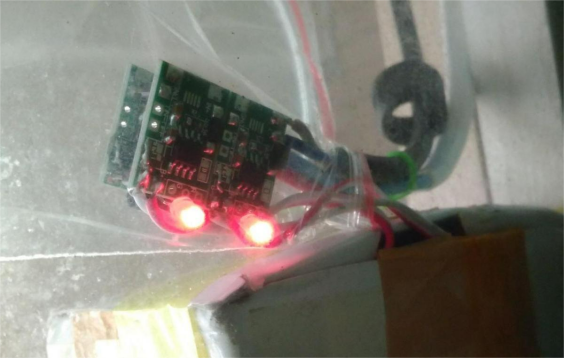
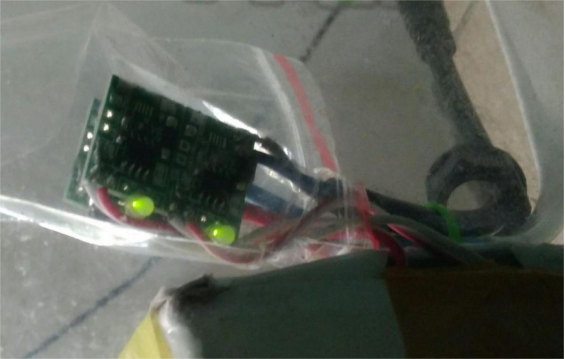
Charging status indicators are built into the system, as well as a full-charge indicator.
Installation Notes:
Use magnets to attach the casing—making it easy to remove and reinstall.
The boost module should be secured with silicone thermal adhesive onto an aluminum frame to aid heat dissipation.
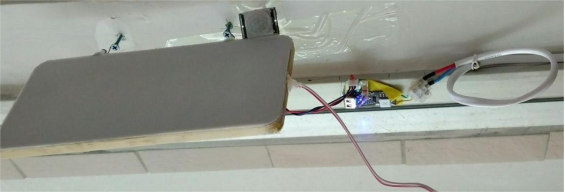
Here's what the lighting looks like when turned on:
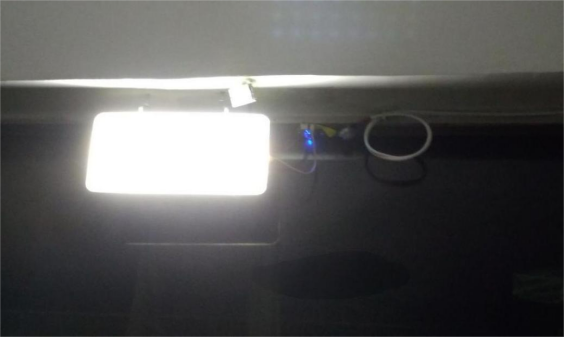
The system can function automatically via motion detection, so you don't need to manually turn it on. However, one downside is that extending the light-on time may cause false triggers—the light might turn off and then immediately turn back on. The LEDs can also run a bit warm.
If you'd like to improve it, you can increase the number of LEDs to spread the heat more evenly, keeping the temperature under 40°C. Switching to a 12V system without a boost converter also helps reduce false triggering.
As for how long the battery lasts without solar charging, that will depend on your actual usage—you'll need to test it yourself.


