
If you're interested in building your own mini DIY cutting machine, this article might just be what you're looking for.
During your DIY projects, you may have encountered a common problem: screws that are just too long. For larger screws, an angle grinder will do the job. But when it comes to M3 screws or smaller, things get trickier. That's where this battery-powered DIY cutter comes in handy—it's designed specifically to tackle those small, stubborn fasteners with ease.
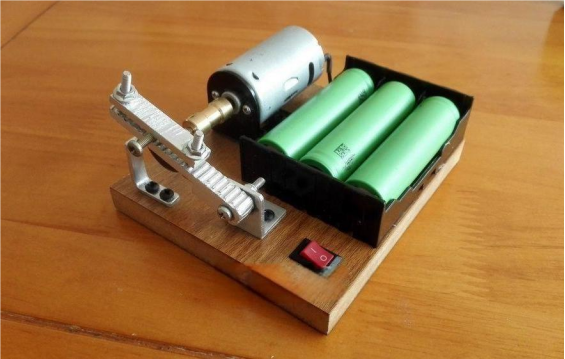
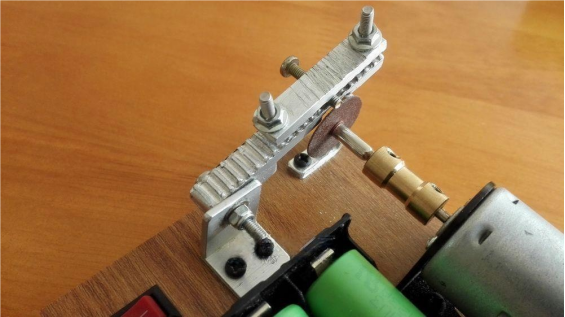
Since the items you'll be cutting are generally quite small, the design uses a fixed cutting disc with a movable workpiece. This simple setup makes it easy to build your own swinging arm for cutting.
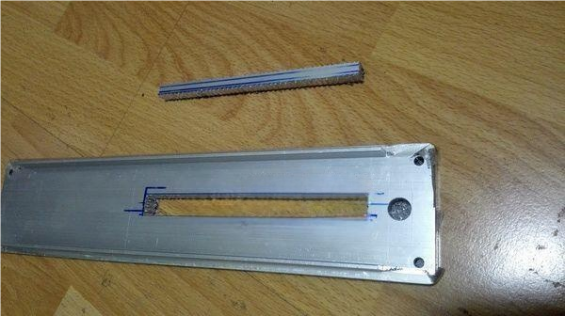
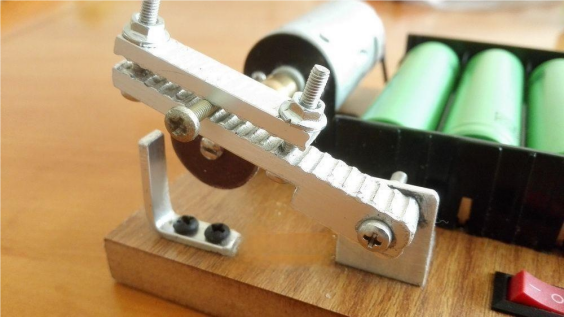
The groove on the top is perfect for holding the screw in place, while the L-shaped aluminum piece below the arm serves as a stop, preventing it from hitting the mounting screw that holds the cutting disc in place.
The cutter uses a 390 motor that spins at around 10,000 RPM. The cutting discs are inexpensive—about 30 pieces for a few dollars.
The swing arm includes two nuts to clamp the workpiece securely. The screws for these nuts are pre-fixed with glue, so all you need to do is tighten the nuts from above.
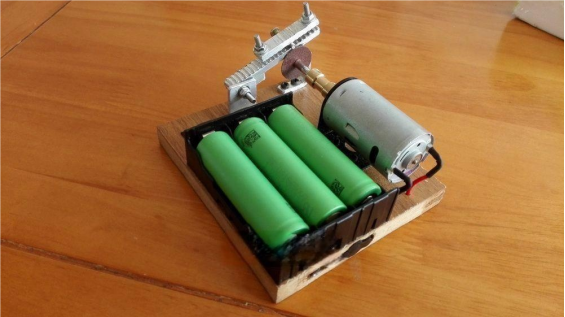
The base is made from leftover flooring wood, and the back side houses a 3-cell 18650 battery protection board. This particular board doesn't require activation charging—you can simply remove the batteries for charging when needed.
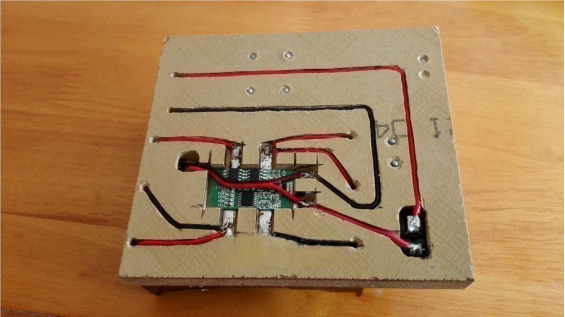
Alternatively, a 3S charger works fine too.
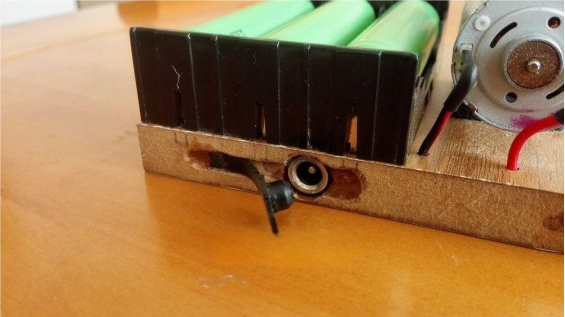
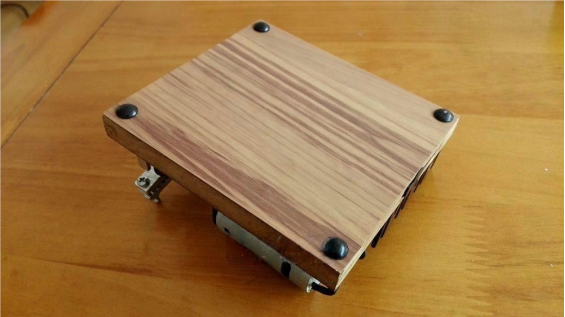
A PVC sticker is applied to the bottom for a cleaner look.
In the demonstration, M3 screws were cut easily. If you need to make the screw even shorter, just flip the orientation of the screw when mounting it.
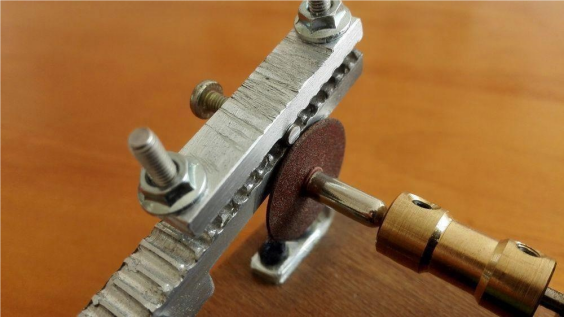
The cut is smooth enough to thread a nut on immediately. The cutting disc is quite durable, unlike rotary tools, where a shaky hand can easily shatter the disc.
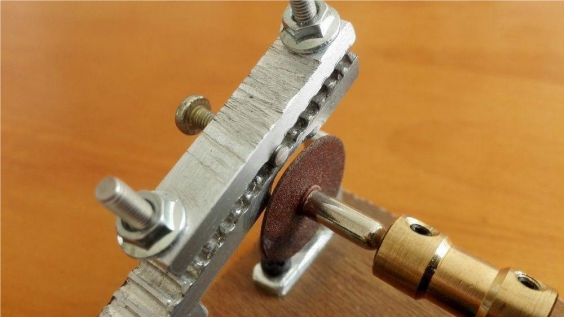
The cutter has handled M5 screws at most, though that takes a bit longer. For M3 steel screws, it takes around 10 seconds; stainless steel takes over 20. Still, it's far more stable than a handheld rotary tool.
Want to take it a step further? Here are a few suggestions for improvements:
· The saw blade shaft is connected to the motor shaft via a coupling, but the length can create leverage during cutting, leading to wear or even deformation of the motor shaft. You can add a bearing to the blade shaft and secure it with a bearing seat for better stability.
· Placing the saw blade below with the workpiece above is also an option, though it's not ideal—debris flies upward, and it's harder to control the cutting depth safely.
Also, since these cutting discs are prone to shattering, consider adding a transparent plastic bottle shield for added protection.
And that's it—project complete.


