
If you're interested in DIY battery modifications for a Philips shaver, this guide might be just what you need.
For Philips' low-end models that run on two AA batteries (or nickel-cadmium rechargeable ones), battery leakage often leads to corrosion on both contact points, with the battery cover usually lost over time. After several repair attempts—cleaning off the rust on the contacts—the battery connection still tends to be unreliable, and the plastic clips may already be broken. However, if the blades remain sharp and the noise level is acceptable, what can you do? If you're facing a similar situation, follow this guide to convert your shaver to a lithium battery rechargeable version.
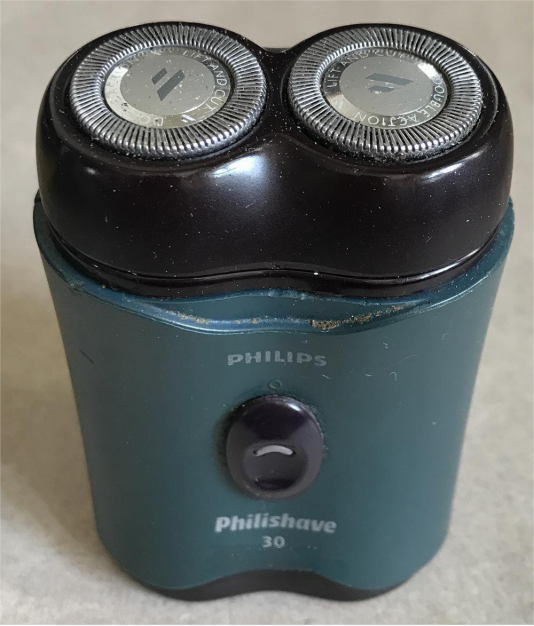
Here's the Philips shaver in question:
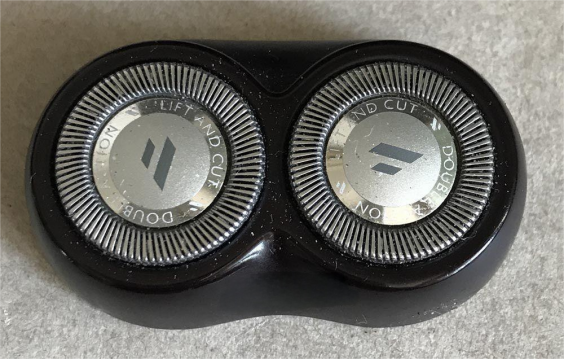
The blade assembly is shown below:
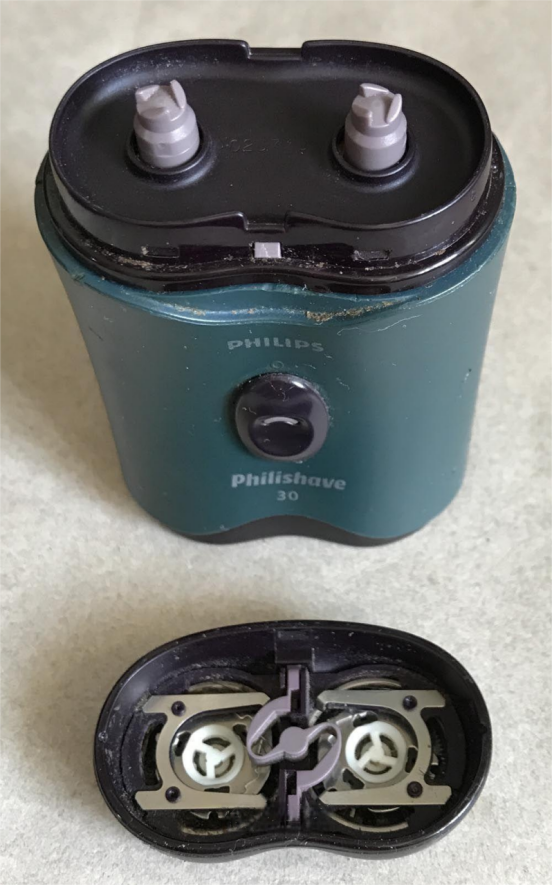
The motor sits between battery compartments on both sides.
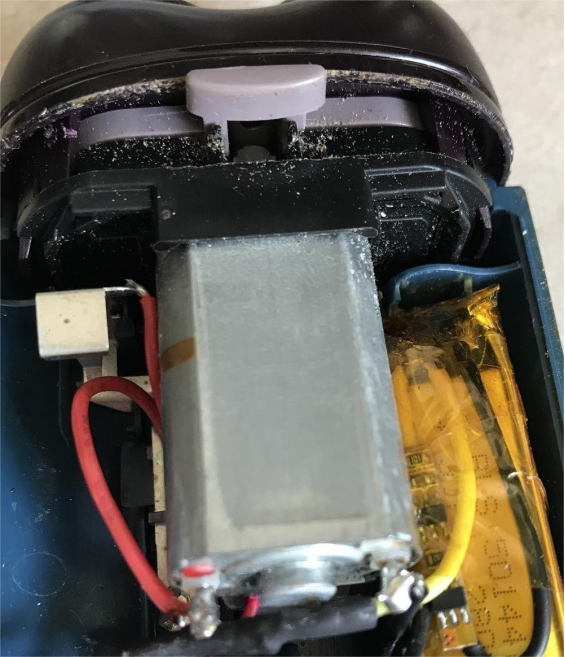
Each battery compartment can fit two cells from disposable e-cigarettes perfectly. Look for ones of similar length and wire them in parallel.
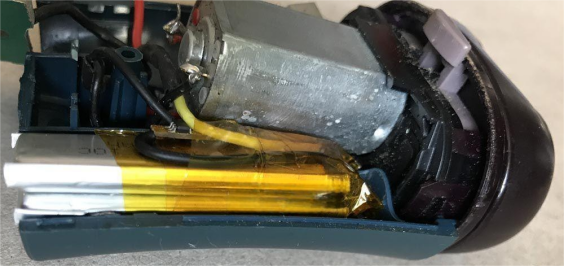
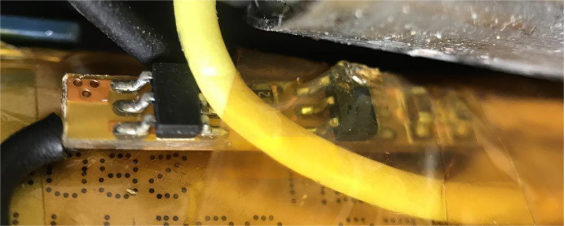
You'll also need to install a salvaged protection board to prevent over-discharge.
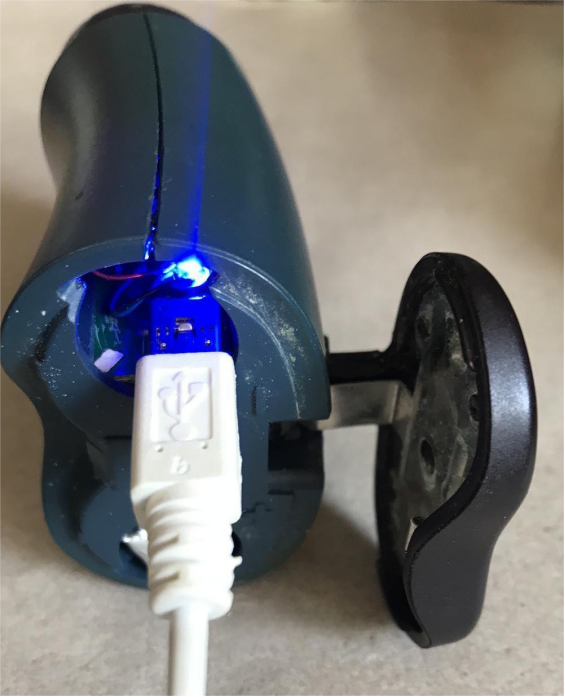
Prepare a mini-USB socket as well. Cut out a section of the shaver casing to fit the port accordingly. Use an airflow switch from a disposable e-cigarette to control lithium battery charging. The charging current is around 200mA. From tests, airflow switches can regulate charging, though their behavior varies slightly by batch: Some models display a blue light when plugged in, which stays on even when fully charged (but stops charging). Others light up blue during charging and turn off once fully charged.
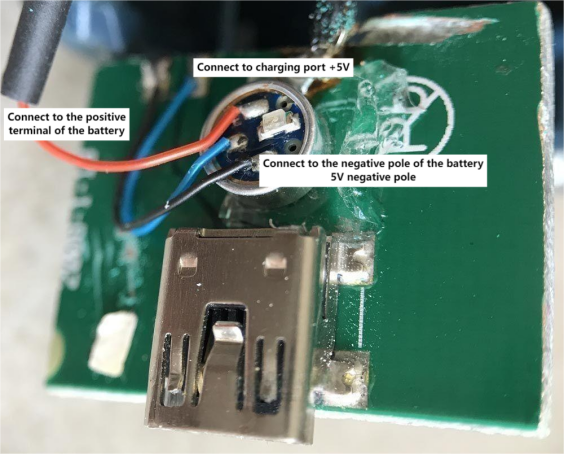
The latter half of the second battery compartment can house the charging board—it fits snugly in place.
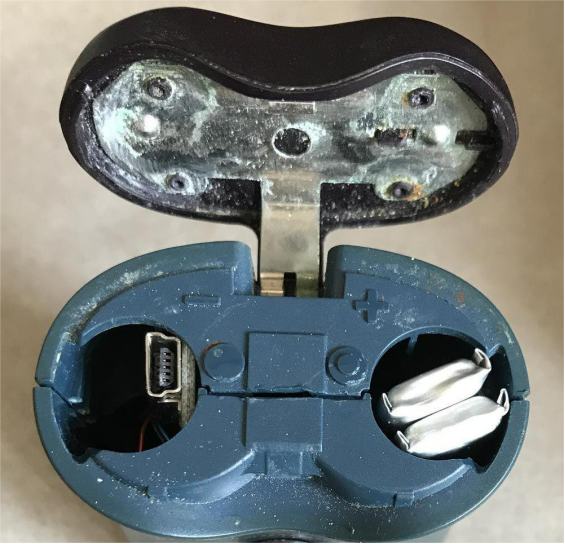
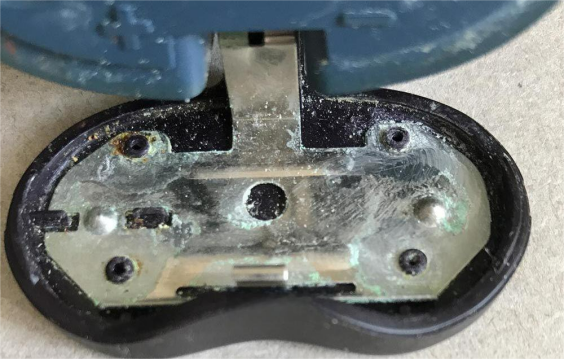
The following image shows the severely corroded battery cover.
Here's how the charging status looks:
And that completes the modification!


