
If you're interested in building your own DIY monitor, this article might be worth a read.
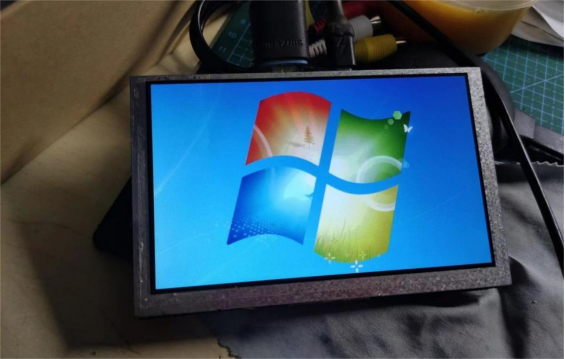
When your computer setup lacks a small-sized display, and working with two screens feels just a bit too cramped, what can you do? One solution is to repurpose a small LCD kit and turn it into a compact secondary monitor. Before diving in, it's essential to power up the screen and test if it works properly. Also, when connecting it to your computer, check the color rendering—if the display looks reasonably accurate with no major deviations, you're good to go.
Here's a look at the small LCD kit used in this project.
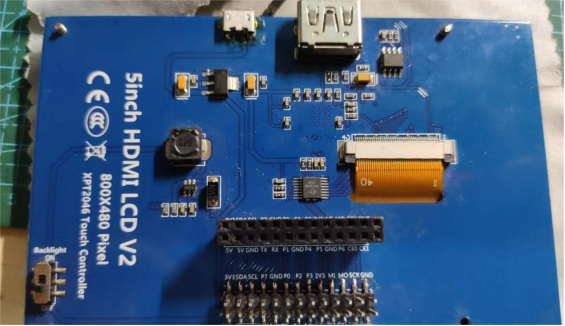
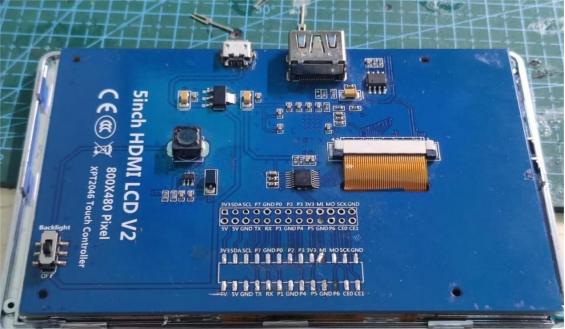
The back side of the display board, as shown, has a relatively simple layout.
If the touch panel is already cracked, you can just remove it.
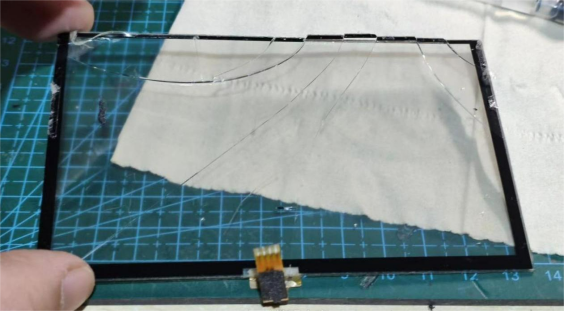
In this case, the upper-left corner of the screen shows some cracks, but they're stable—no spreading or leaking—and the display still works fine.
Peeling back the foam between the screen and the control board reveals the core components.
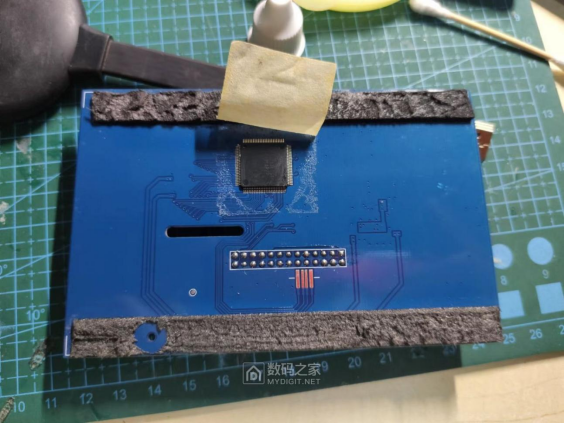
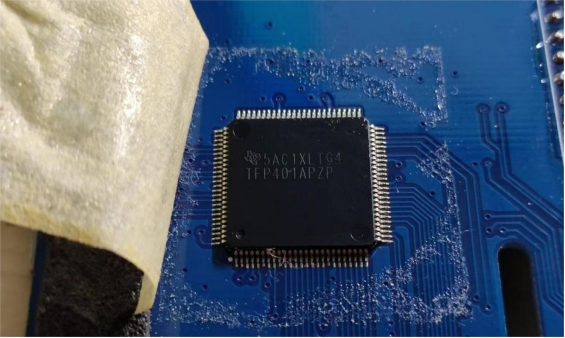
At the heart of the board are TI's TFP401 and TFP401A chips, which are part of Texas Instruments' PanelBus™ line for flat panel displays.
If you're considering building a custom enclosure and happen to have an old GPS device lying around, its casing and screen can be repurposed for this build.
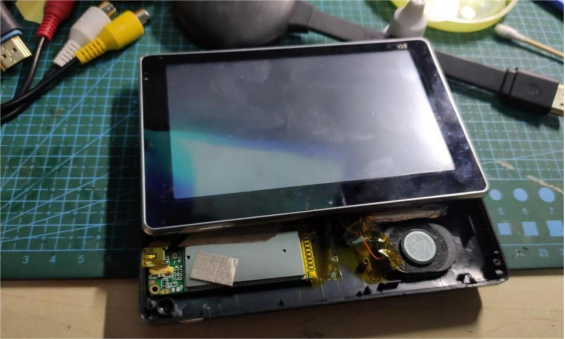
Once assembled, the outer structure is complete, and you can move on to modifying the internal layout.
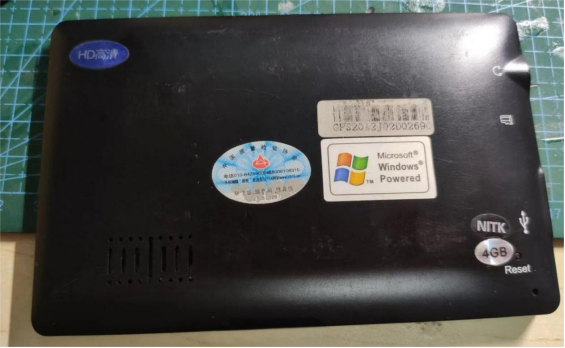
The GPS unit itself has a minimalist, modular design. The idea is to hollow out as much of the internal components as possible.
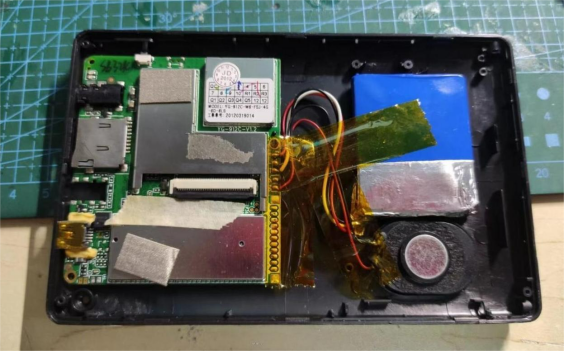
The original GPS screen—already tested for compatibility—uses a standard interface, and even includes built-in shielding from the manufacturer.
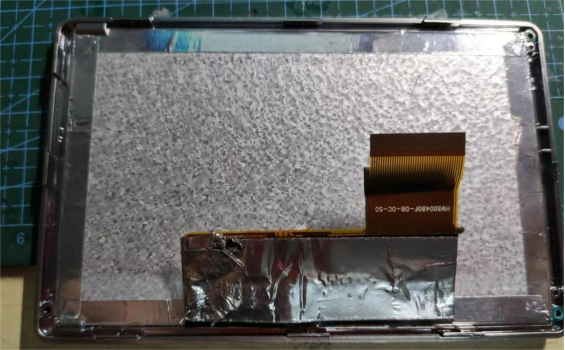
You can safely remove unused connectors from the small driver board. It's okay if a few pads lift off during desoldering, as long as those connections aren't needed.
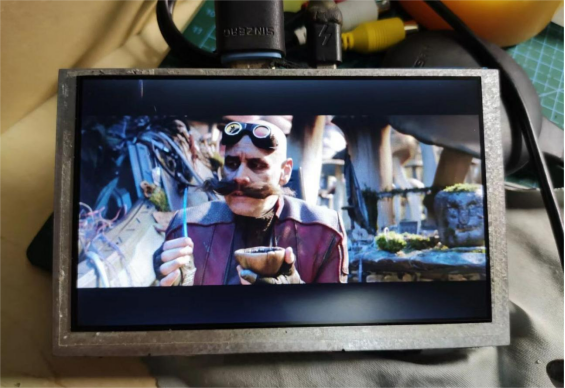
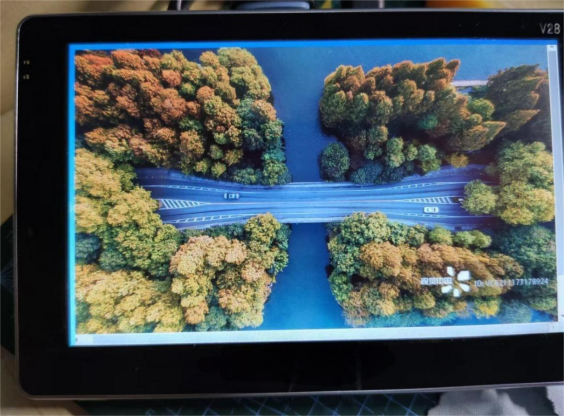
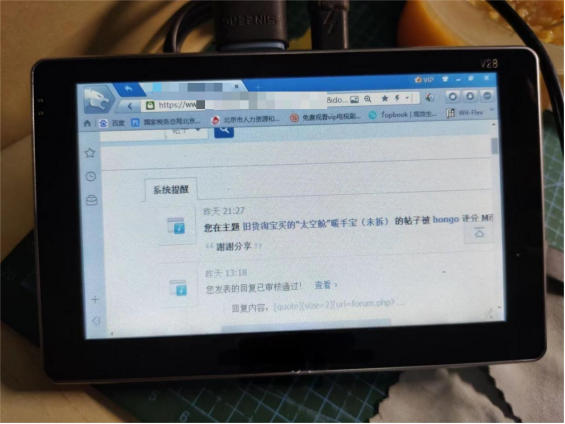
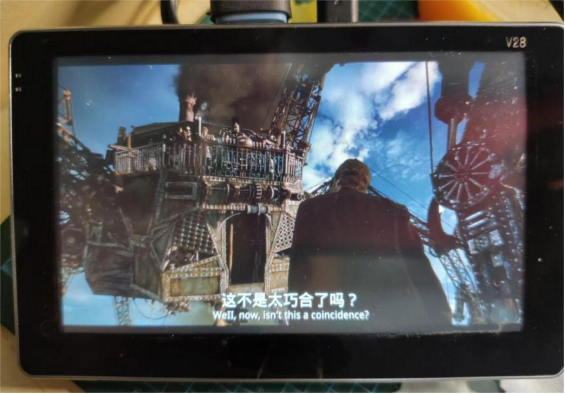
Here's a look at the test results. The network display image looks clear, web pages are rendered well, and even movie playback is smooth.
Basically, the goal is to strip out any unnecessary internal supports and hollow the case as much as you can.
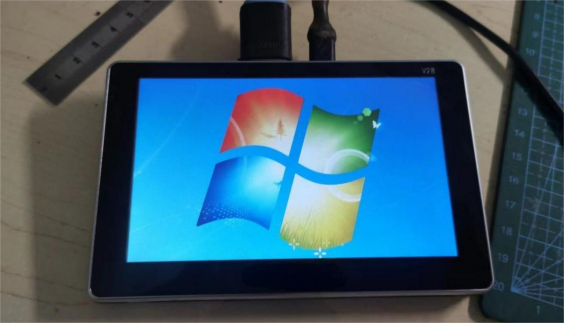
On the back, you need to make openings for the two ports and a power switch.
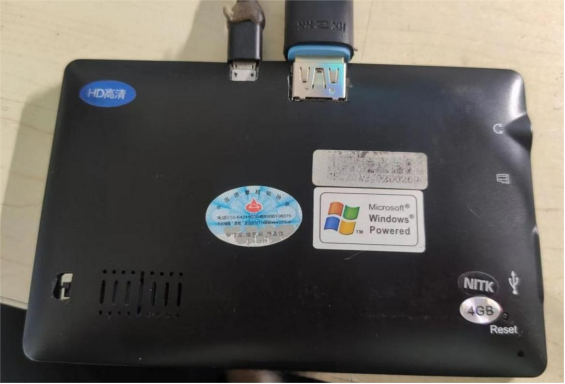
Once positioned, the final fit looks like this.
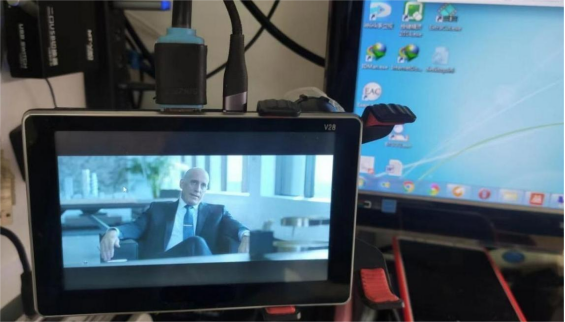
Then the DIY monitor is complete.


