
If you're interested in DIY karaoke machine chargers, this article might be just what you need.
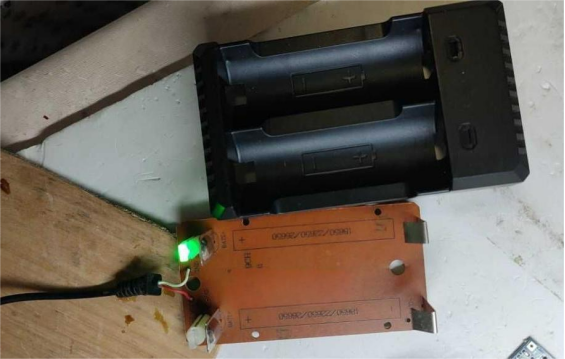
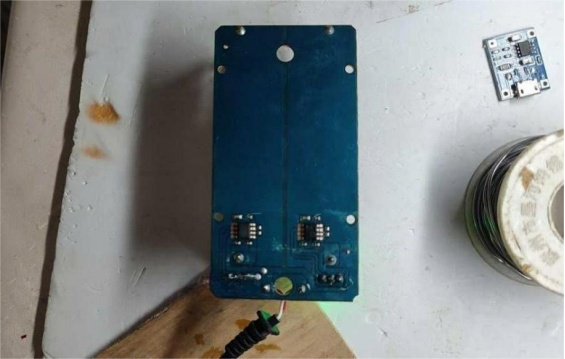
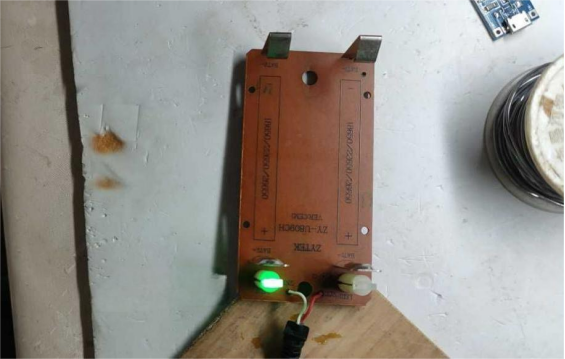
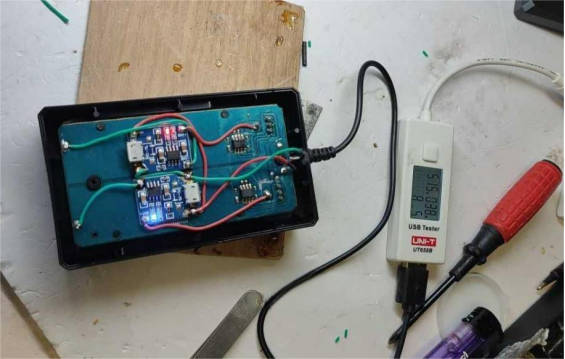
So, what do you do if the charger that came with your karaoke machine breaks? If that's your situation, you can try modifying it using TP4056 charging modules. You'll need two of these modules. A handy trick is to mount them on the back of the charger, then drill two small holes so you can see the indicator lights. Later on, you can even rewire the indicator LEDs to connect with the original three-pin LED on the charger for a cleaner look.
The original charger's integrated circuit isn't clearly labeled, but it's pretty basic inside.
This charger is designed to charge two batteries. You can connect a single 5V power supply to the input of both TP4056 boards, but their outputs remain separate. However, there's a catch: when you charge only one battery, the indicator light on the other TP4056 module flickers on and off. Even when the light is off, there's still voltage present.
Because of this, the best approach is to charge each TP4056 board separately with its own USB cable.
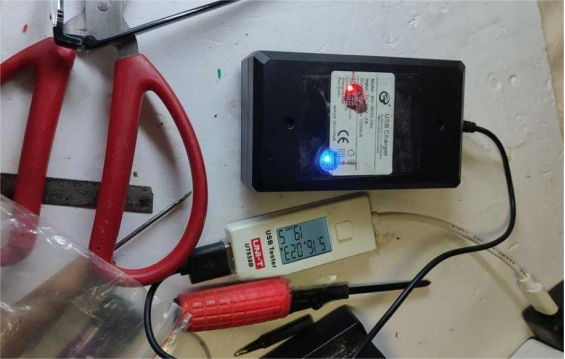
That's all there is to it!


