
If you're into DIY and want to fix your computer's motherboard battery, this post might be just what you need.
If your computer suddenly won't turn on — no display when you press the power button, no indicator lights, and it only boots after pressing the power key multiple times — chances are your motherboard battery is dead. If this sounds familiar, follow along and let's DIY a new motherboard battery together.
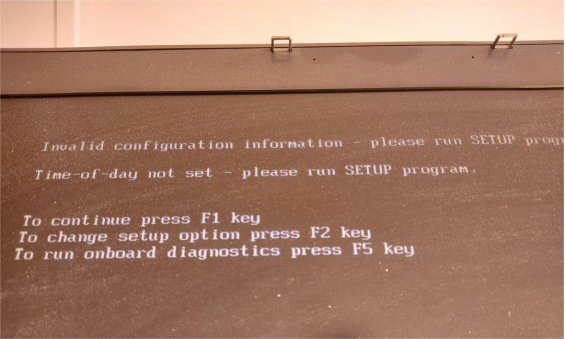
When the battery dies, your system clock resets to the factory date every time you turn it on, which often causes web pages to throw errors because of the incorrect time.
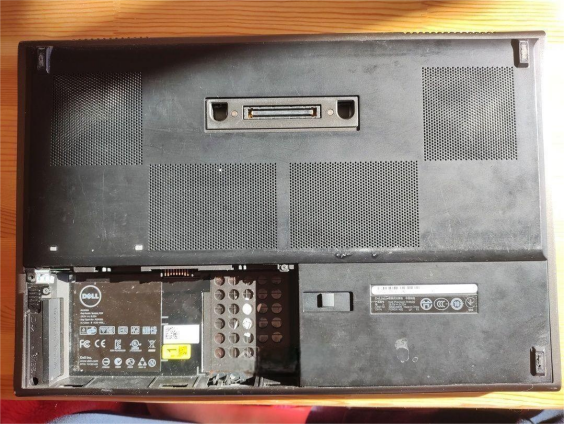
First, you'll need to open up your computer.
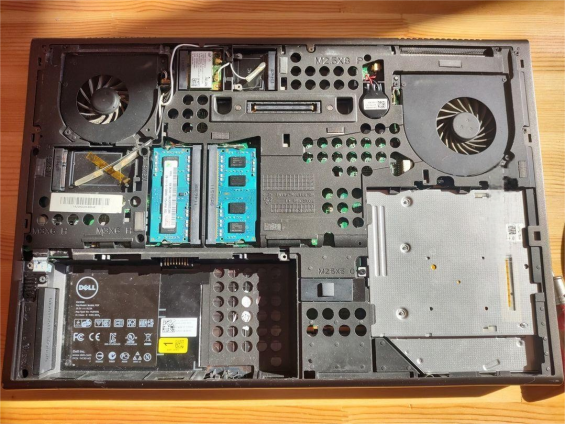
Start by removing the back panel of your PC or laptop. Locate the CMOS battery on the motherboard and carefully remove it.
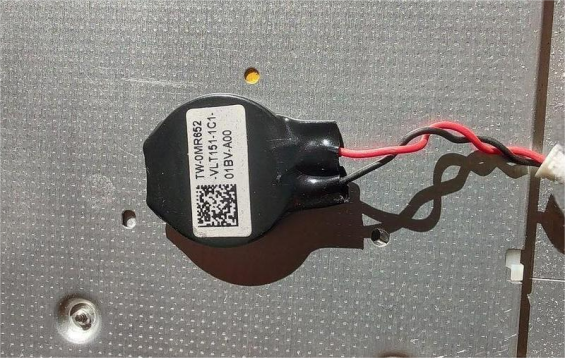
When you checked the old battery with a multimeter, it was only putting out 2.8V which is not enough.
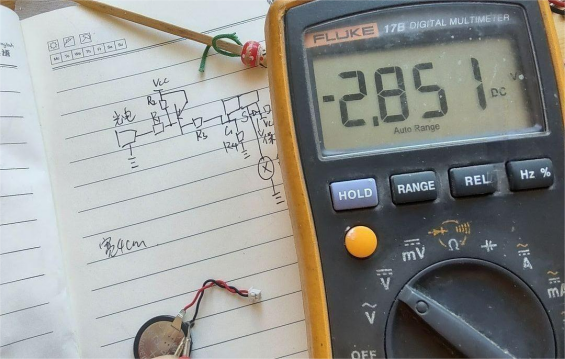
For a replacement, a common and affordable option is the CR2032 battery (the same kind used in many car key fobs). After testing a fresh one, and the voltage looked good.
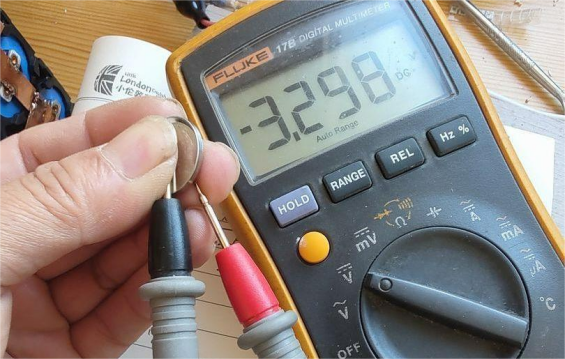
Since the CR2032 is thinner than the original, you'll need to do a bit of extra work. You could use a spot welder to attach the battery leads.
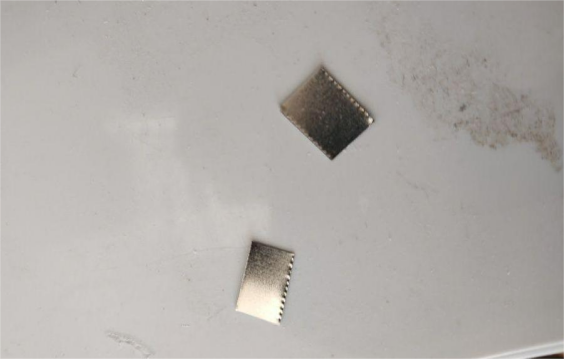
Before that, you need to sand the welding pins and trimmed a small piece of 0.15mm nickel strip to get the job done. Welding settings: 1ms pulse time, one cycle. The result was solid.
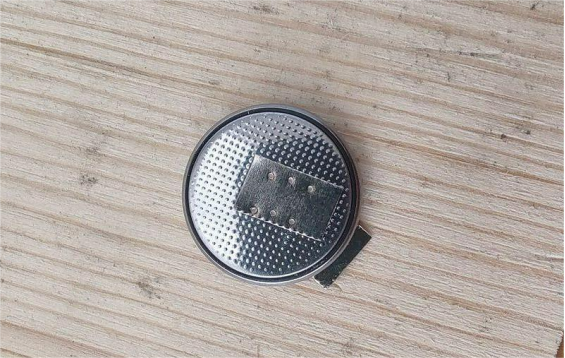
Next, detach the old wires from the dead battery and solder them onto the new one.
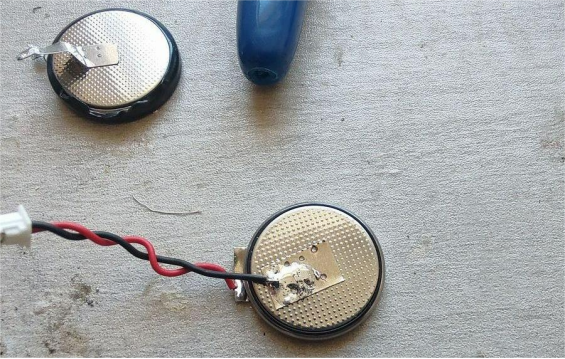
To make it safe, insulate everything with some high-temperature tape.
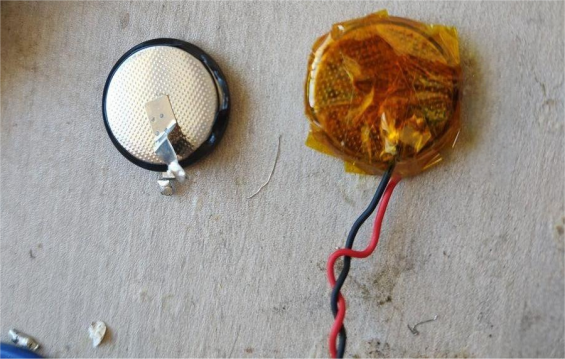
Once everything's secure, reassemble your machine.
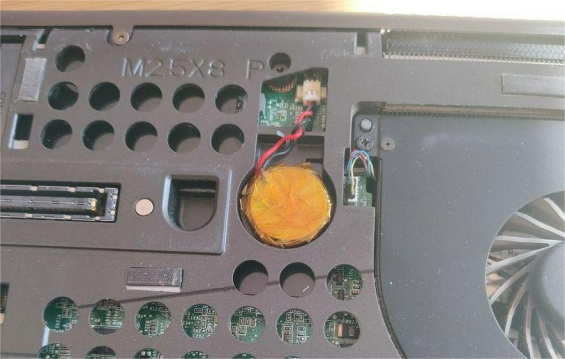
Now, power it on, reset the system time in BIOS or Windows, and you're good to go!
This DIY battery replacement should last you a while. And if you feel like it's not quite reliable enough, you can always buy an official replacement later on.


