
If you're interested in converting a DIY electric fan to brushless or replacing the bearings, this article might give you some useful tips.
The bearing modification part goes like this:
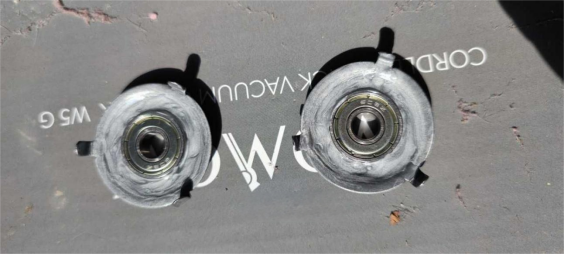
If you no longer need the original sleeve, you can glue the bearing to a cap using casting adhesive and use it as a bearing holder.
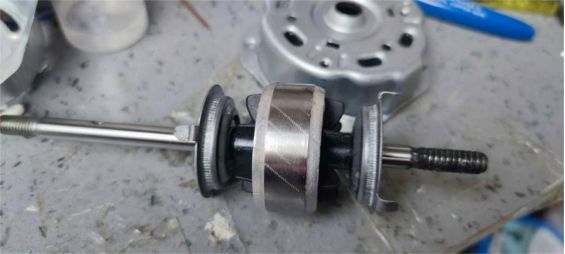
You need to install the bearing onto the rotor sleeve.
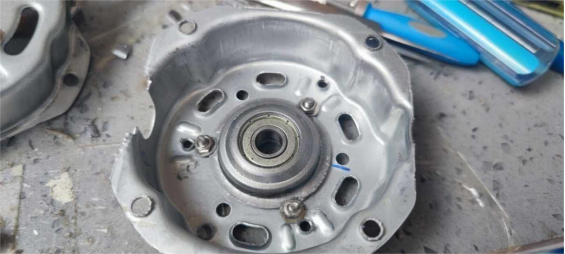
You can use three nuts to tighten and adjust the clearance of the bearing holder.
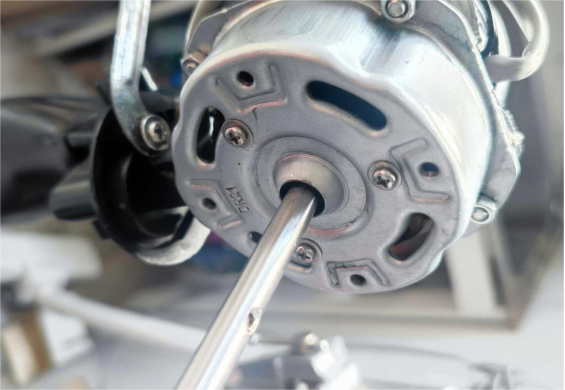
This completes the installation of the bearing section.
If the start winding of your fan is broken, and it's an aluminum wire stator, you can follow the next steps to convert it to brushless.
You'll need a brushless motor, which comes with two bearings: one 608 and one 688.
If you want to use the original oscillating mechanism, you'll need to replace the shaft as well. However, the inner diameter of the 688 bearing isn't 8 millimeters, so if it doesn't fit, you'll have to skip the 688 bearing and install a single bearing instead.
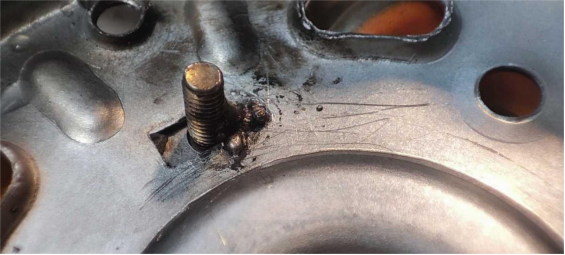
If the screws on the rear cover bearing holder stick out and interfere with installing the oscillating gearbox, you can sand down the protruding parts and then spot-weld the front while securing it with casting adhesive.
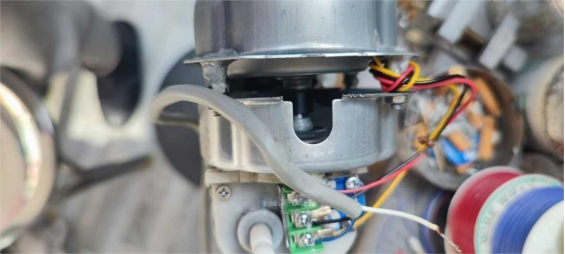
For the brushless assembly after replacing the shaft, you can DIY a bearing holder for the rear cover bearing. You'll still use two bearings.
Make sure everything is concentric. If the alignment is off by more than 1mm, the fan won't oscillate because the rear gearbox won't mesh properly.
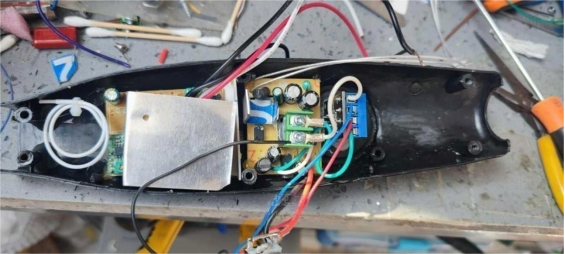
You can choose to add a remote control and an internal power supply. If you find that the power supply isn't strong enough and the highest speed doesn't work well, you'll need to replace the power supply.
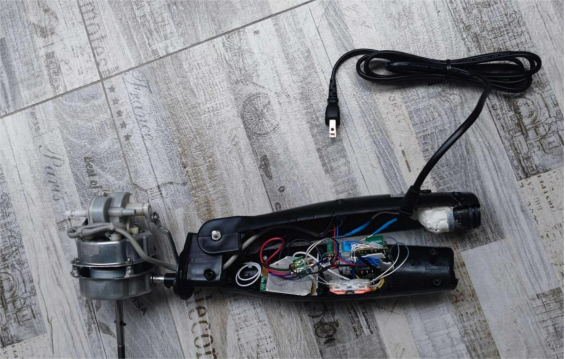
After replacing the power supply assembly, you should change the output Schottky diode to 30100. If the input common-mode inductor gets in the way, you can reposition it. You can use a brushed speed controller for speed adjustment.
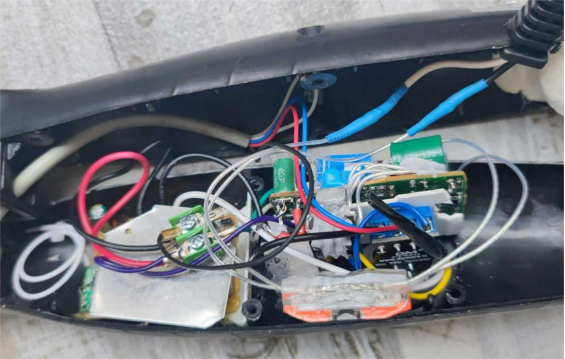
Once all the components are installed, you can close the cover.
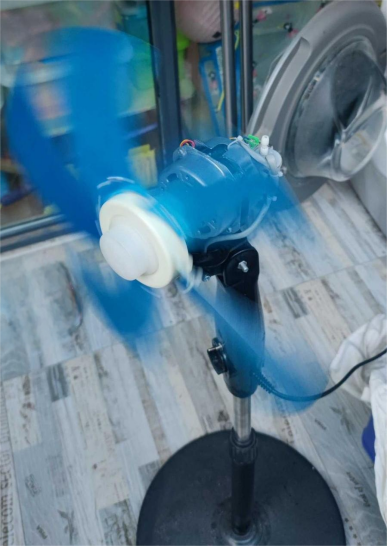
After testing, it works well. If needed, you can also pair it with a timer remote control.
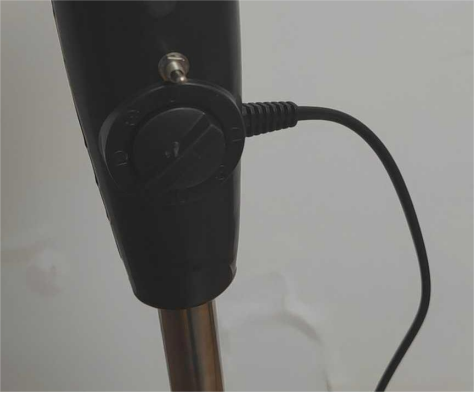
The speed knob stays as it is, and the switch on top lets you toggle between manual and remote control. If you don't have a remote, you can switch it to manual mode.
And that completes the entire DIY process.


