
If you're interested in building your own soldering station, you might want to check out this article. If you've ever disassembled a circuit board and run into large solder joints, and ended up burning or discoloring the board using a T12 soldering iron, this guide is for you. In that case, you can try using an advanced JBC soldering station. And if you also have an adjustable power supply, you can make it dual-purpose—plug it in for regular use, or connect it to a Worx battery when you're on the go.
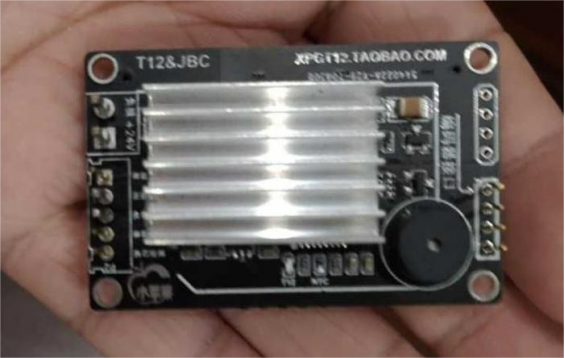
The main cost of a JBC soldering station comes from the control board and the soldering tip. If you're on a tight budget, you can simply modify a 616 T12 control board. But if you have more to spend, you can go for a digital display control board, which also comes with a sleep function.
Nowadays, JBC digital control boards are very reliable. If you're worried about OLED screens burning out, you can choose one with an LCD screen instead. The downside of LCD, though, is higher power consumption, which can put extra stress on the 7805 voltage regulator. So you'll need to add a heatsink to keep things cool.
To connect to a Worx base, you can modify a waterproof case. Using a transparent cover is handy because you can see the screen without needing to cut extra holes.
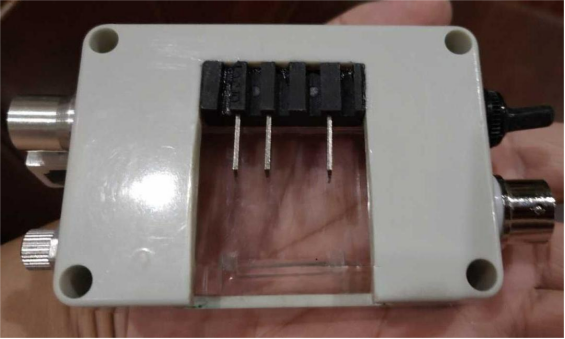
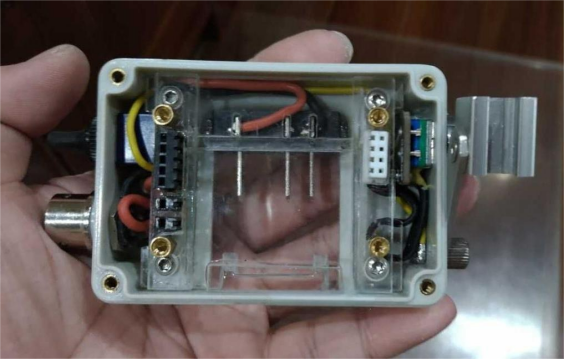
You'll also need a toggle switch and an auto-locking aviation connector. If you don't have those, a threaded locking connector works as well.
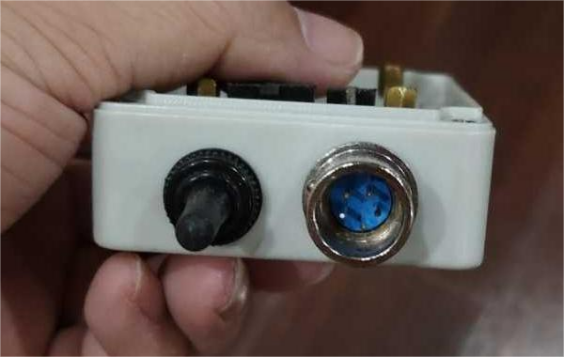
Here's what the finished product looks like:
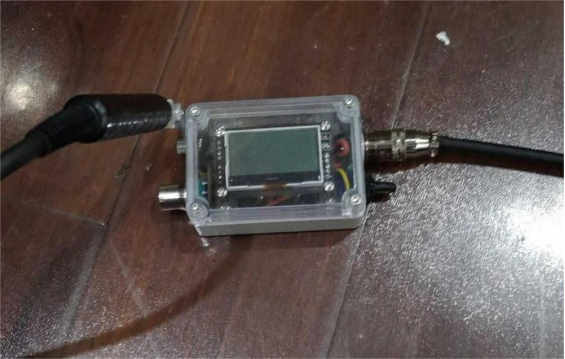
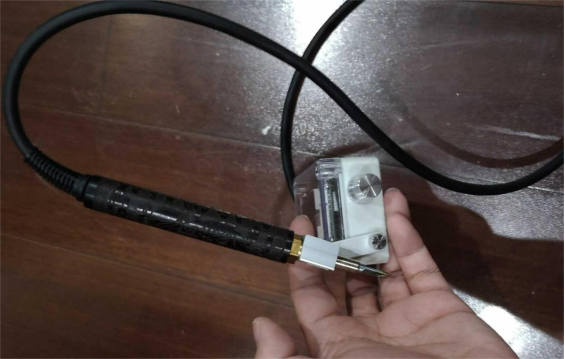
If you didn't make an extra sleep bracket, you can install one on the side to keep the whole setup compact and portable. For everyday use with a power supply, you can make a custom adapter using a Worx power supply case.
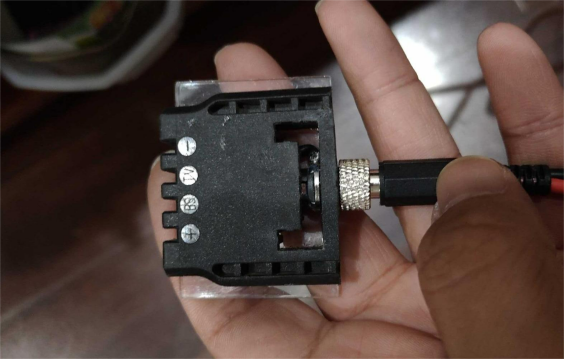
Here's how it looks when plugged in:
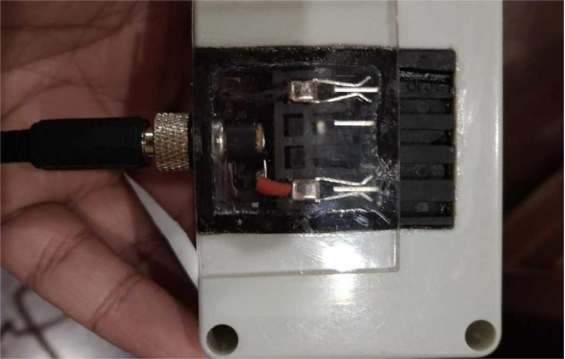
Finished!


