
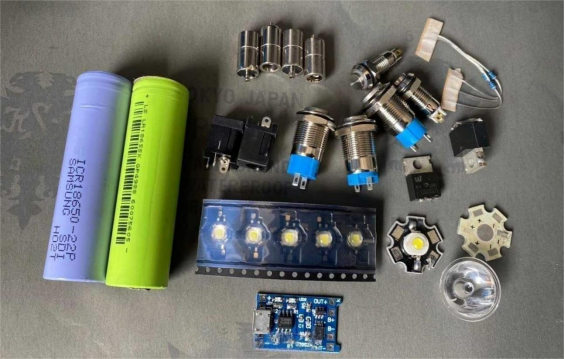
If you're into DIY flashlights, check out this article. You can prepare some stainless steel fittings and follow along to make your own. Here are the parts you'll need, as shown in the picture below:
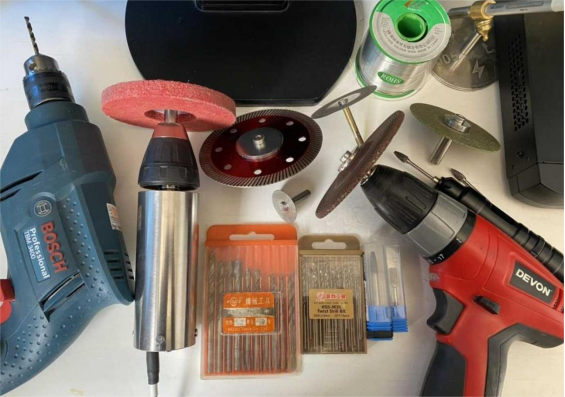
You'll also need these tools:
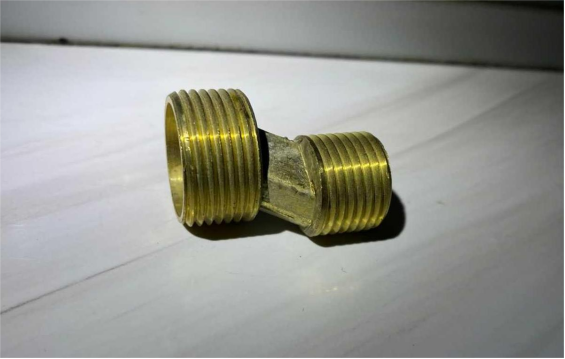
Additionally, you'll need a brass 6mm-to-4mm plumbing connector.
Next, get some stainless steel 6mm pipes. With an outer diameter of 26mm and a wall thickness of 2mm, this gives an inner diameter of 22mm. The 6mm pipe is the perfect size for using with 18650 batteries.
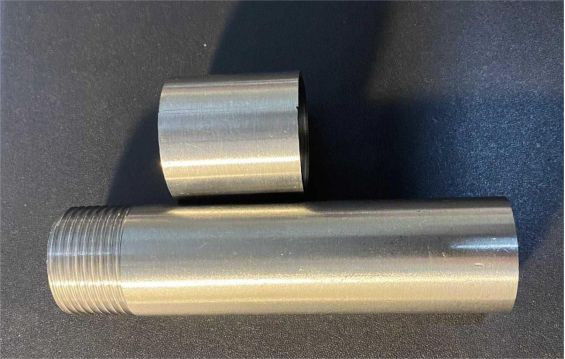
Then, you'll need to sand the pipe.
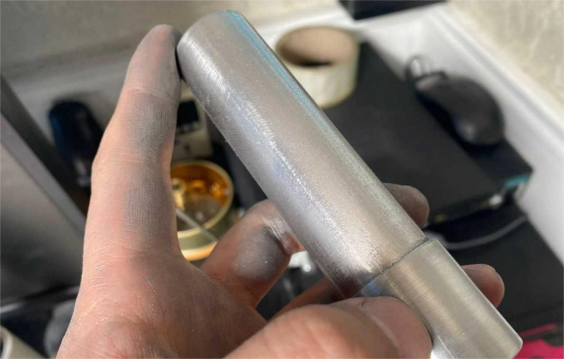
Start with a diamond file to smooth out any imperfections and bevel the edges, then use 180 grit for rough sanding. After that, move on to 800 grit for finer sanding, and finally, polish it up with a fiber wheel.
Now, let's get to the head of the flashlight. For the lens, you can use a PMMA lens—it's easy to work with. To fix it in place, use the brass 6mm-to-4mm connector mentioned earlier. After cutting the required parts, it should look like this:
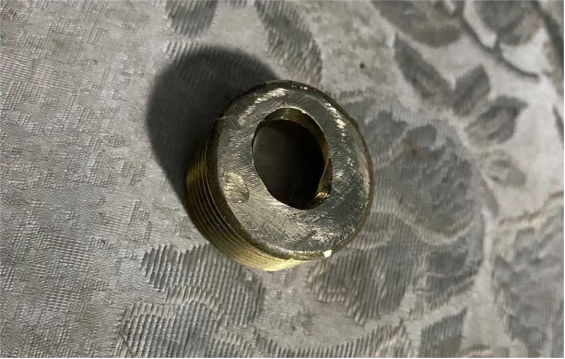
Make sure to sand everything down to the right fit, then install the PMMA lens.
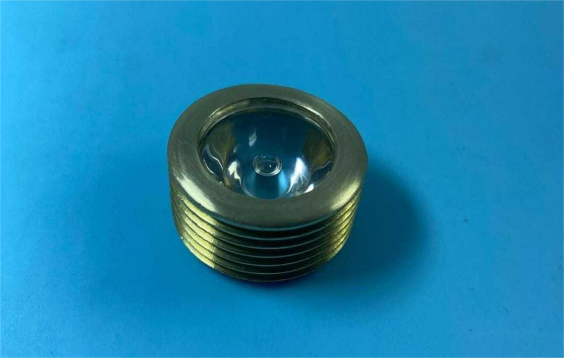
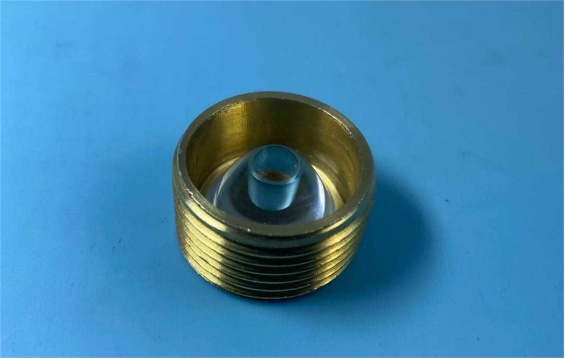
That's the head part sorted! For the LED, you can use the one shown in the picture below. It's a cool white light.
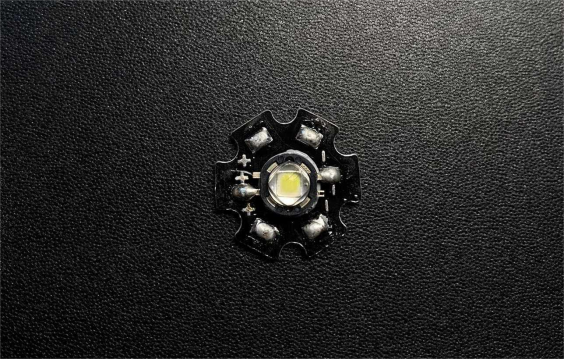
If you've got an old power bank lying around, you can use the batteries from it.
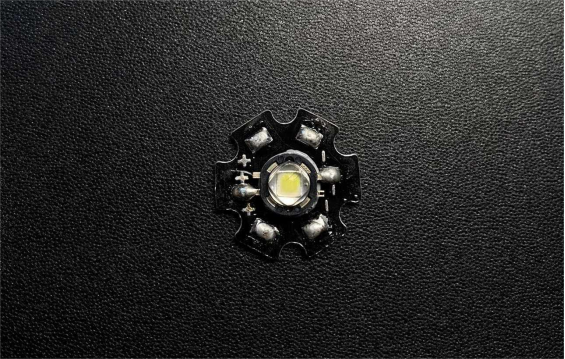
For the heat dissipation part, you can use a couple of game coin copper plates and sand them smooth.
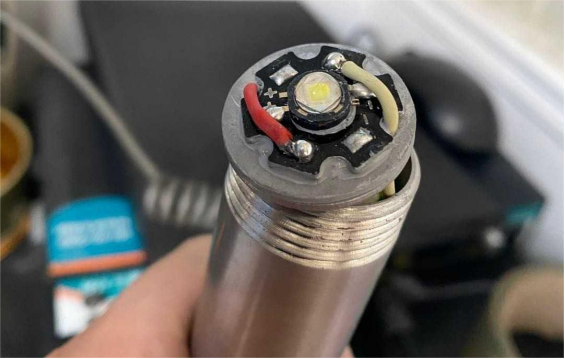
Use a silicone pad for insulation and cushioning.
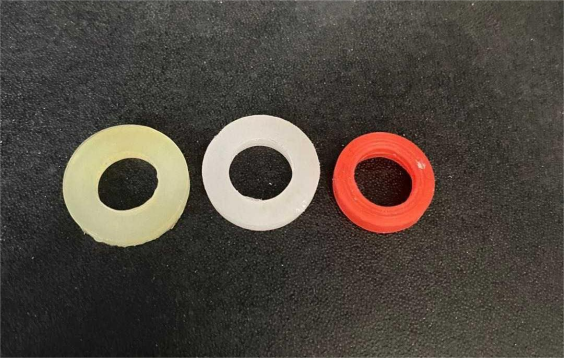
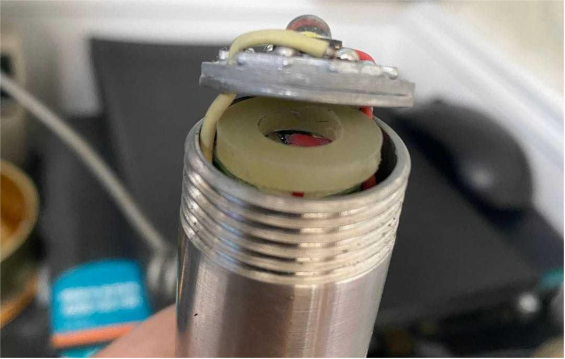
For the LED diffuser plate, you can cut a protective cover to prevent grease from getting on your hands or the PMMA lens.
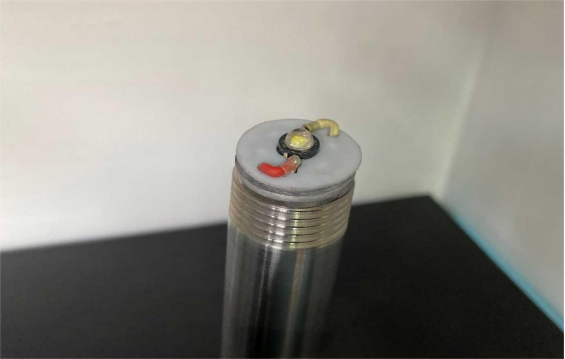
Next, sand down a stainless steel washer to use as the tailcap button cover.
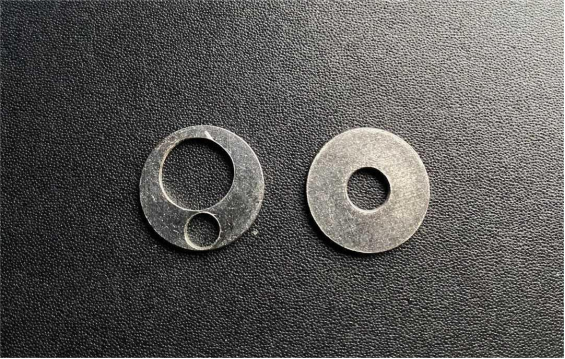
For the tail switch, use a metal button switch, a 5.5mm DC charging port, and an LED driver.
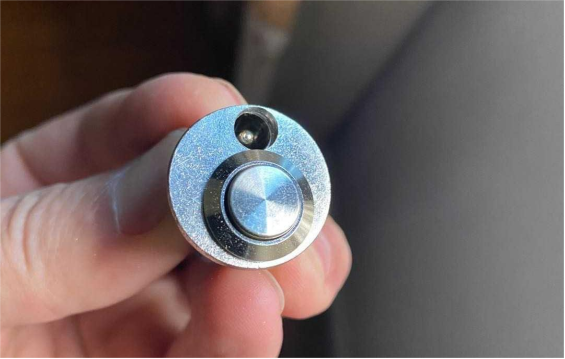
Once everything's done, you can test the assembly.
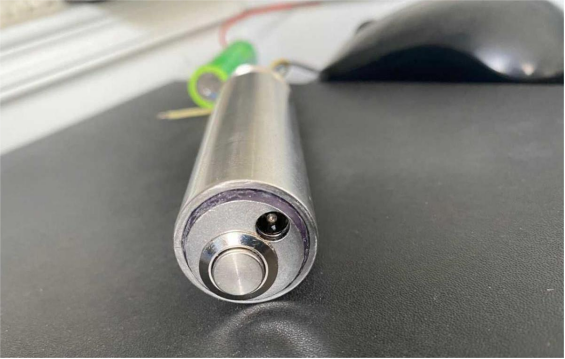
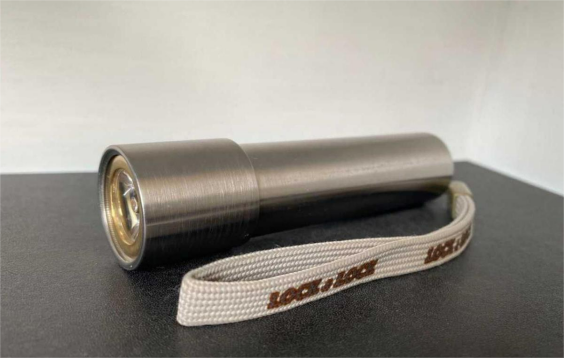
You can even add a lanyard.
When you turn the flashlight on, it should look like this:
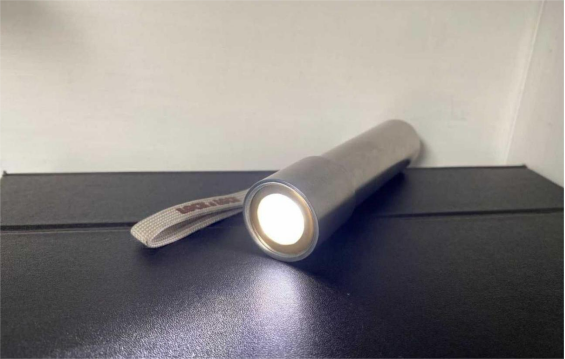
And you're done!


