
Usually, most fitness trackers only come with one dedicated charger. But if you have a Huawei Band 6 and don't want to carry the charger around, you might want to have one at home and one at the office. That way, you can charge it anytime, whether you're at home or at work. So, what should you do in this case? Check out this article, and let's use 3D printing to DIY a charging connector for the Huawei Band 6.
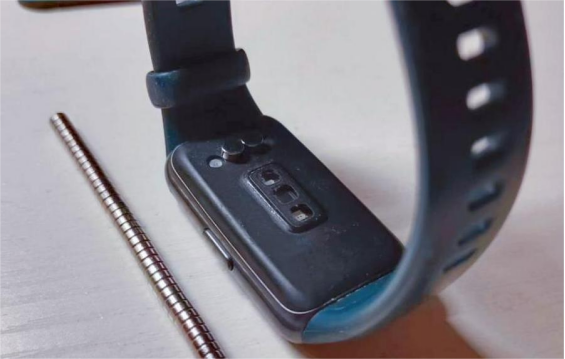
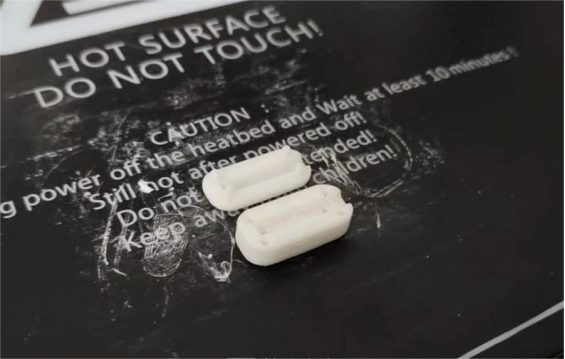
You'll need a thin magnet with a 5mm diameter. The magnetic force isn't very strong, so if that's an issue, you can use a 4mm magnet instead. Then, 3D print the model of the charging connector, like the one shown below.
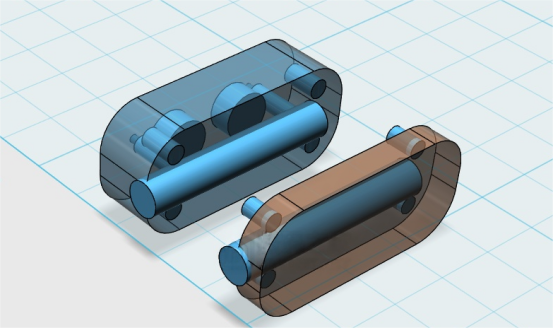
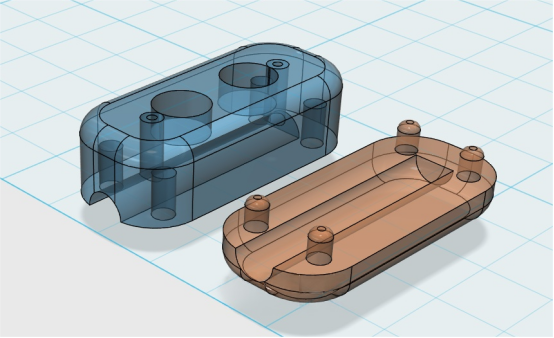
Here's an example of how the slicing software will look:
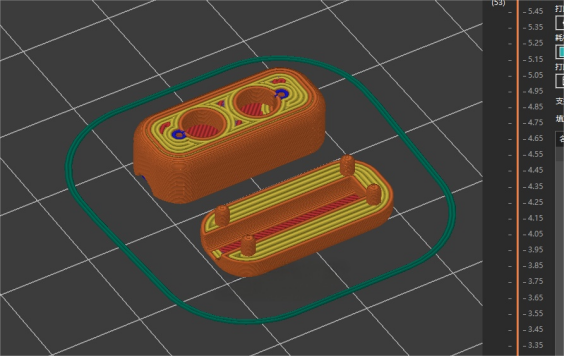
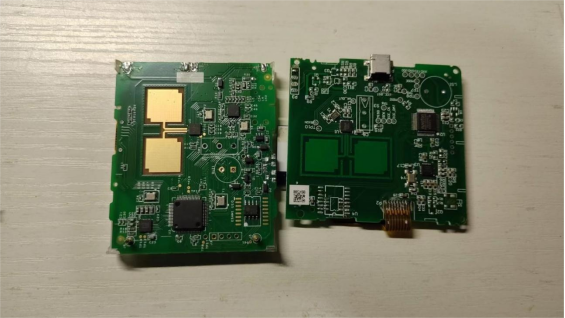
For the contact points, you can use spring-loaded pins that you've removed from an ETC device.
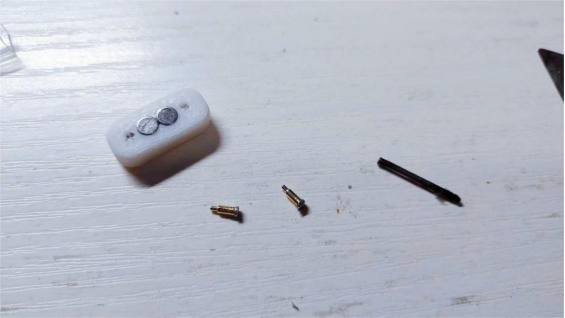
Next, you can start installing the magnets. If the position of the magnet isn't quite right, you'll need to adjust it gradually. Make sure not to heat the magnets during installation. Most 3D printed parts with metal components are pressure-fitted during assembly, and heating can demagnetize the magnets quite easily.
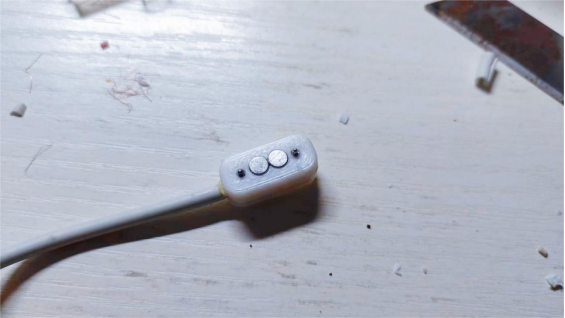
Now, install the spring-loaded pin. To avoid losing its springiness during the heat pressing, you can use a paperclip with a similar diameter to press the hole and install the pin.
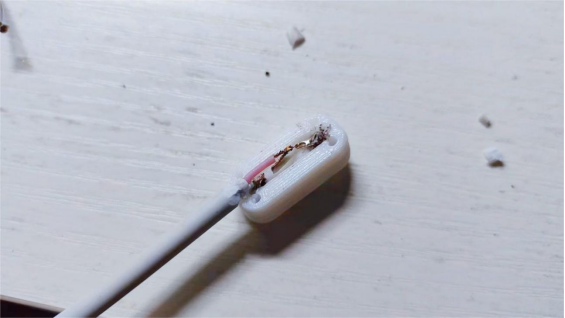
Before you solder the pin, remember to check the polarity. If you install it the wrong way around, you'll have to start over.
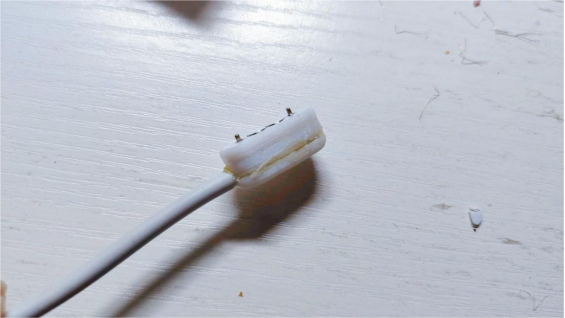
The two printed parts can be pressure-fitted, or you can use chloroform or other adhesives to bond them. If you don't want to fuss with that, you can just use hot glue.
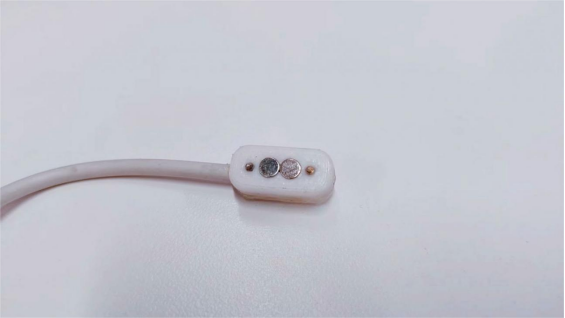
Here's what the finished product looks like:
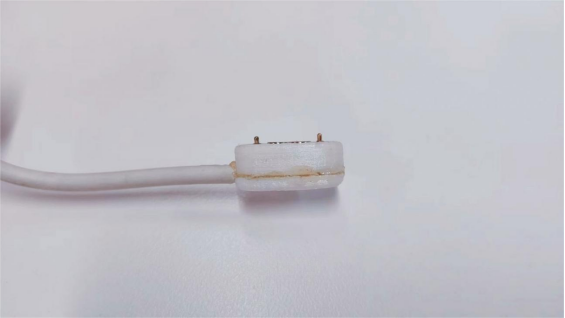
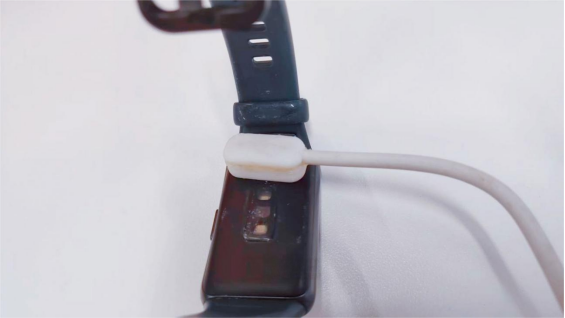
And here's the charging effect:
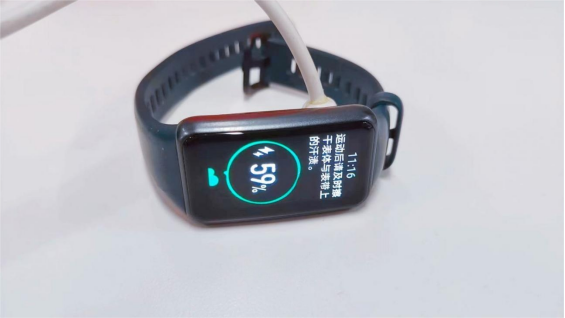
The magnet is really strong and super convenient.
Done!


