
If you're into DIY flashlights, this article might be just what you’re looking for.
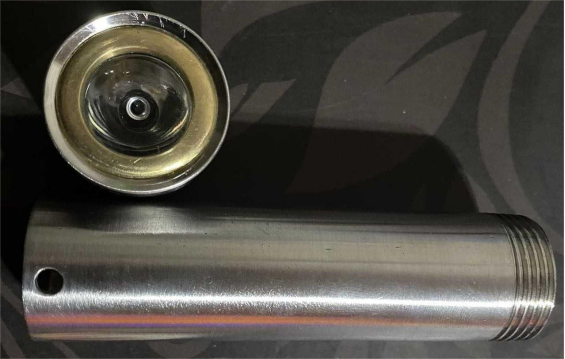
For this build, you'll need a 28mm 316L stainless steel inner-thread tube. During assembly, you might have to either sacrifice 2mm of the aluminum heat sink or grind off 2mm from the outer-thread tube to make everything fit properly.
You'll also need a bent copper elbow, as shown in the middle of the image below.
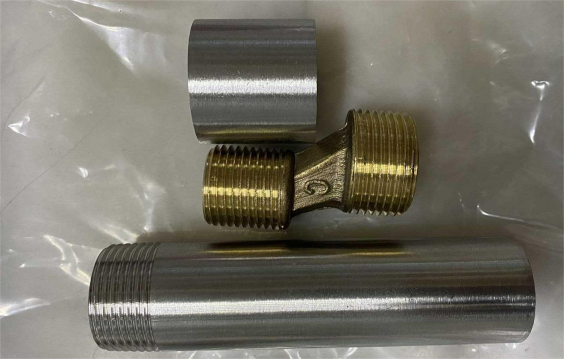
Make sure to machine the elbow as shown here:
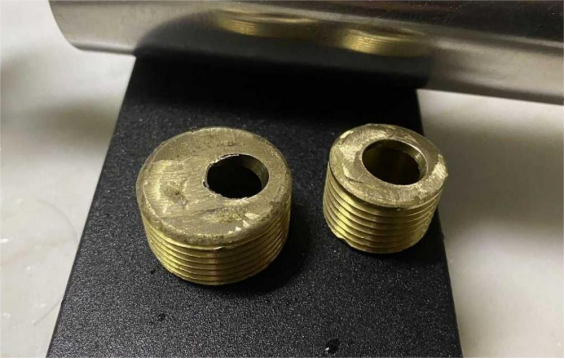
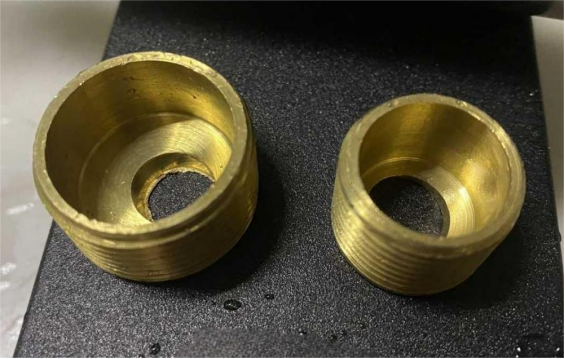
Once the elbow is finished and polished, you can do a test fit with the PMMA reflector cup to check if it fits snugly.
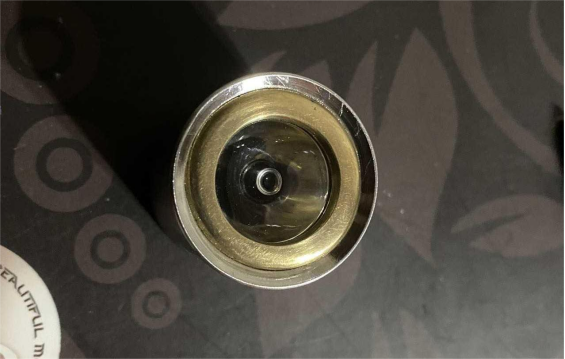
The following image shows some small internal components you'll also need to prepare.
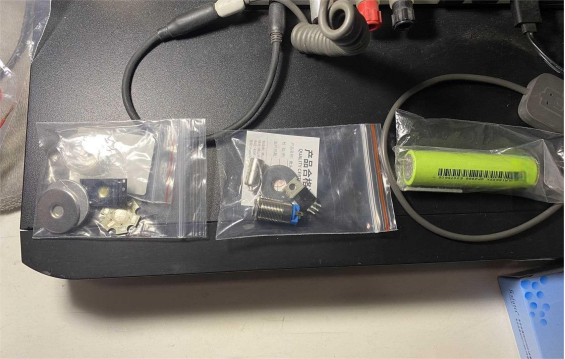
Next, you can move on to assembling the flashlight head.
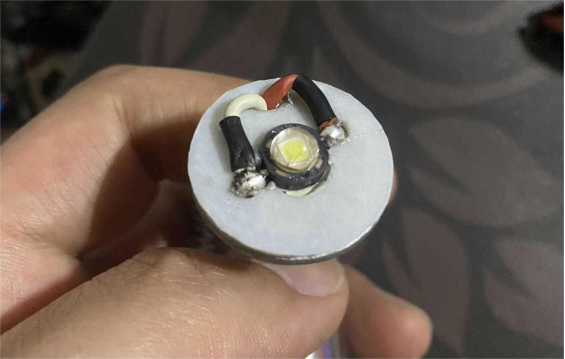
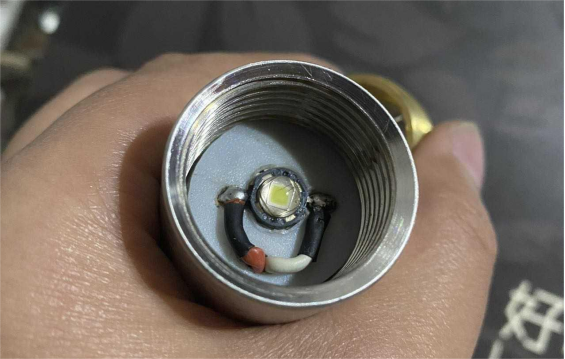
Here are the individual parts for the head section:
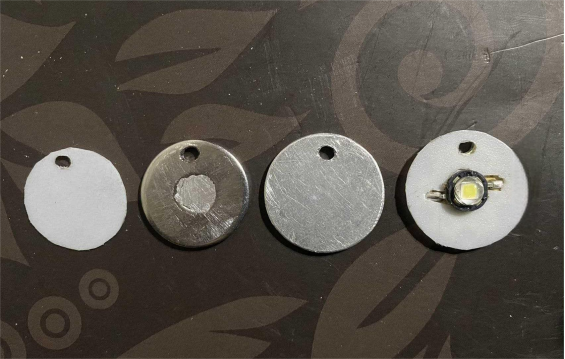
After gathering all the parts, apply thermal grease and start assembling the head unit.
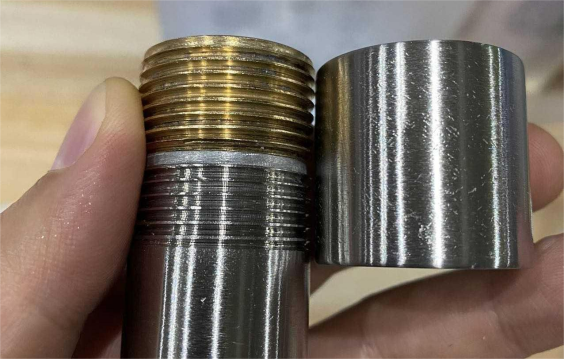
Then, it's time to work on the tail switch of the flashlight.
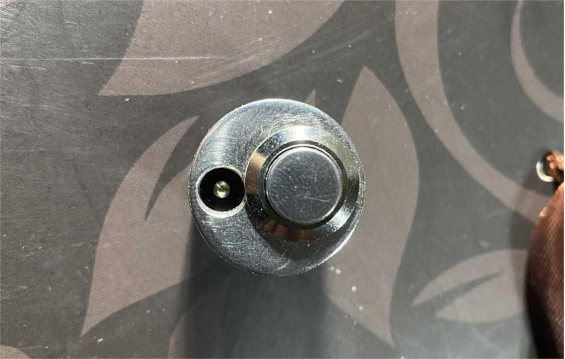
For the tail button, start with a washer as the raw material. You'll need to drill a hole first, then use a rotary file to shape it—it'll make the process much easier.
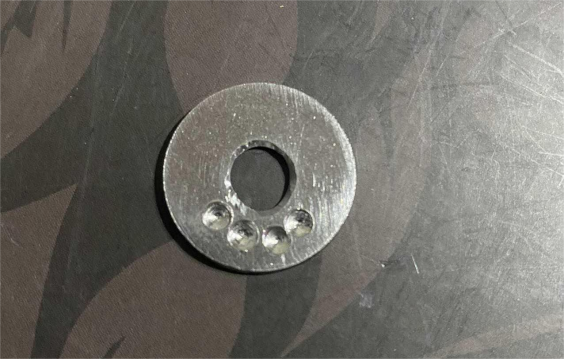
If you're worried about the battery pushing down and damaging the protection board when the flashlight is dropped, you can use a round negative terminal base. Another option is to attach the battery protection board to the side.
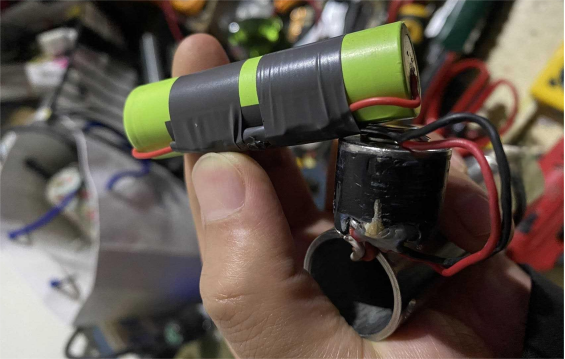
Once that's done, insert the battery and install the tail switch. You can also attach a tail strap, which will serve as a stopper.
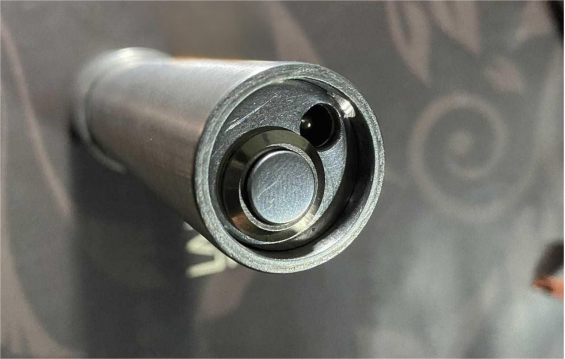
Here's the finished product after assembly:
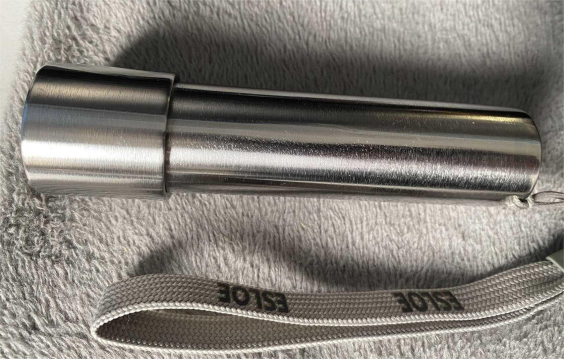
Done.


