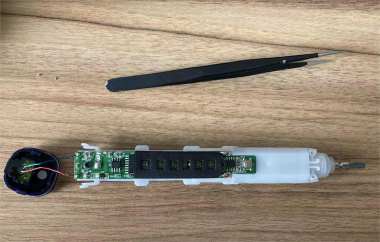
If you have a Haier KKC electric toothbrush and its mainboard is leaking electricity, you can follow this guide to DIY a fix. The Haier KKC electric toothbrush, model KB-760Dplus, was given to me a year ago. If it loses power after just a few uses even when fully charged, what should you do? If you're interested, keep reading.
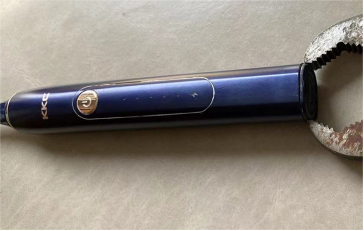
This toothbrush is taken apart from the bottom. You can use a big pair of pliers to grip the exposed 1.5mm tail cap at the end. Pull it out with a bit of force, and it will come off.
Once fully charged, the toothbrush works normally, but the mainboard leaks electricity, so after a few days it slowly loses power. After opening it, disconnect the negative terminal of the lithium-ion battery, which is at J2 in the photo, and soldered with an 800-yuan white-light soldering iron. Measuring the resistance across J2 shows 614Ω, which is not normal! You need to desolder the section highlighted in the picture below.
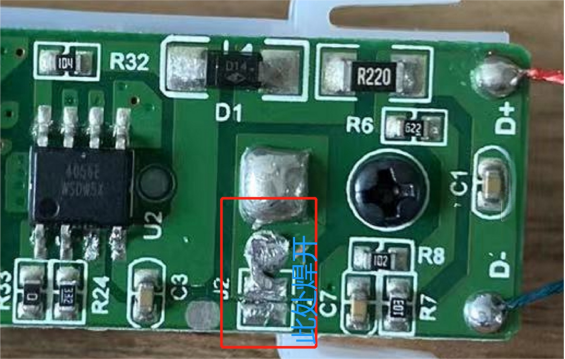
Use the toothbrush dipped in PCB cleaner to brush the mainboard. The resistance across J2 does not change. In such a low-voltage environment, capacitors usually don't fail. You can also check the circuit diagram for U2 4056E (the lithium-ion charging control IC). According to the diagram, pins 5 and 3 of U2 are directly connected to the positive and negative terminals of the battery. If the issue is with U2, you can desolder pin 3 with a soldering iron. If you test the resistance across J2 while pin 3 is disconnected, your multimeter set to 200K will show “1”.
Comparing it with another good toothbrush of the same model, the situation is the same, which means the problem lies with U2.
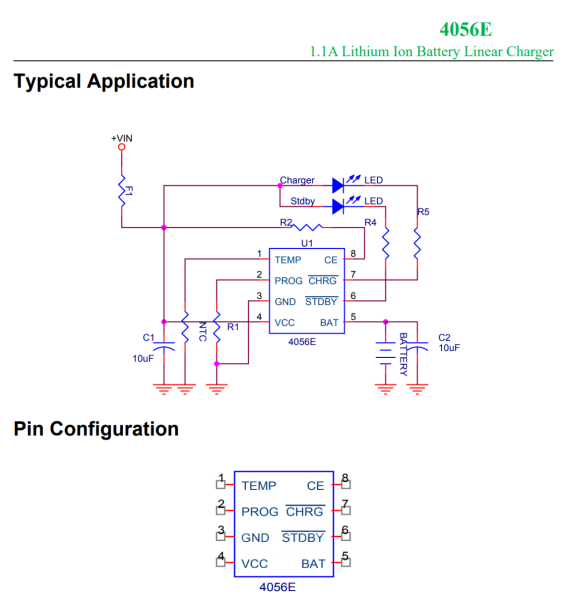
If you don't have a replacement U2 at the moment, you can temporarily bypass U2 and charge it using a flying wire.
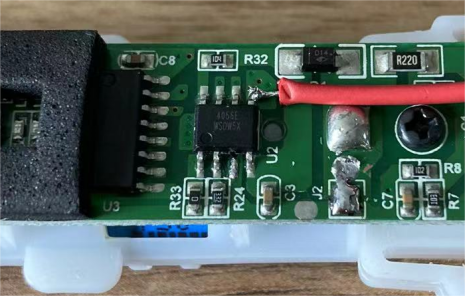
Next, apply some no-nail glue to prevent it from coming loose during use.
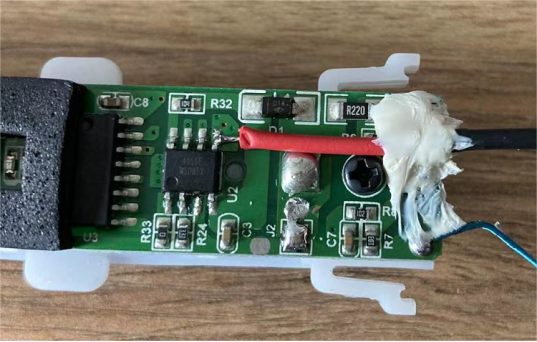
The overall appearance looks like the picture below.
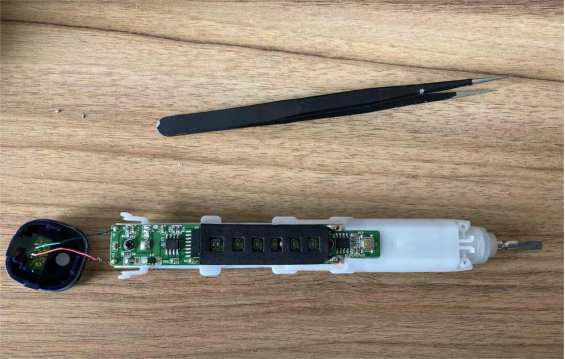
You can also DIY a charging dock by cutting a mini USB cable and testing that it charges properly.
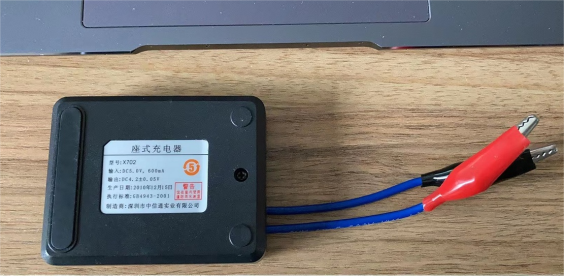
Done!


