If you're into DIY projects and want to try modifying your dashcam battery, this article might be just what you're looking for.
If your Pranger G80 dashcam battery no longer holds a charge after long-term use, and the dashcam powers off completely whenever the car is turned off, you can try following this guide to fix it yourself.
If your dashcam uses a battery like the one shown below, you'll need to peel off the plastic casing and solder the wires directly to the contact points.
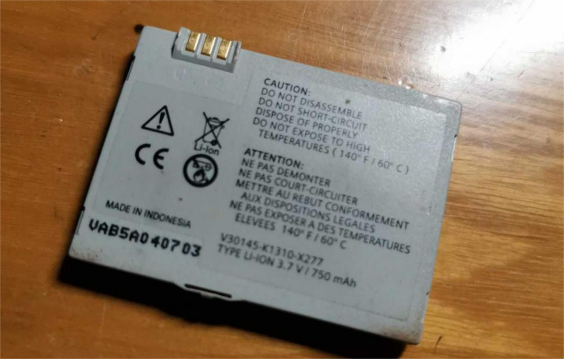
If you've replaced the battery with a new one but it still won't hold a charge—even after plugging in a 5V power source overnight—and the next day it's still dead, try charging it directly through wired contact. The new battery should charge this way, but most likely, the issue is with the dashcam itself. For example, if the power is connected but there's no voltage at the battery's solder points, it means there's a fault in the dashcam's circuit.
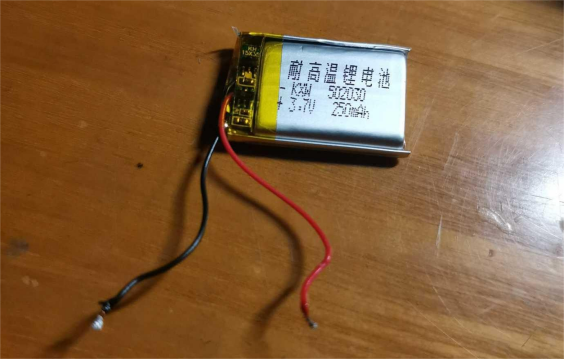
If the mainboard's charging circuit is faulty but the dashcam can still remember the date when the battery is connected, that's good news—you won't need to waste another new battery.
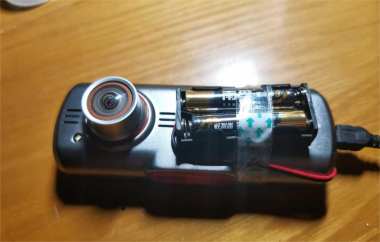
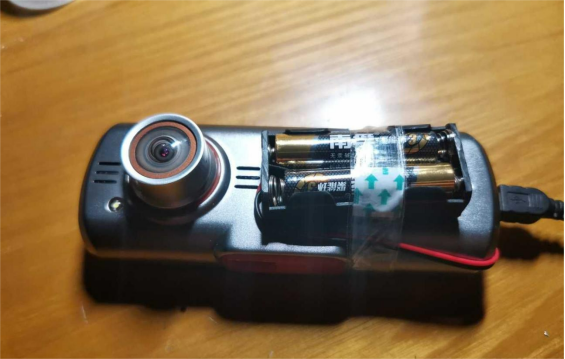
You'll just need a battery holder, install two AA batteries (like Nanfu), solder the connections, and test it. If the dashcam can still record the date after shutting down, you're good. If you happen to have an extra headphone jack that you can use for wiring, that'll make things even easier.
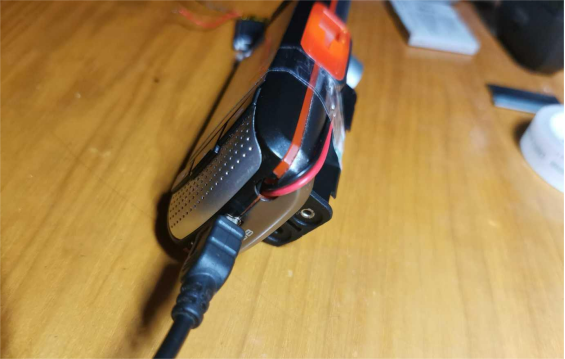
For fixing everything in place, you can use a hot glue gun or just secure it with clear tape, as shown in the picture below. This setup also eliminates any worries about lithium battery over-discharge—just replace the AA batteries when they run out.
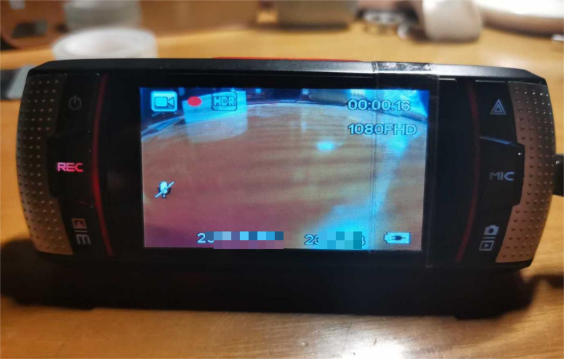
And that's it! Your dashcam modification is complete—you can now install it back in your car.
The 3V power supply can keep the clock running, but if you run into a shutdown issue, you might need to tinker with it a bit to solve it yourself.
Done.


