
If you're interested in converting a DIY TV Bluetooth remote to use a rechargeable lithium battery, this article is worth checking out.
The Xiaomi TV 2 comes with a Bluetooth remote that uses a CR2032 lithium battery. The problem with this battery is twofold: first, its capacity is too small, and second, replacing it can get expensive. If you have a similar Bluetooth remote and don't want to keep swapping batteries, you can follow this guide to convert it to a rechargeable lithium battery.
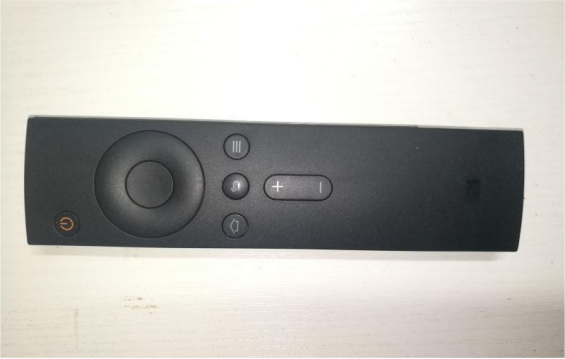
The front of the remote looks like the picture above.
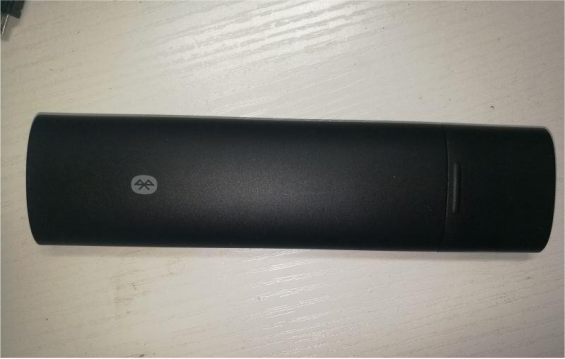
The back looks like the picture above.
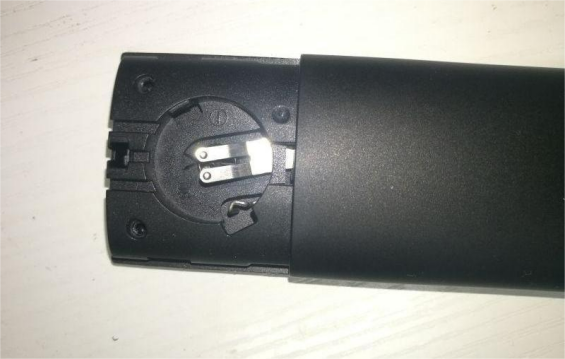
As shown above, the battery compartment uses a CR2032 lithium battery.
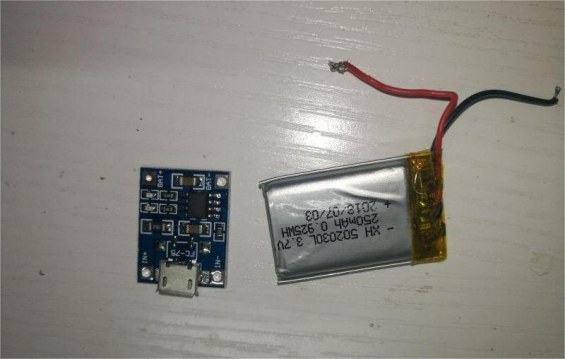
You'll need to prepare the replacement battery and charging board, as shown above.
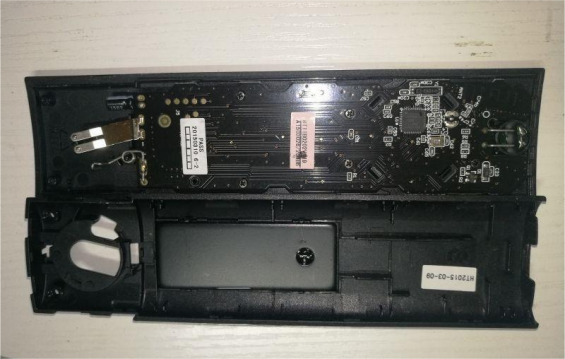
Then you need to open up the remote. The main chip in this remote is said to only tolerate a maximum voltage of 3.8V, so you must use a battery under 3.8V. Installing a regular rechargeable lithium battery directly could burn out the remote, so you'll need to step the voltage down.
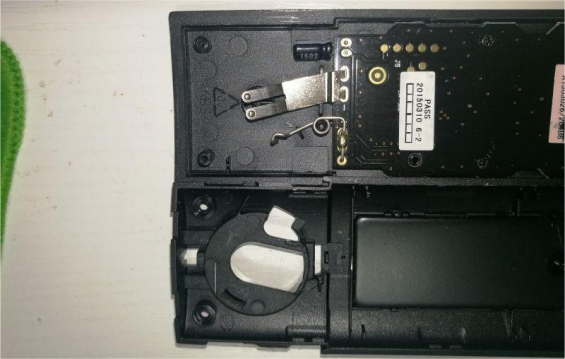
You need to remove the battery compartment's metal contacts and spring, and dig out the battery slot, as shown above.
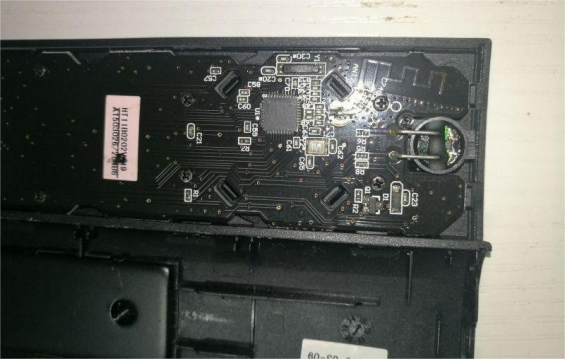
The main chip is located as shown above, along with the Bluetooth antenna and buzzer (used to locate the remote). You'll also need a voltage-reducing chip—you can use the XC6206, P302, but in tests, it only outputs 2.7V. If that's not enough, you can use the P332.
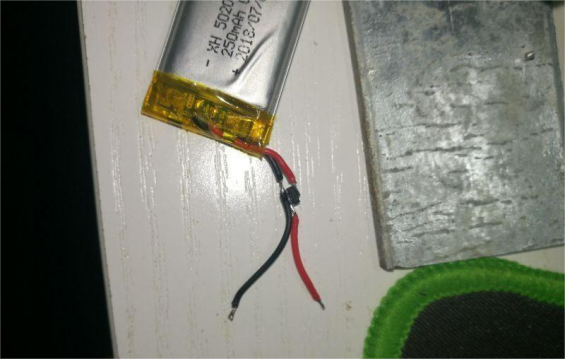
Next, solder the 6206 directly onto the battery output wires.
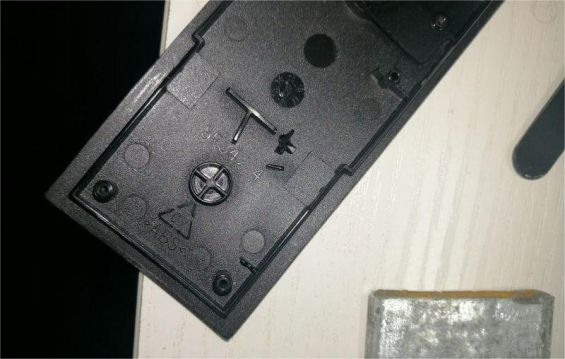
You also need to carve out the cross-shaped bump on the back cover of the battery compartment, as shown in the picture above.
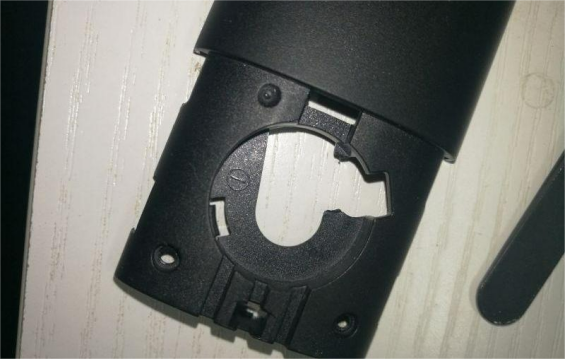
Make sure to remove any parts in the battery compartment that are in the way, as shown above.
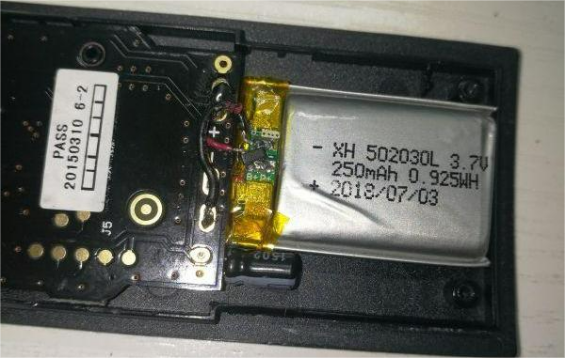
Then solder the XC6206 onto the battery output wires. If a wire accidentally breaks during soldering, you can instead attach it to the small protection board on the lithium battery, as shown above.
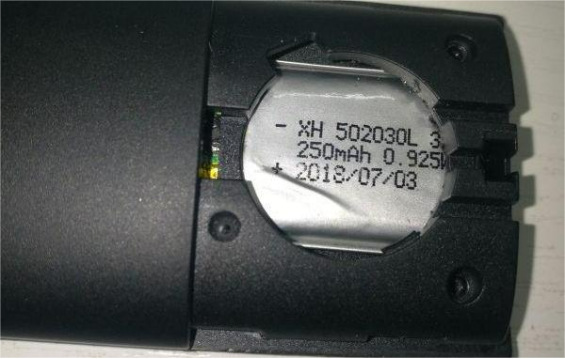
After putting the back cover on, you can do a test fit to figure out how the charging board will sit.
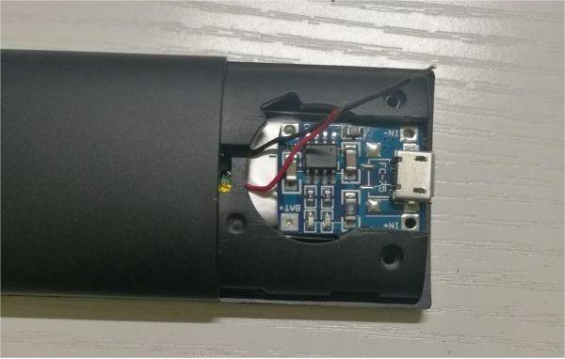
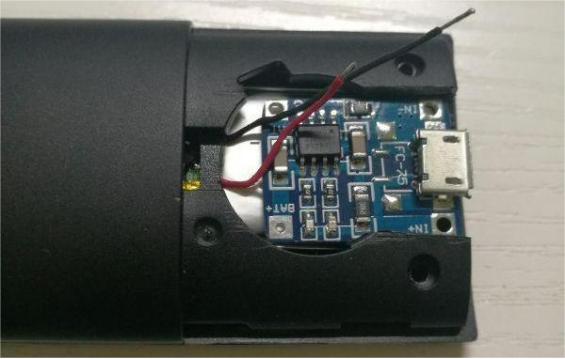
If the charging board still doesn't fit, keep removing the parts in the way until it fits.
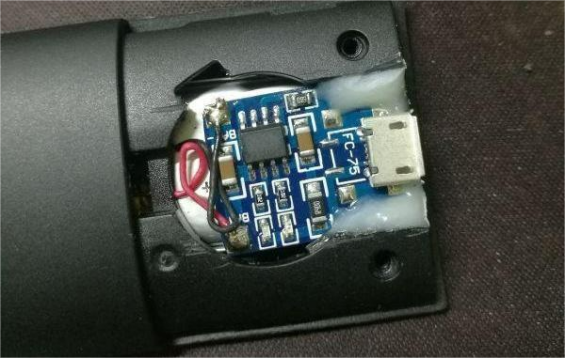
Once the wires are soldered, you can fix everything in place using AB glue, as shown above.
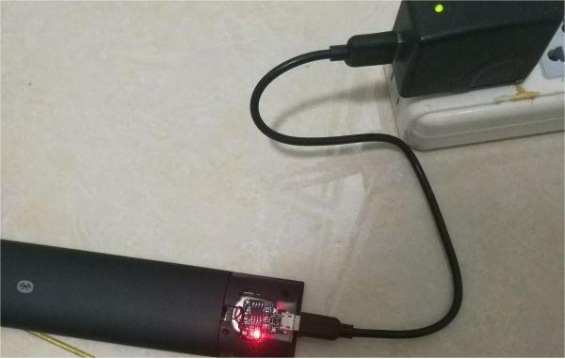
The picture above shows the remote while charging. You can also replace the 122 resistor on the charging board with a 6801 resistor, which sets the charging current at around 200mA.
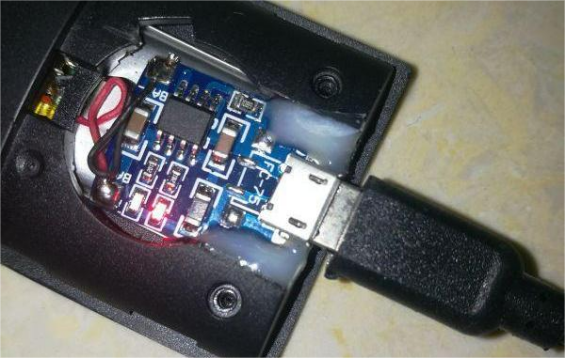
It should take a little over an hour to fully charge.
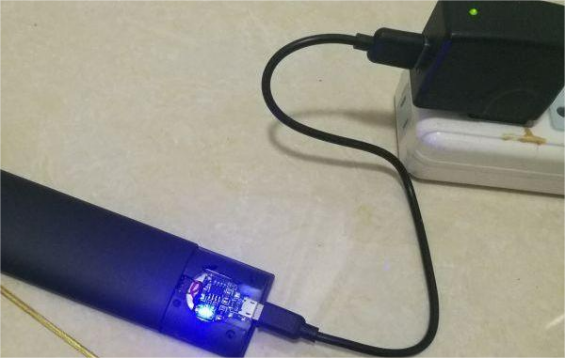
Once charged, just close the back cover. It looks completely normal from the outside, and when you need to charge it, just open the back cover. From now on, you'll never need to buy batteries again.
Done.


