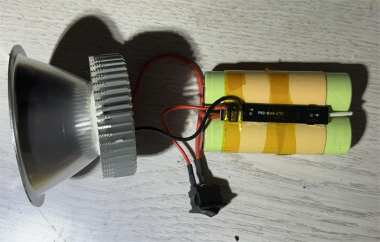
If you're into DIY handheld flashlights, this article might be just what you need.
If you already have a 12-LED rechargeable handheld spotlight, you can follow along and try a fun little DIY upgrade with it.
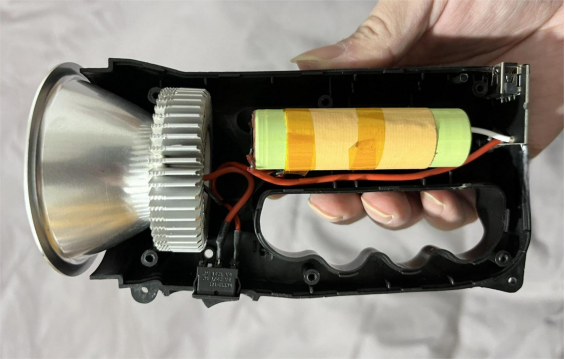
First, open up the flashlight. Inside, you'll find the basic structure — mainly the LED beads, a lead-acid battery, and a charging board.
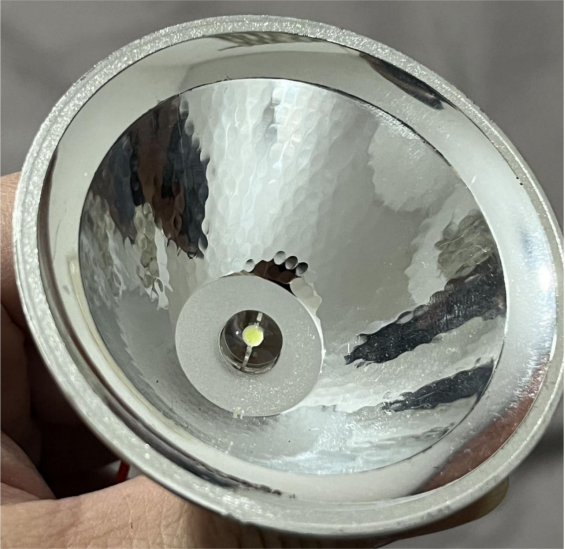
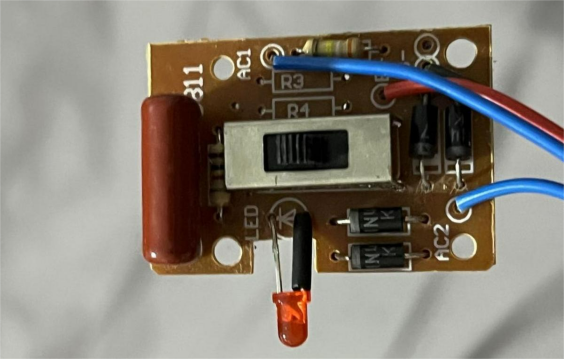
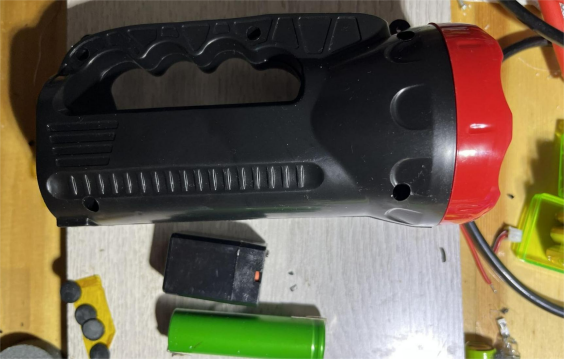
Now comes the modification part. Start by measuring the reflector cup. You'll need an aluminum reflector cup and a few 3W or 5W LED beads. If you don't have an LED driver, you can salvage one from an old circuit board — that works perfectly fine.
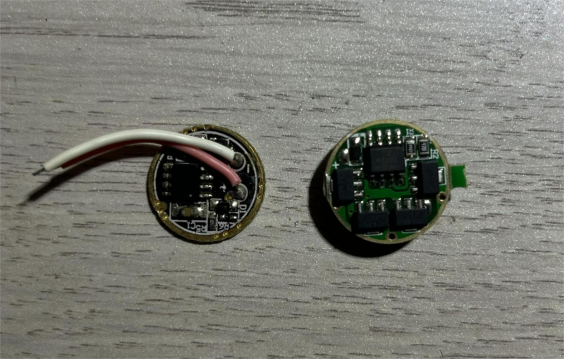
You can try out different LED beads to find the one that fits your flashlight best. In this project, the 3W LED works well — at around 4V, the first brightness level gives you about 2.5W of power.
Next, it's time to assemble everything. Prepare a heat sink from a downlight, glue it to the reflector cup using 704 adhesive, and place the driver board right in the hole of the heat sink — it fits perfectly.
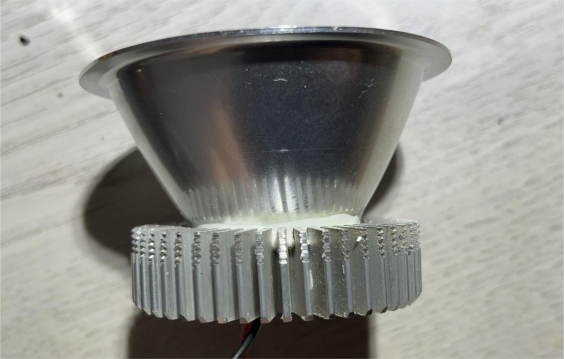
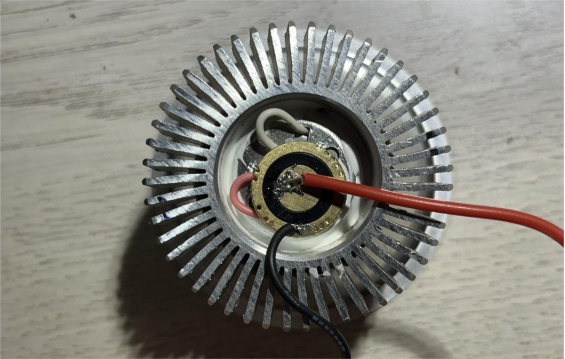
Now for the battery. You can use either 18650 or 21700 batteries. Before picking one, measure the internal resistance. Since this flashlight doesn't need super high capacity, you don't really need a 21700. Two 18650 batteries in parallel, each with around 2200mAh, will do the job nicely.
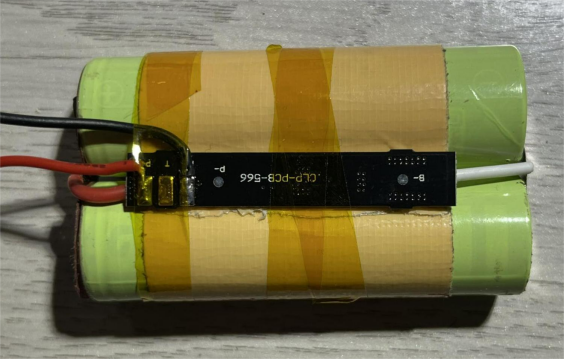
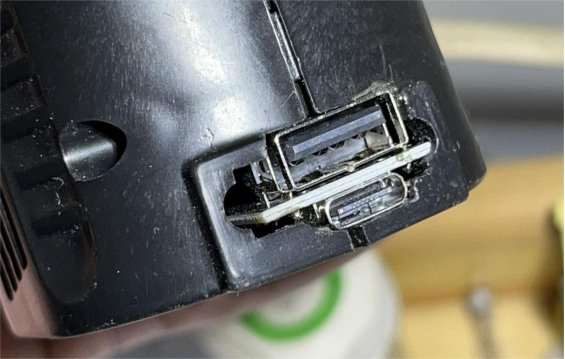
For the charging board, use a 2A charger board and install it in the original power socket position. The fit is perfect — there's even a post behind it for support, and you can see the power indicator light clearly through the bottom opening.
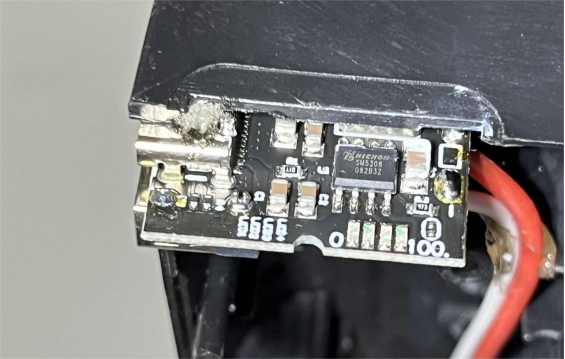
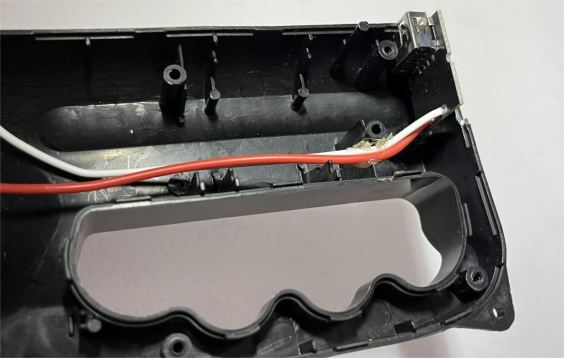
Next comes the final assembly and testing. Try turning it on — the LED looks great. If you don't want to use the original toggle switch, you can replace it with a small rocker switch. Here's a detail to note: when connecting the LED driver board, make sure it goes through the protection circuit. The charging board, on the other hand, connects directly to the battery cells.
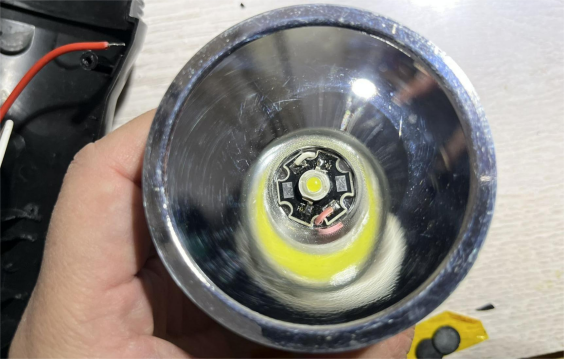
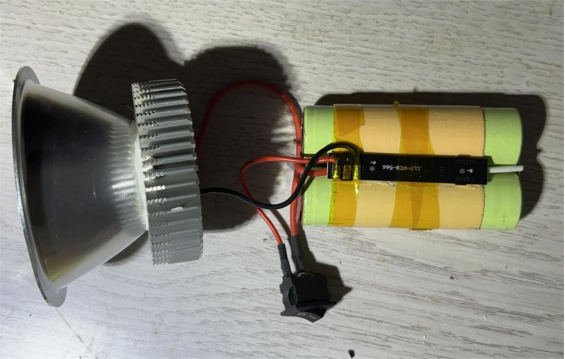
The light beam looks perfect — bright in the center with great flood coverage. The brightness is more than enough.

Finally, connect all the wires, enlarge the hole for the switch a bit, fit everything together, and you're done.
Complete!


