
If you're into DIY headphone battery chargers, you might want to check out this article.
A lot of Bluetooth earphones need charging, and since their batteries are tiny, they require a small current. If you want your Bluetooth earphones to have a built-in charging feature, follow along and build your own DIY earphone battery charger with me.
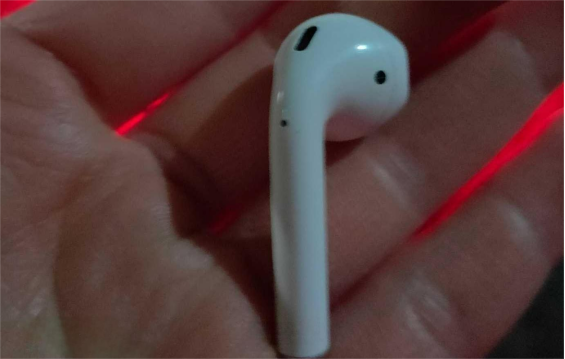
For this type of Bluetooth earphone—like the i30 or i200 models—the average working current is around 6.5mA to 8.5mA. But the i7 model shown above runs at about 13.5mA. Its 401010 battery only has a capacity of about 25–30mAh, which means it can power the earphones for about two hours. If the battery's capacity has already degraded, you'll only get a little over an hour of use. That's why you can repurpose it into a small earphone battery charger—just solder two wires to the B+ and B- terminals.
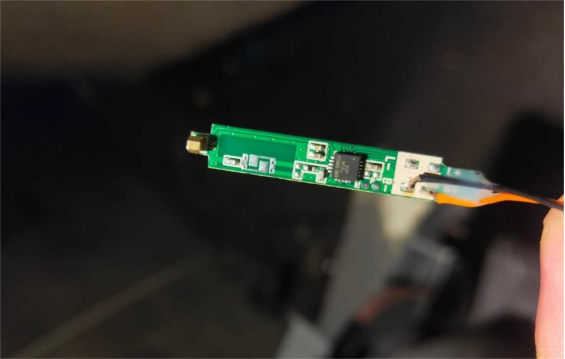
To make it more secure, you can add some AB glue and then wrap it with heat-shrink tubing.
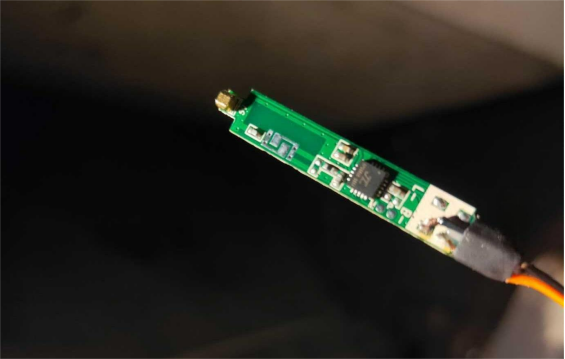
Connect a USB cable to the input side.
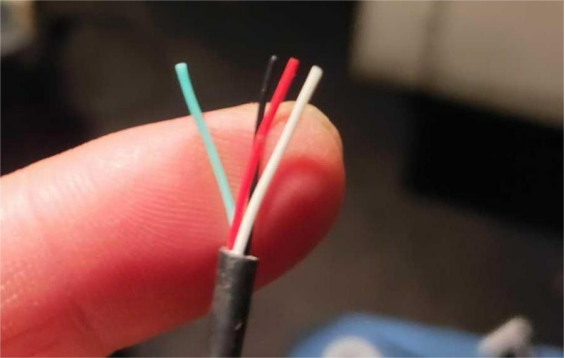
For extra stability, leave the D+ and D- wires a bit longer and use AB glue to fix them onto the PCB.
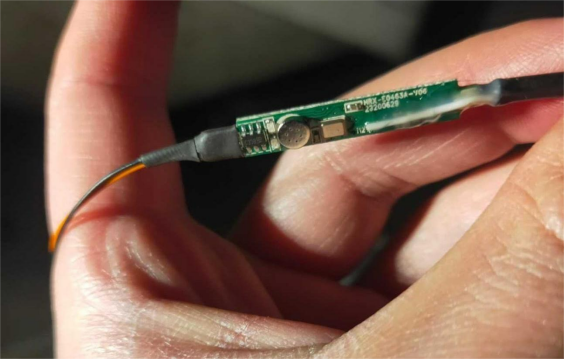
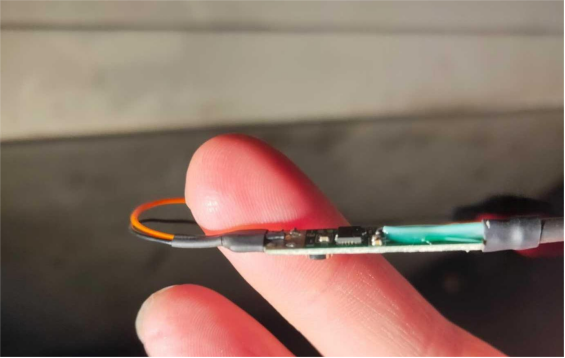
Of course, the positive and negative wires go to the 5V input on the PCB. By the way, most earphones charge the same way—the charging case has an IC that boosts the battery voltage to 5V for charging the earbuds. So you can directly connect the USB's positive and negative wires to the earphone's input.
Next, use a short piece of heat-shrink tubing here, then cover the whole PCB, and cut a small hole at the LED spot so you can easily check the charging status.
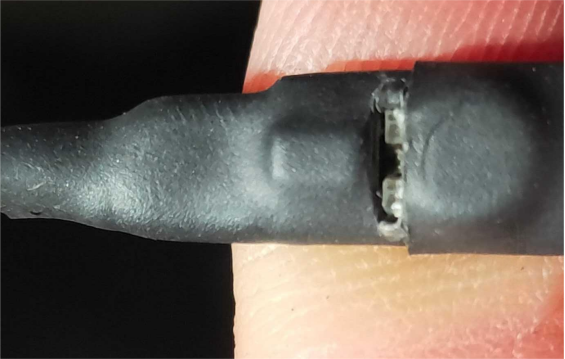
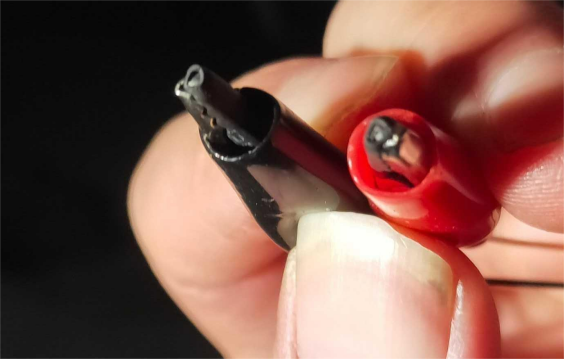
Attach alligator clips to the PCB's output terminals (where it connects to the battery). When charging, clip them to the battery's positive and negative ends.
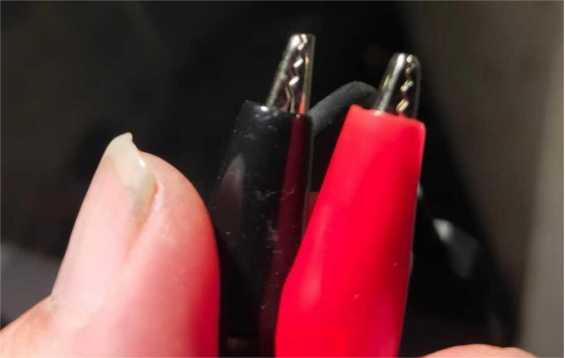
To keep the clips from damaging the battery, you can slide a piece of heat-shrink tubing over one side.
When you clip the battery, it should look like this.
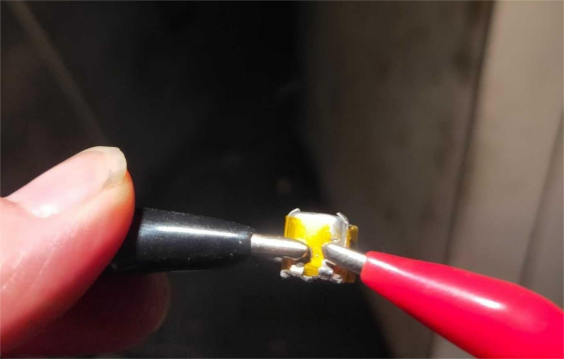
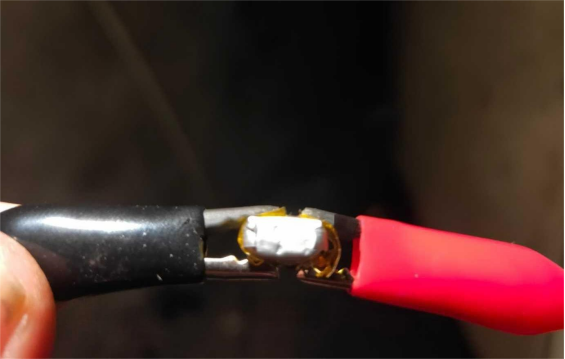
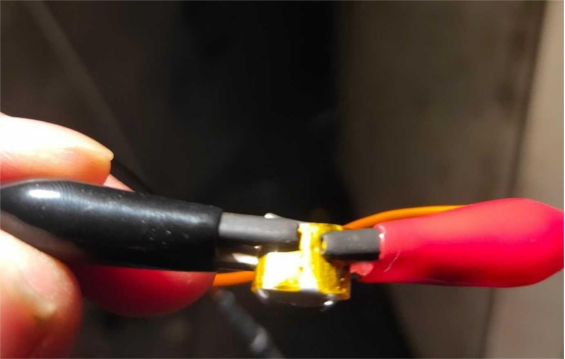
It works pretty well.
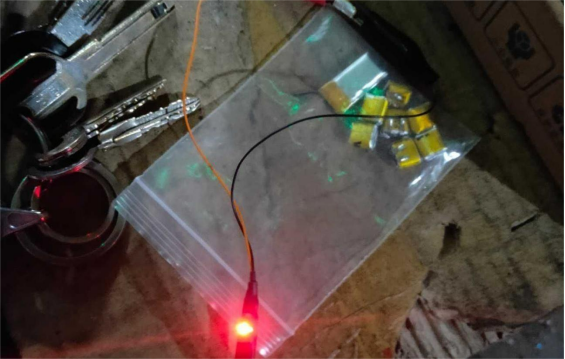
The end.


