
If your 1TB Western Digital portable hard drive's outer casing is cracked, and the micro-B port is broken or missing, how should you repair it? If you're curious about this, feel free to read this article.
You can choose to buy a replacement connector and install it directly, or if you have a circuit board with a compatible port from another portable drive enclosure, you can combine the two and DIY a fix.
But if the connector is vertical, you won't be able to mount it. You'll need to prepare a horizontal-style connector instead. If the hole position doesn't line up well, you can take it apart and check first. Using a heat gun set to 400°C, you can blow it off in just a few passes. See the image below.
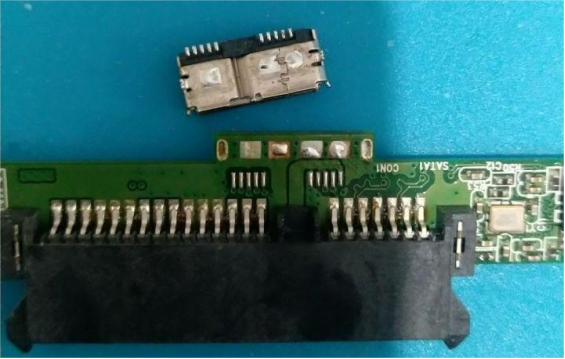
The original connector has four mounting legs. If the parts you have only come with two pins, then you'll need to rely on those two pins along with the outer shell to secure it. So you can scrape off the ground area on the hard drive PCB where the connector goes, and also clean up any leftover pads. Then use the two outer holes and the ground area to hold the connector in place.
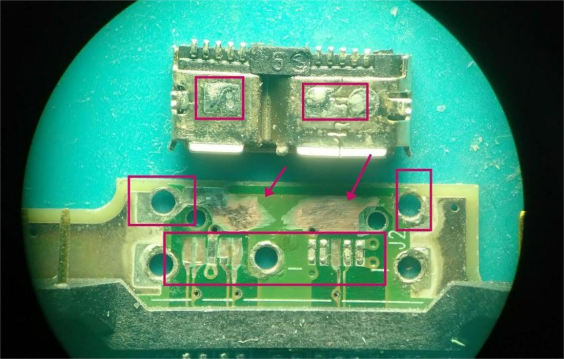
Next, you can start repairing the pads. The wires are pretty thin, so you can cut a small section of desoldering braid, making sure the thickness is close to the outer pad size.
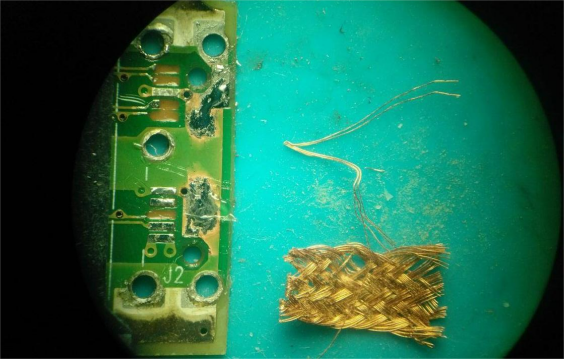
Then you need to solder it in place and form the small solder "loops," as shown in the picture.
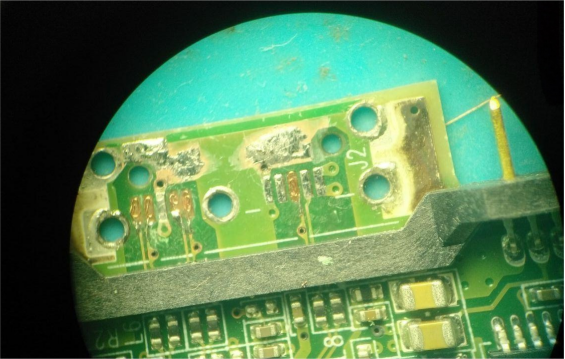
After that, you need to clean off the flux, apply some green solder mask to cure, and then scrape it open again.
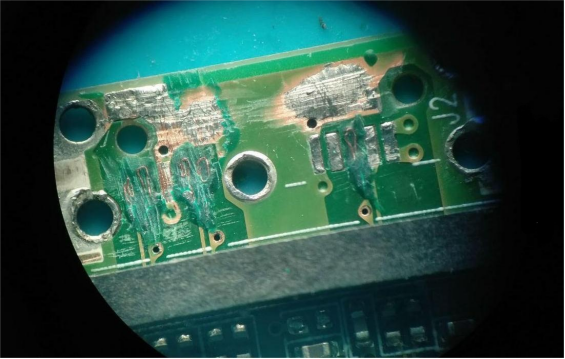
Then you'll need to apply flux to the pads, tin one side of the USB socket, solder it back on, and plug it into a power bank first to check the current. If everything looks good, then test the drive itself.
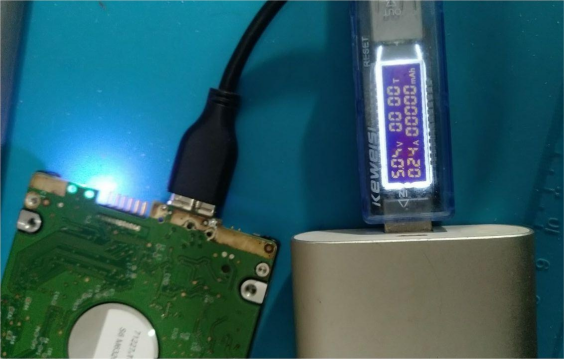
If everything works, you can connect it to your computer normally.
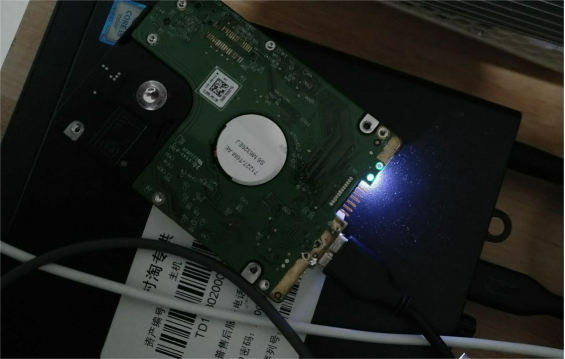
If no errors pop up, you can directly read the files on the drive. You can even make your own enclosure later — not only does it look nicer, it also protects the internal components.
The end.


