
If you're interested in converting the EM-I8811 mini motherboard to run on DC power and disabling the built-in display, this article might be worth a look.
For this DIY project, the main material is obvious — you'll need a Z3735F mini motherboard.
Part One: Converting to DC Power
Before the mod: It needs a battery to boot, and when it's running, the battery is constantly charging and discharging at the same time.
After the mod: You can boot directly through the DC jack, and DC 5V will power the entire motherboard.
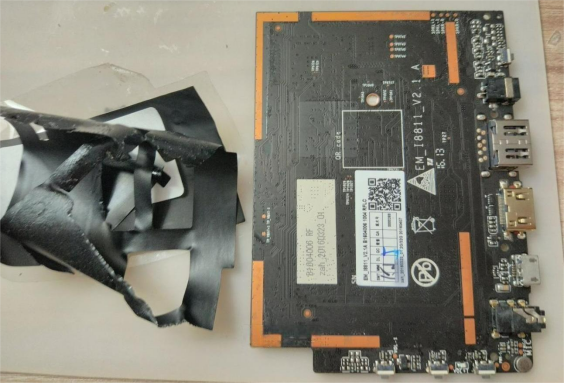
First, you'll need to peel off any stickers or labels on the motherboard that are in the way so you can expose the board components.
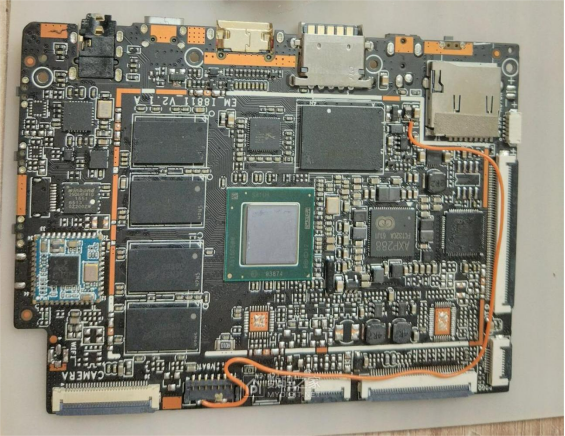
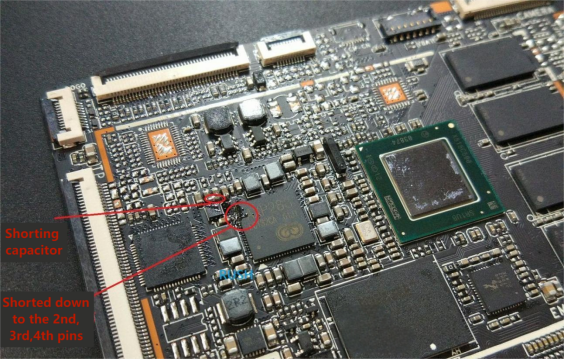
Next, you need to short the Vbus–Vin circuit to supply power.
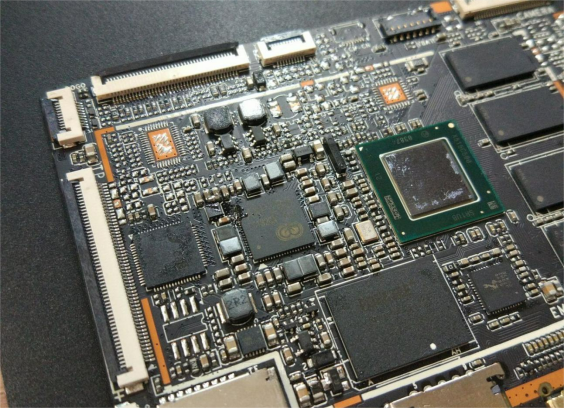
As shown in the image, short the 2nd and 3rd capacitors above the AXP288.
Then you need to short the Vbus–Vbat circuit to trick the system into thinking the battery voltage is always at its maximum, which prevents the board from shutting down immediately due to low voltage.
As shown, short the 3rd and 4th pins counting downward from the left side of the AXP288. (Since pins 2 and 3 share the same function, you can also short pins 2, 3, and 4 together.)
Before the mod:
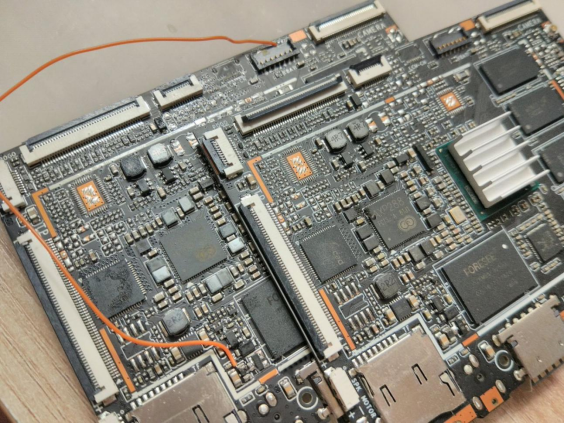
After the mod:
Part Two: Removing the Built-in Display
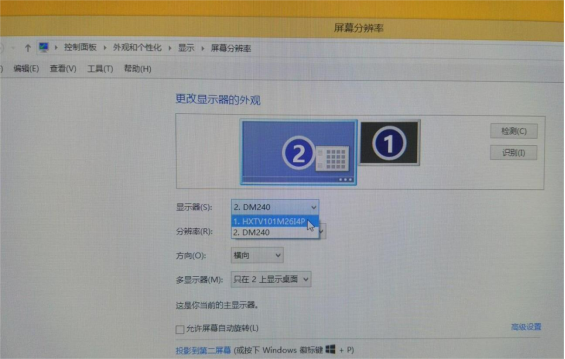
Before the mod: Windows detects the tablet display, and the desktop gets pushed onto a screen that doesn't actually exist, while HDMI works as an extended display.
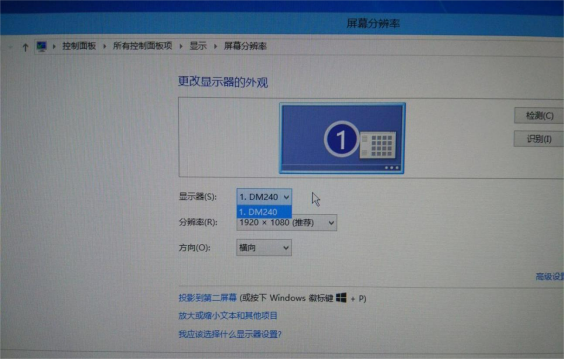
After the mod: Only the HDMI output remains, and the system uses HDMI for display the whole time.
Special reminder: It's best to completely uninstall your graphics driver beforehand, or you may end up needing to reinstall the entire system.
How to do it:
Press DEL to enter the BIOS settings and go to North Bridge (settings related to the north bridge). Inside, you'll find several pages of IGD (integrated graphics) settings.
Find Force Lid Status (laptop lid open/close) and set it to OFF.
Find MIPI DSI (the internal MIPI display) and set it to Disabled.
Find Bootup Display and set it to HDMI Port B.
Before the mod:
After the mod:
Done.


