
DIY USB Flash Drive: Make a 128GB USB Drive


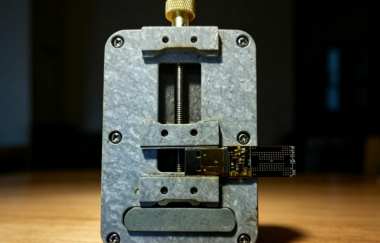
If you are interested in making a DIY USB flash drive, you may want to check out this article.
If you happen to have the following materials: a USB flash drive controller board, a flash memory chip, and a metal casing kit, you can start making your own USB drive.
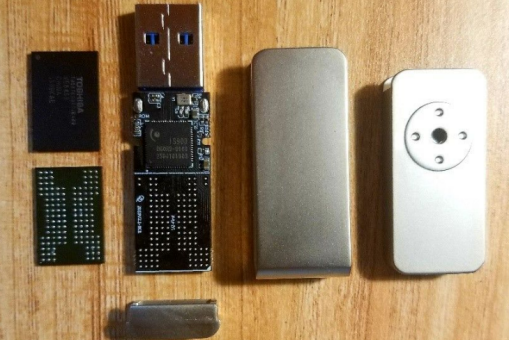
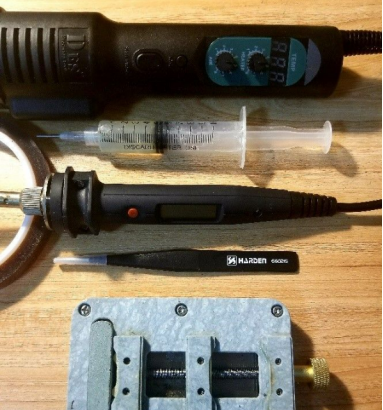
Tools:
Hot air rework station, flux, soldering iron, tweezers, mobile phone repair fixture, and high-temperature resistant tape
First, you need to wrap the USB port at the front of the USB controller board with high-temperature resistant tape to prevent the fixture from damaging it. You should also cover the component area with tape to prevent components from being blown away by the hot air during soldering, and then secure the board with the fixture.
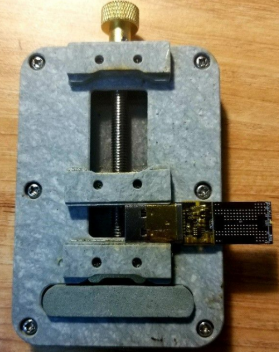
Then, you need to set the temperature of the soldering iron to 250°C. With the help of flux, you should flatten the solder on the pins of the flash memory chip.
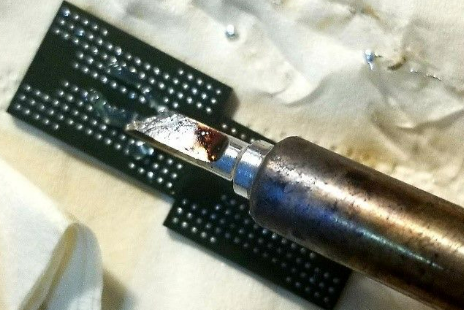
The most important step is soldering the flash memory chip with hot air.
First, you need to apply a small amount of flux to the bottom of the flash memory chip. Do not apply too much, because excessive flux may boil during hot air soldering and push the chip away. Place the flash memory chip into the flash memory slot on the controller board and align it as accurately as possible. Make sure that the first pin of the chip matches the first pin mark on the controller board.
Set the hot air station to 320°C with the airflow level around 4. First, preheat the controller board by moving the hot air nozzle back and forth several times. Then, place the nozzle vertically above the flash memory chip and rotate it while soldering at a frequency of about 3 to 5 movements per second. Keep the hot air nozzle as close to the flash memory chip as possible and avoid holding it too far away.
When you notice that the flux starts boiling, continue heating for about 5 seconds. The melting point of the solder is slightly higher than the boiling point of the flux. Then slightly raise the hot air nozzle and gently push the chip with tweezers. If the chip shifts and can return to its original position, it means the soldering has been completed successfully.
After cooling for a few seconds, solder the other side of the chip using the same method.
This is the completed soldered USB flash drive.
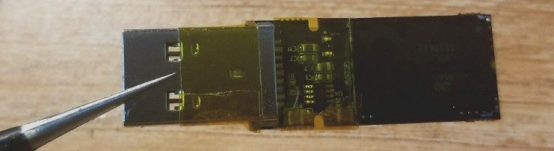
Remove the finished USB flash drive from the fixture, remove the high-temperature resistant tape, and clean the remaining flux with PCB cleaning solution. After drying, connect it to your computer:
Open the mass production tool, click “Scan Device”. After the device is detected, click the red “Innostor” button. If the flash memory ID is complete and consistent, it means there are no cold solder joints or missing solder connections. (The number of IDs is related to the number of flash memory CE channels and is not necessarily 8.)
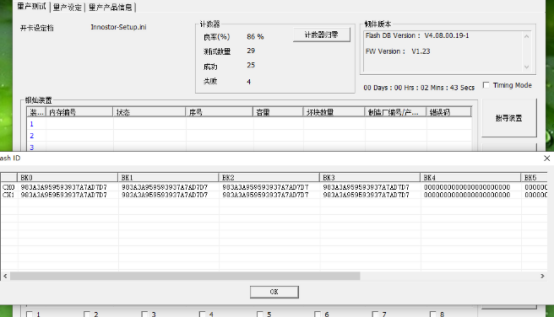
Press F9 to perform a force erase.
After the message “Finish” appears, start the mass production process. In most cases, you can directly proceed with mass production, and the USB flash drive will be successfully created!
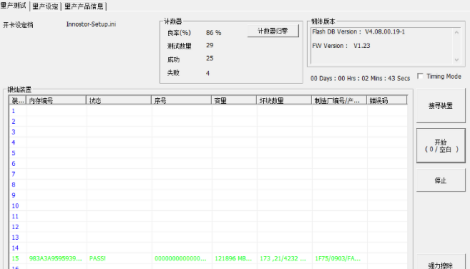
Install the metal casing, and you have successfully made a 128GB high-capacity USB flash drive.
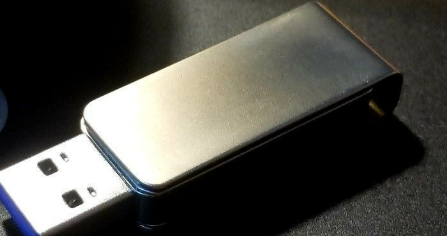
Notes:
1.Not every flash memory chip can be paired with every controller board. You must check whether the controller supports the specific flash memory model before starting the project.
2.A USB flash drive that has just been soldered with hot air will be extremely hot. You should use tweezers whenever possible to avoid burns.
3.The metal casing is bonded with B6000 adhesive. It requires at least 1 hour for initial curing and 48 hours for complete curing.
4.When assembling the USB flash drive, you must add a thermal pad inside the metal casing. Otherwise, continuous high-temperature read and write operations may cause the drive to disconnect frequently. (The casing will still become very hot after installation, but the drive will no longer disconnect.)
5.If you do not have PCB cleaning solution, you can also use 95% alcohol to clean the board. Be careful to keep it away from fire sources.


