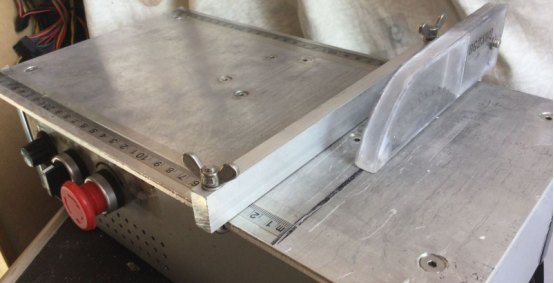
DIY Mini Table Saw Build


If you are interested in building a DIY mini table saw, you may want to check out this article.
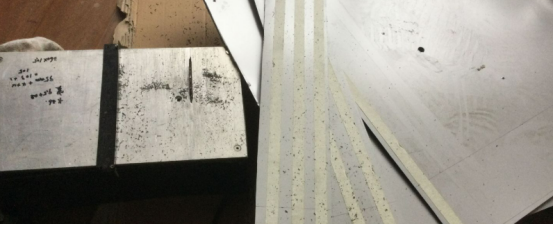
If you happen to have two 4mm-thick aluminum composite panels, you can use your creativity and transform them into a small table saw.
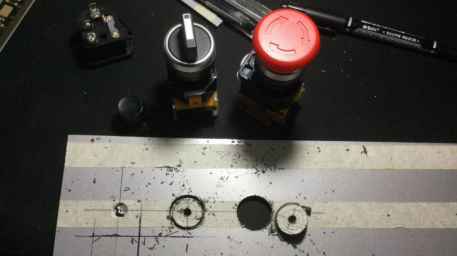
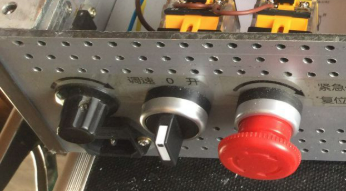
First, you need to drill holes for the two-position switch and emergency stop switch (22mm).
This is the ventilation hole for heat dissipation.
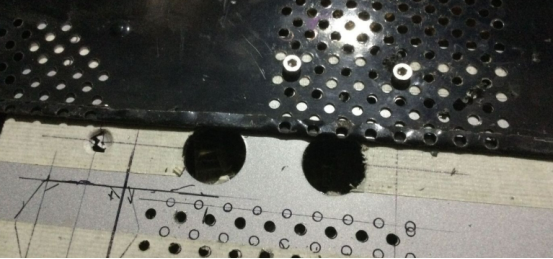
Drill the hole for the AC power socket.
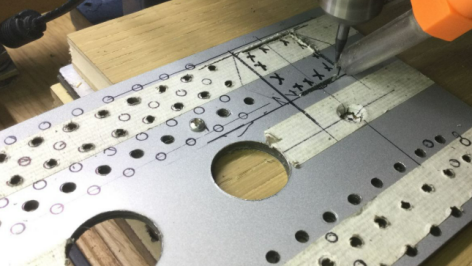
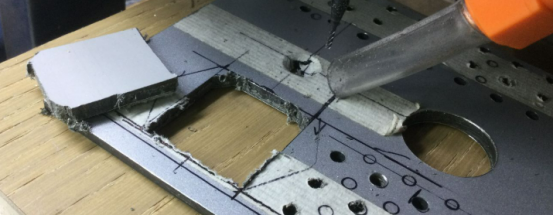
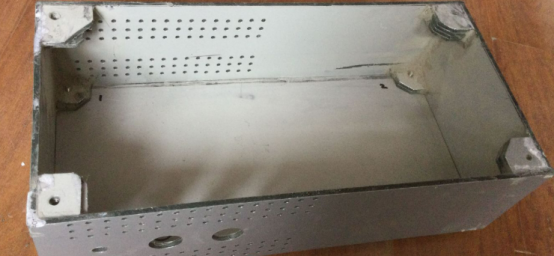
Use glue to bond the four frame sections together.
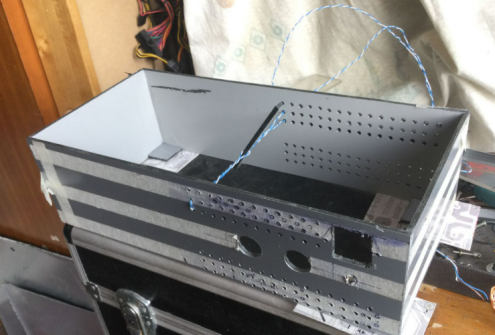
For the mounting screw base of the tabletop panel, an M5 nut is embedded in advance.
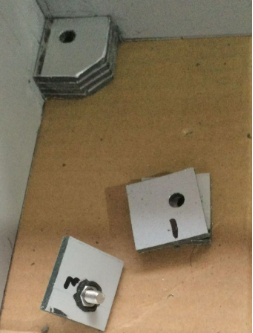
The four screw holes on the tabletop panel have been glued and fixed, providing decent strength and stability.
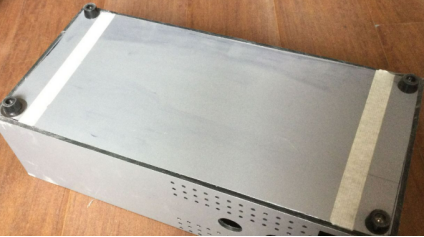
The rubber feet on the base are fixed with M4 screws.
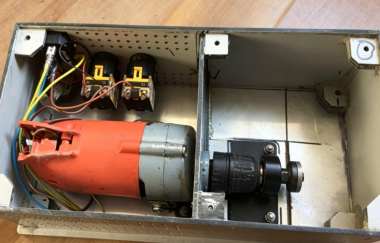
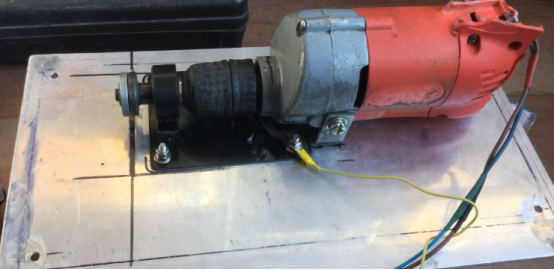
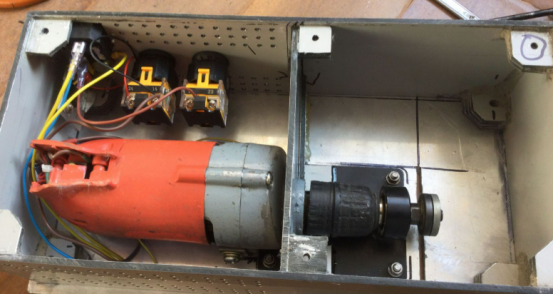
The hand drill and its holder are secured to the aluminum tabletop with six M5 screws (the original 5mm-thick plate was re-drilled).
The dustproof partition plate is installed in the middle.
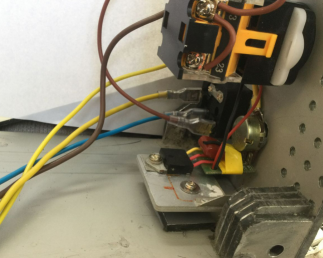
Fix the speed control board in place.
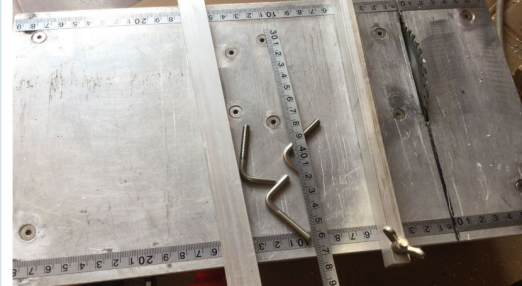
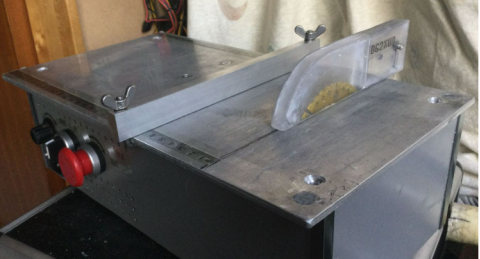
The fence board is made of a 10×20mm aluminum strip, with a ruler scale attached.
A transparent liquor packaging box is used to make the dust cover.
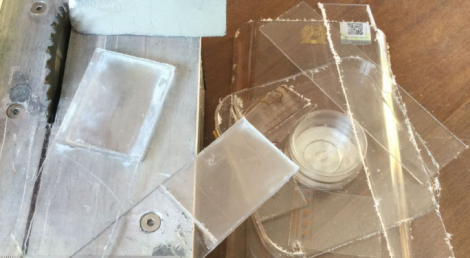
The dust cover can be adjusted up and down.
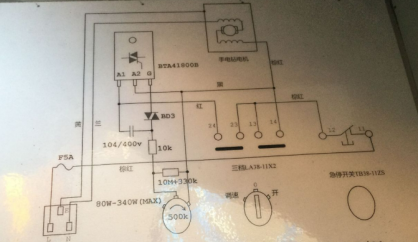
Wiring diagram.
Power socket - speed control potentiometer - speed and power selection switch - emergency stop button.
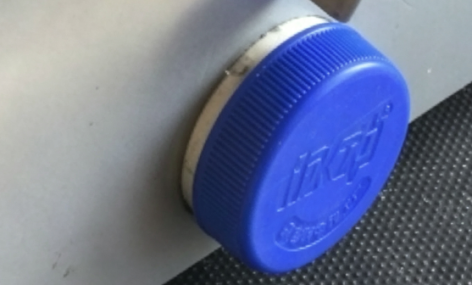
A vacuum cleaner hose connector (25mm) is designed at the rear.
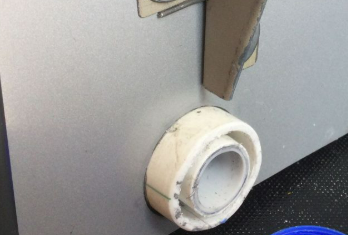
When dust extraction is not needed, you can simply cover it with a bottle cap.
The front view of the machine.
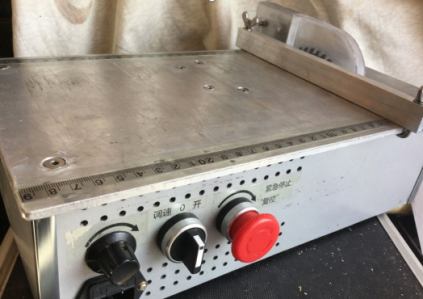
The speed adjustment range is from 80W to 340W (maximum), which is sufficient for general cutting tasks.