
DIY Night Light: Make a 2W Lamp from a Broken Charger


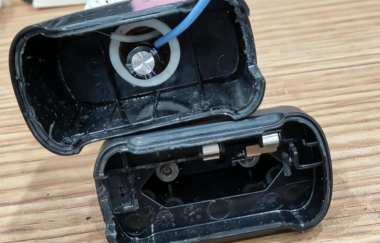
If you are interested in DIY night lights, you might want to check out this article.
If you happen to have a broken Motorola charger, do not throw it away just yet. You can try using it to make a 2W night light. The process is very simple: you only need to make some holes, connect the wires, and glue everything together.
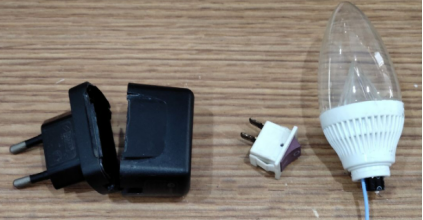
First, prepare all the materials.
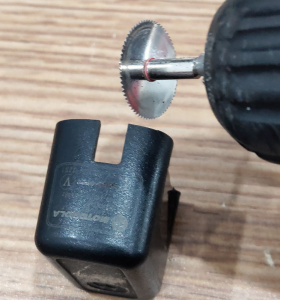
Then, cut the hole for the switch.
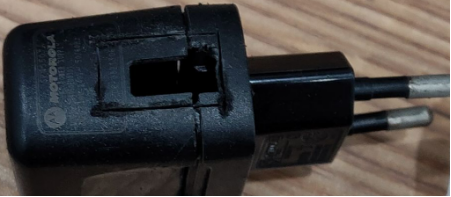
After cutting the hole, break off the piece and then trim the edges.
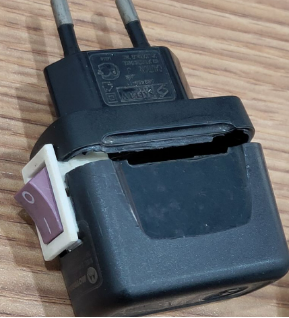
Test-fit the switch, and it fits perfectly. The switch was removed from a broken water dispenser, so it is a little large.
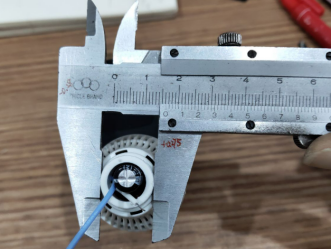
Remove the E14 lamp socket and measure its diameter.
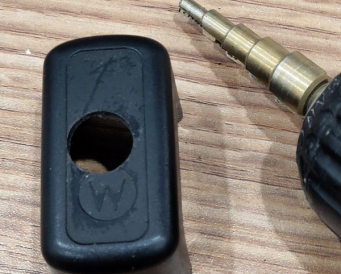
If you do not have a suitable hole saw, you can use a step drill bit with a maximum diameter of 12 mm.
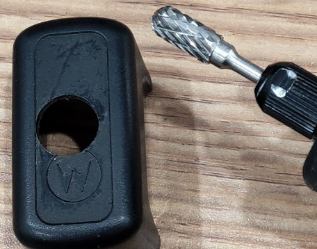
After drilling the hole, use a rotary tool to further trim and smooth the edges.
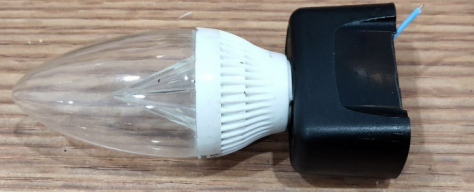
After finishing the hole, install the bulb. The fit is very tight, so you do not need to use glue to secure it.
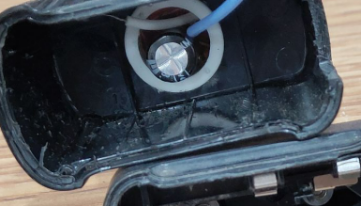
This is what the inside looks like.
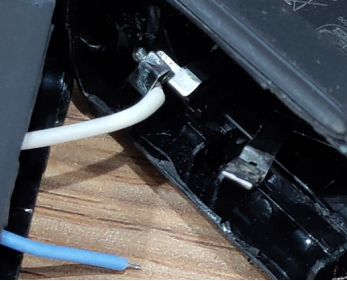
Extend the wires and cover them with heat-shrink tubing. You may find that the two contacts cannot be soldered. Even after grinding them and applying soldering flux, soldering still does not work. You can try crimping them, but the wires may break while the connection still remains loose. Since the contacts are spring contacts, you would need a strong flux to solder them properly.
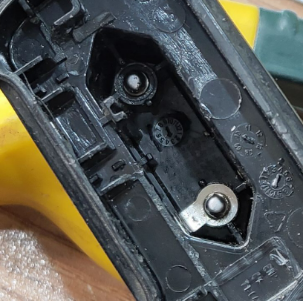
Therefore, remove the spring contacts and grind the riveting points on the terminals. Since they are made of copper, they can be soldered easily.
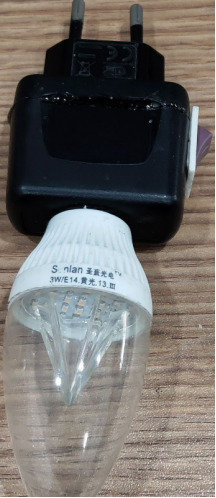
After completing the connections, seal and glue the assembly with 99 plastic adhesive.
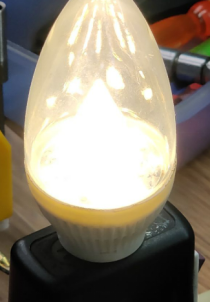
Test the light, and it works normally.
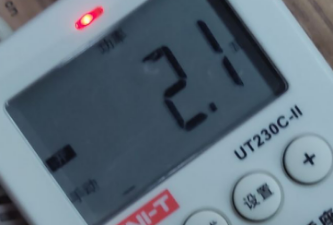
The power consumption is 2.1W. The DIY night light is now complete.


