
DIY Aquarium Light: Make a Simple LED Fish Tank Light


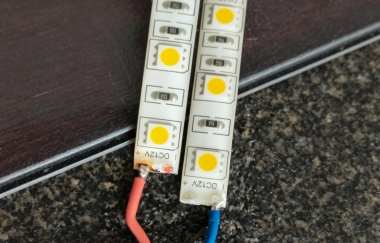
If you happen to have a fish tank but no aquarium light, it can be very inconvenient to enjoy the view. Luckily, you happen to have a 2-meter 12V 5050 resin-encapsulated LED strip, an LED transformer, a two-pin plug with a cable, and a bent stainless-steel U-channel. You suddenly get the idea of using these materials to DIY an aquarium light.
First, you need to make a lampshade. You can use the stainless-steel U-channel for this. Then, you need to match the transformer with the LED strip. The transformer is 24V, while the LED strip is 12V, so you can use series connection for voltage division.
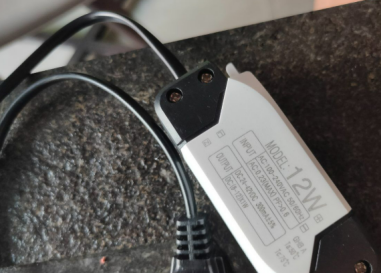
This is the 24V LED transformer. You can only use the LED strips in series to divide the voltage.
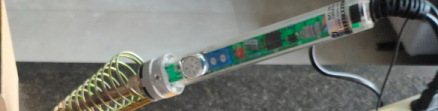
These are all the tools you need. They are simple but sufficient.
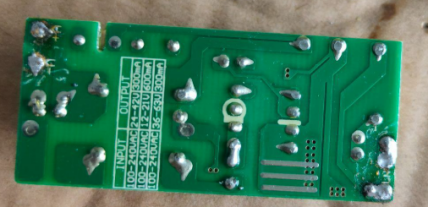
You need to connect the transformer to the original wires and attach the plug.
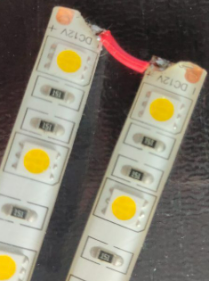
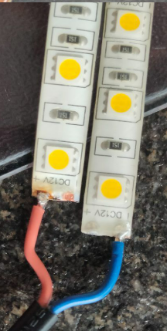
You need to connect the LED strips in series, solder the output wires, and seal the connections with hot glue.
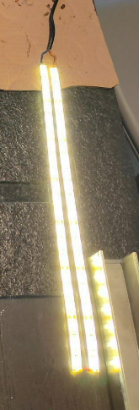
Now that the wiring is complete, you should test the LED strips with power before sticking them in place because they have adhesive backing. The two sections of LED strips are 70 cm in total. After calculating the power consumption, 10.8W should provide enough brightness.
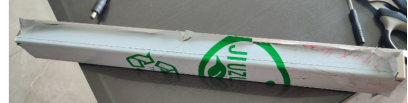
This is the stainless-steel U-channel.
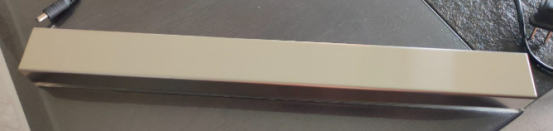
It is very bright.
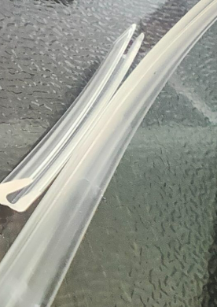
The edges of the stainless steel are relatively sharp, so you can use a 5 mm edge trim strip that is 1 meter long. The size and length are just right.
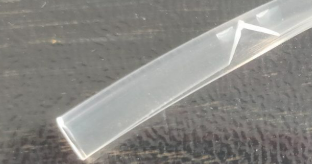
You should also treat the corners properly.
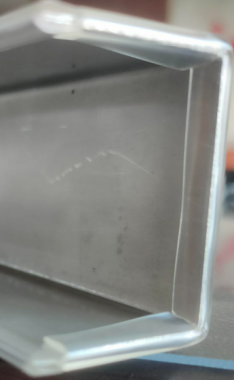
This is what it looks like after you finish installing the edge trim. It looks pretty good.
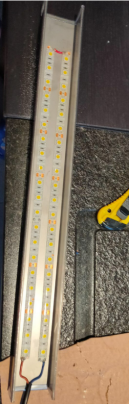
After sticking the LED strips in place, you can add a few spots of hot glue to reinforce them.
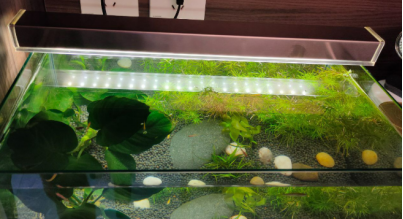
Finished.


