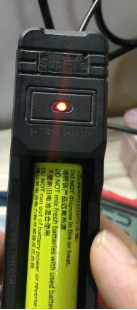
DIY Modify a Lithium Battery Charger


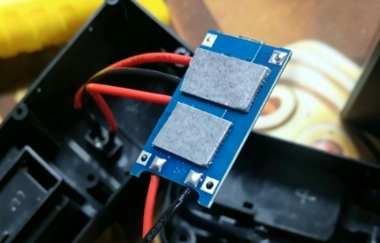
If you happen to have a lithium battery charger that can charge both 18650 and 26650 batteries.
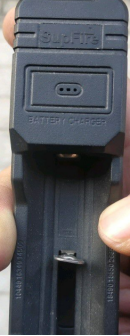
The back of the charger comes with a built-in USB input connector.
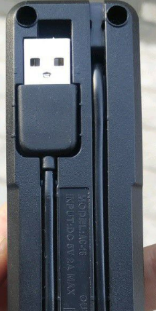
At this point, you can take it apart and inspect the circuit, and you may find that it does not have reverse-polarity protection, so you can modify it.
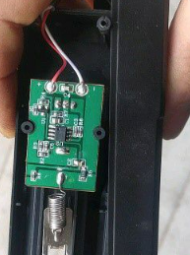
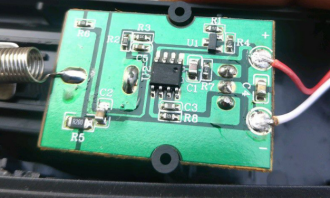
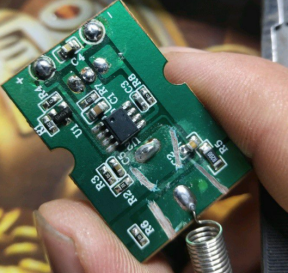
You can keep the original circuit board because you need it to hold the springs in place, then remove the original LED, cut the positive and negative charging wires, and solder wires to bring them out.
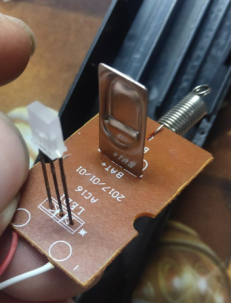
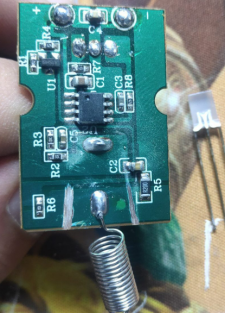
You can roughly position the charging module here to see if it fits.
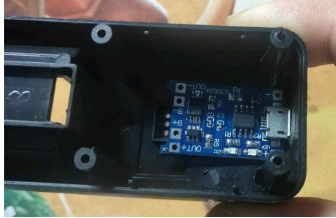
You can make a charging port on the side.
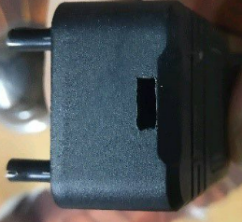
If the surface here is a little rough, you can scrape it slightly.
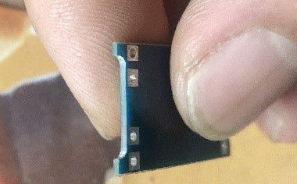
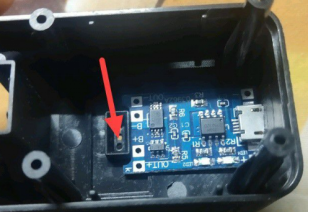
You can place the module here, and it fits perfectly. Then, you can drill a 3 mm hole at the arrow position to install the charging indicator LED.
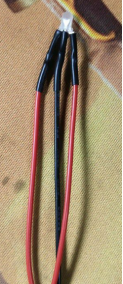
If you happen to have a 3-pin 3 mm LED, you can solder wires to it and cover the connections with heat-shrink tubing. The negative terminals of the indicator LEDs on the 4056 charging module are connected, while the positive terminals are not connected.
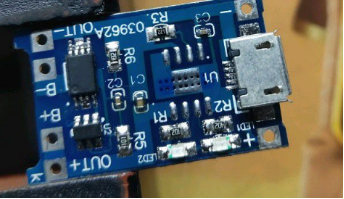
Because the 4056 charging module does not have reverse-polarity protection, you can replace the 4056H on the module with a 4056X. First, you can use a hot-air gun to remove the charging chip.
You can solder the 4056X chip onto the module.
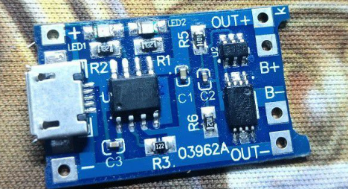
You can remove the charging indicator LED from the module, then connect the bi-color LED and the positive and negative battery wires.
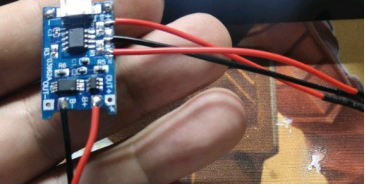
You can solder the charger's built-in input cable to the input terminals on the module, apply 3M double-sided tape to the back of the charging module, and then stick it onto the position you prepared for the module at the beginning.
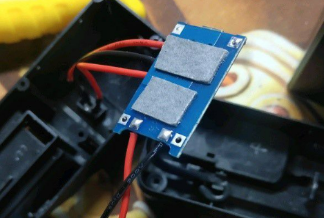
You can assemble everything and test the charger. It can charge normally, and after you test it with the battery connected in reverse, everything still works properly without burning the chip. At this point, your modification is complete, and you can either plug it directly into a charging adapter or charge it with a Micro USB cable.