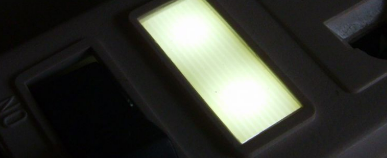
DIY Power Strip Night Light: LED Modification


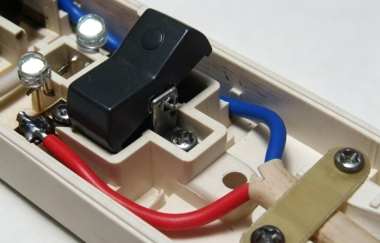
If you often find that your bedside night light is too bright and interferes with your sleep, you may feel quite frustrated. If you suddenly come up with the idea that most power strips already have indicator LEDs, you can replace the original indicator LEDs with high-brightness LEDs and use them as a night light. If you do this, you do not need to occupy an extra socket, add a separate driver circuit, or increase power consumption, allowing you to achieve nighttime lighting in a simple way.
If you make a night light this way, you do not need to occupy an extra power outlet, worry about driving the LEDs, or consume additional electricity, allowing you to achieve the desired function using the simplest and most straightforward method.
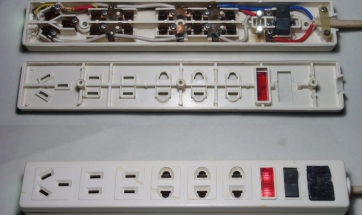
If you happen to have an old power strip that has been left unused for a long time, with five two-prong sockets and one three-prong socket, it is just right for the two-prong chargers you use today.
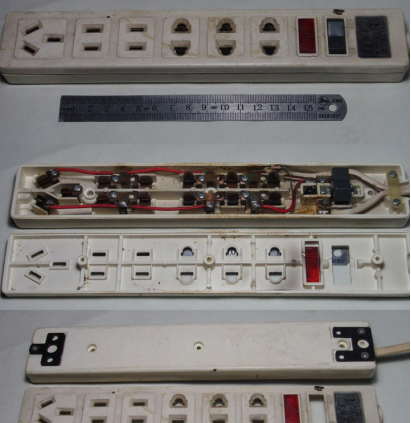
If you inspect the plastic rocker switch of the power strip, you will find that the cylindrical section underneath it is cracked and has a missing piece, but the damaged part is still there.
If you check the internal metal components, you will find that their thickness and elasticity are still quite good, although their shapes have become somewhat deformed and need to be corrected.
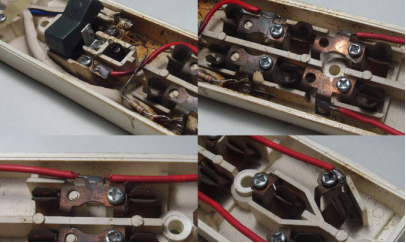
If you remove all the components, you can clean the housing first. If you use 502 instant adhesive to glue the broken part of the rocker switch back into place and then tightly wind the core wires of a conductor around the outside, you can reinforce it. If you coat it with a layer of solder using a soldering iron, the core wires can be embedded into the plastic part to prevent them from coming loose.
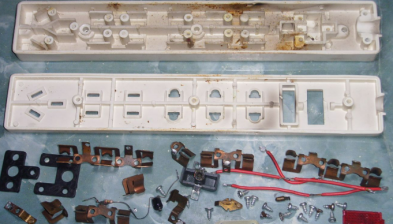
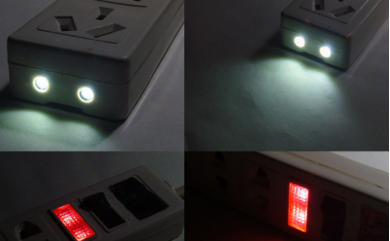
If you finish repairing the switch and metal components, you can reinstall everything into the lower housing. If you test the switch, it works normally, and if you test the sockets with a plug, you will find that the insertion and removal force of the metal components is just right. If you drill small holes in the reinforcing ribs at the original indicator LED positions, you can install two 5 mm large-die straw-hat LEDs, with their leads connected in reverse parallel. If you drill two 5 mm holes at the end of the power strip opposite the cable outlet, you can install two more LEDs. If you use the reinforcing ribs inside the bottom housing to secure their leads, you can also connect these LEDs in reverse parallel.
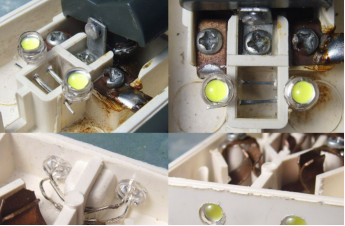
If you connect each pair of reverse-parallel LEDs in series, and then connect the two LED groups in series with a 120K/1W resistor, you can use suitable wires to connect the circuit to the 220 VAC circuit after the switch and test it to confirm that it works normally.
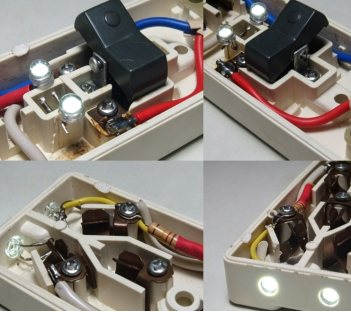
If you observe the two LEDs, you will see that they light up alternately.
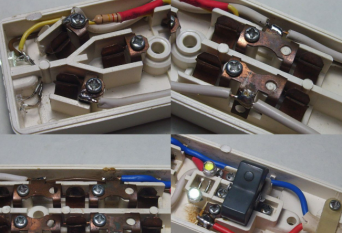
If you clean and tidy up the power strip again, you will find that it looks quite good.
If you turn it on, you can see the actual lighting effect.
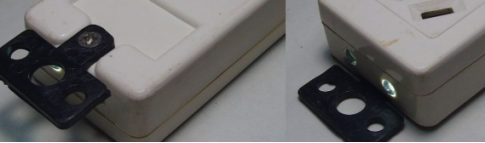
If you look at the back of the power strip, you will find that it already has built-in wall-mounting hardware, and the material also feels quite good and sturdy.
If you look closely at the result, you will notice that the red light emitted by the original red indicator window greatly reduces its effectiveness as a night light.
If you take the striped section of a milky-white optical disc case, cut out a piece according to the size of the red window, and attach it to the original indicator light window, you can improve the lighting effect.
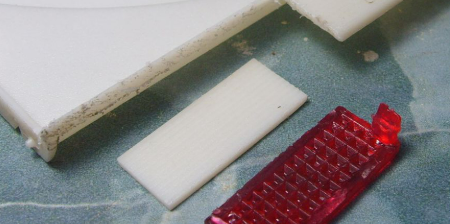
If you compare the result with the original red indicator, you will find that the new effect looks and feels much better. The project is complete.