
DIY USB Extension Cable: A Simple Guide


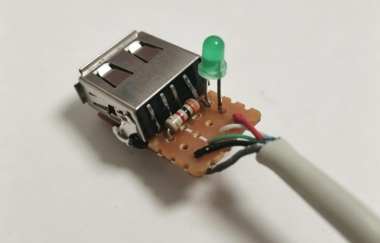
If you are interested in making your own DIY USB extension cable, this simple project is worth checking out.
Materials required: an old mobile phone charging cable (the male connector must be in good working condition), a USB port, a piece of perfboard, an LED, and a resistor (optional).
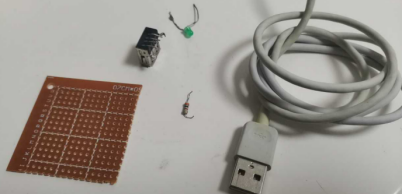
First, you need to cut a suitable piece of perfboard and mount the USB port onto it.
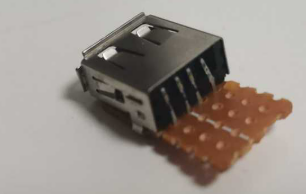
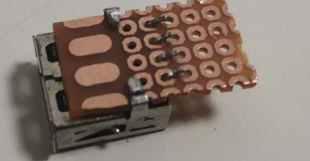
Next, solder the red, white, green, and black wires to the corresponding pins of the USB port, making sure that each wire is properly aligned with the correct pin.
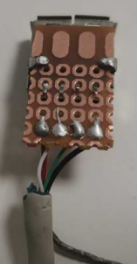
Then, you can solder the resistor and LED to the circuit as a power indicator. The LED not only shows that the cable is powered but also adds a decorative touch.
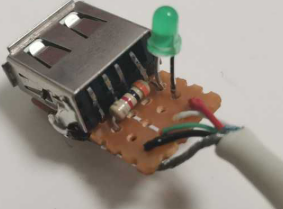
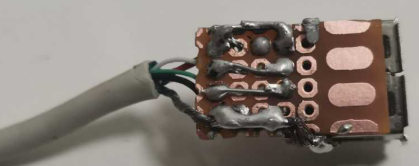
Next, connect the shielding wire to the negative terminal and solder it to the USB shell to improve signal shielding. You can also add extra solder to the positive and negative terminals to help handle higher currents.
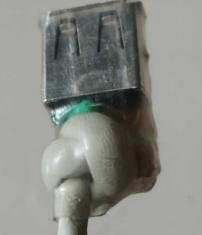
Then, tie a knot in the cable and cover it with a piece of transparent heat-shrink tubing. Make sure that the entire knot is completely enclosed inside the tubing.
Finally, plug the extension cable into the back of your computer case. When the green indicator LED lights up, connect a USB flash drive to the extension cable.
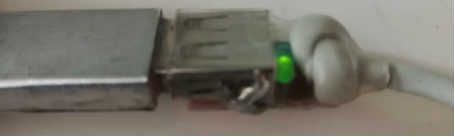
If the USB flash drive is successfully recognized by your computer, the DIY USB extension cable is complete.
Uses:
1.You can use it to plug and unplug a USB flash drive more conveniently, especially if your computer case has only a few USB ports on the front panel.
2.You can use it to charge your phone conveniently while lying in bed.
3.You can connect a wired keyboard to it, making it easier to play games on a TV screen while enjoying low-latency control.
4.You can connect it to a car charger to conveniently charge devices for passengers in the rear seats.


