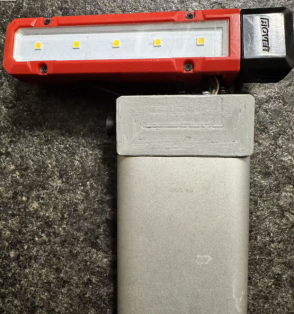
DIY Tool Light Modification with a Power Bank


If you happen to have several tool lights that are missing their switch buttons, but their functions are still working properly and they can light up normally.
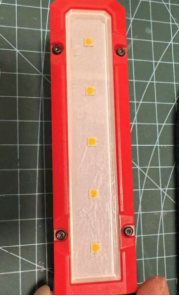
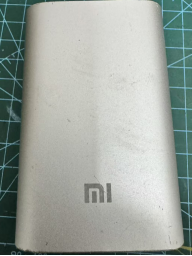
However, they always drain the battery very quickly, which can be quite inconvenient. If you happen to have a power bank, you can modify the tool lights with it.
You can start the modification from the bottom of the light.
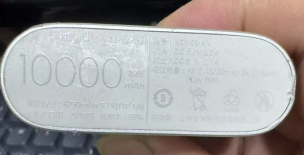
Remove the outer housing, and you will find four screws underneath.
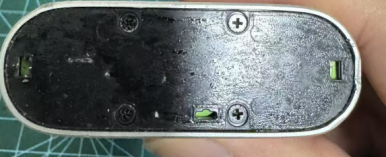
After removing the screws, you will have four mounting holes. You can then use a 3D printer to make an adapter compartment, which can connect the light to the power bank while also allowing you to add a power-off switch and a light switch.
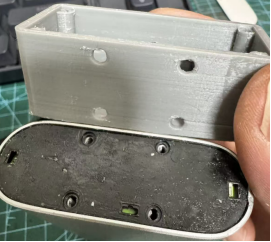
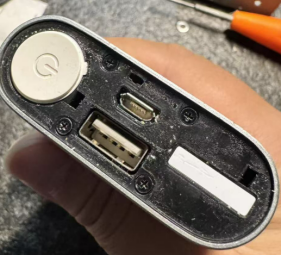
Next, you need to solve the power supply issue. Open the front panel, where you will find the Micro-USB input and 5V USB-A output. You can add USB-C charging later.
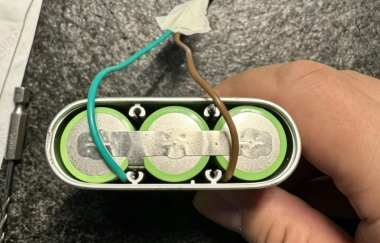
You can take power directly from the positive and negative terminals of the battery. The battery consists of three 18650B 3400 mAh cells, providing a total capacity of 10,200 mAh when connected in parallel.
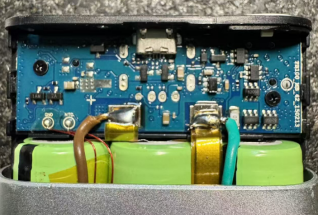
The battery supports a 5A discharge, and three cells connected in parallel are more than enough to power several LED lights.
You can route the wires out from the back.
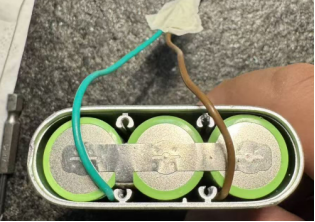
Install the original bottom plate for insulation, and drill a hole to route the wires out.
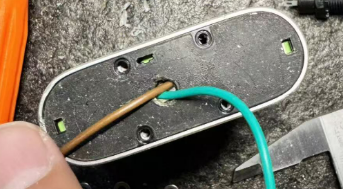
Then tighten the rear screws, and the assembly will be very secure.
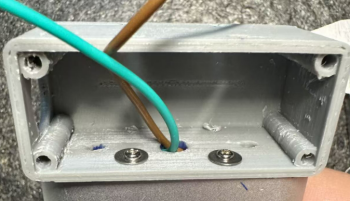
You can use four 2.5 mm stainless steel screws.
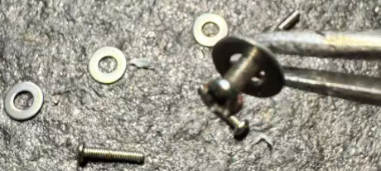
Remove the spring clip from the LED light.
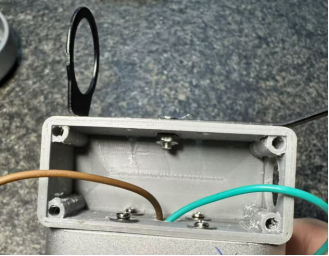
Drill holes for mounting.
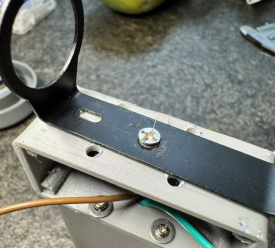
Use a sleeve to protect the wires as they pass through.
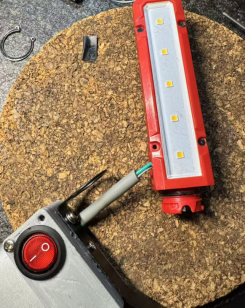
Install the switches, tighten the cover, and the modification is complete.
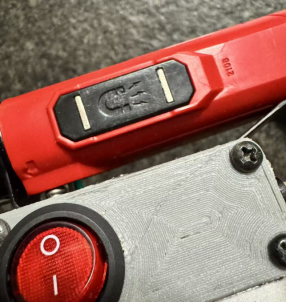
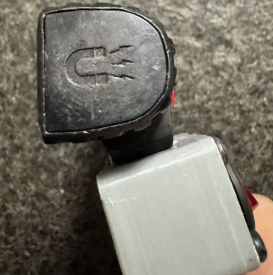
The tool light also has a magnet on the tail.
The red switch is the power-off switch, while the black momentary switch controls the light. Press it once for low brightness, press it a second time for high brightness, and press it a third time to turn the light off.
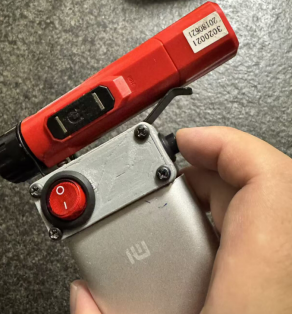
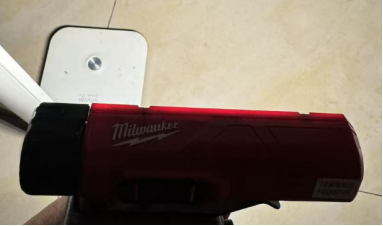
You can go for an entire week without charging it. The modification is complete.