DIY Small Night Light with 18650 Batteries


If you are interested in DIY small night lights, you might want to take a look at this article.
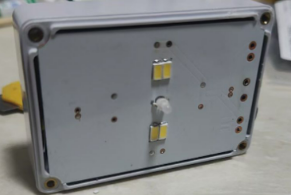
First, let’s take a look at the finished product.
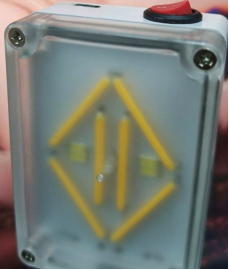
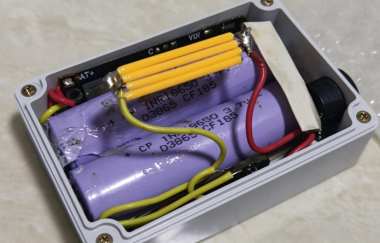
Suppose you happen to have a waterproof box that is just the right size to hold two 18650 batteries. At this point, you can get the idea of making a small night light.
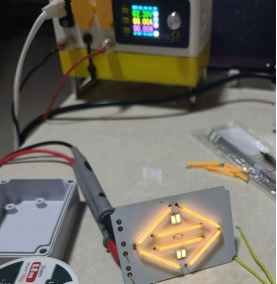
You can first assemble the components for a test. The 4056 charger and the 7135 driver for the light tube work normally.
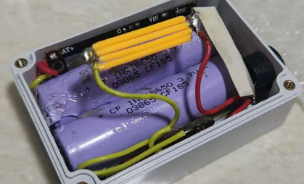
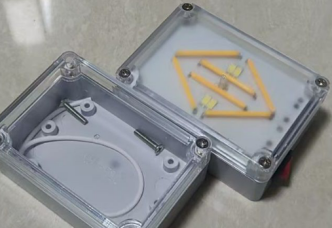
The idea is very simple. You can position the circuit board along the joint in the middle of the box. You can then cut away part of the transparent cover or part of the bottom shell so that the circuit board can be embedded in the box.
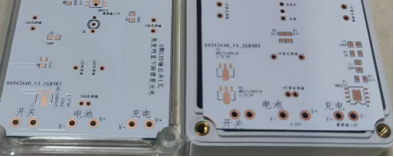
This is what the first version looks like. You can replace the 4056 with an SM5212, which provides reverse-polarity protection in addition to its charging function.
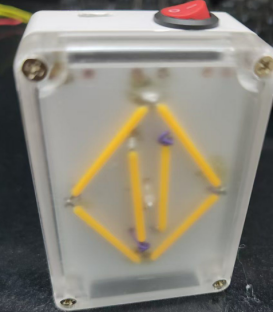
After the test assembly, you may find that the light tube is too yellow and that the color does not look comfortable. You may also find that the 350 mA current is a little too low. Therefore, you can add another 7135 to increase the output to 2 watts and add four 1-watt LEDs for reduced-power operation.
This gives you the second version, which uses six 0.5-watt light tubes and four 1-watt LEDs. The actual rated power is 7 watts, but you can limit the current and operate it at only 2 watts. By reducing the operating power, you can improve the LED's luminous efficiency and achieve higher brightness than a conventional setup with the same power consumption.
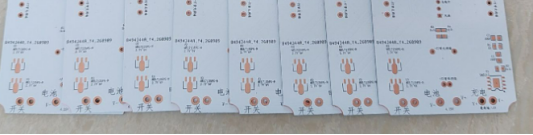
The result still looks quite good. You can use wood sandpaper to turn the transparent shell into a frosted finish, and the appearance immediately becomes much better.
In actual use, you will find that the heat generation is acceptable. The mechanical switch also provides a good tactile feel and generally offers a longer service life than an electronic tactile switch. The project is now complete.