
DIY Portable T12 Soldering Station


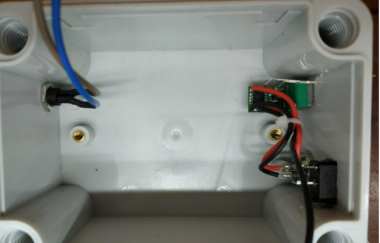
If you frequently perform repair work outdoors and need to solder with a soldering iron, having to plug it into a power strip every time can be very inconvenient. Then, you might come up with the idea of building a portable T12 soldering station using materials you happen to have on hand.
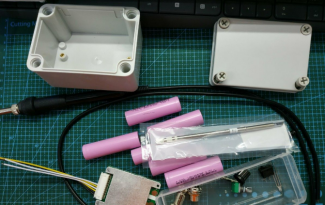
Suppose you happen to have six 18650 batteries, a battery protection board, and a waterproof junction box.
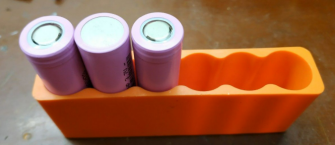
First, start by welding the battery cells together.
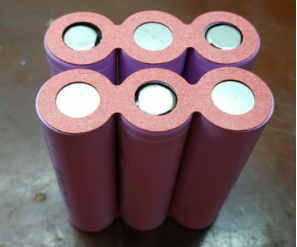
Then, apply fish paper insulation.
Capacitive spot welder
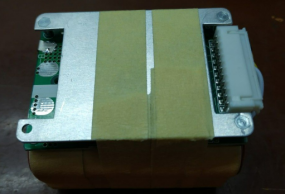
Once the welding is complete.
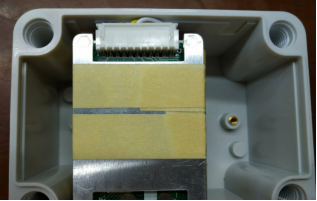
The battery pack fits perfectly inside the waterproof junction box.
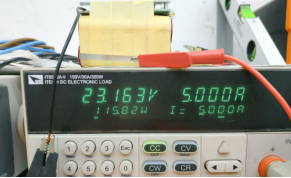
After fully charging the batteries, perform a discharge test at 5 A.
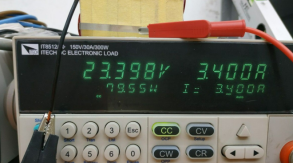
80 W discharge test
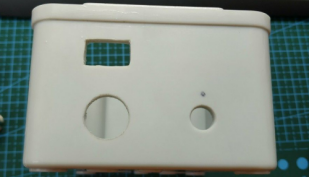
Next, drill holes in the waterproof junction box.
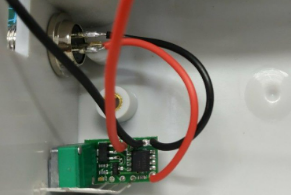
Install the control board and aviation connector.
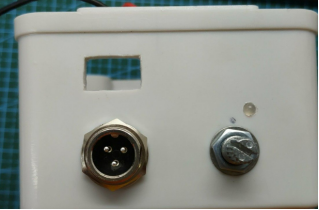
Install the aviation connector and potentiometer.
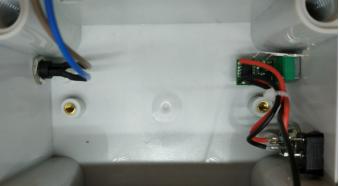
Install the switch. A 5.5 mm DC jack is also installed at the back to make charging and external power connections more convenient.
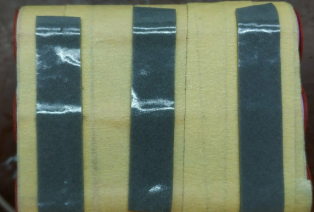
Apply 3M adhesive tape to the bottom of the battery compartment.
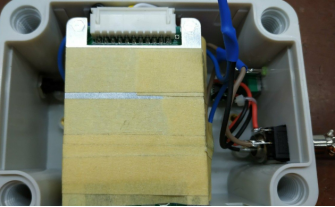
Install the battery pack.
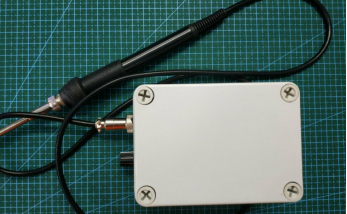
Attach the cover.
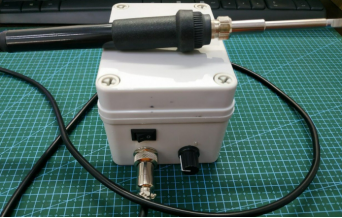
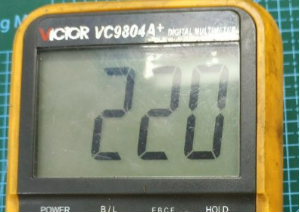
You can first use the temperature probe of a multimeter to check the temperature. When you turn on the station and set the temperature control to its minimum, the temperature reaches approximately 220°C.
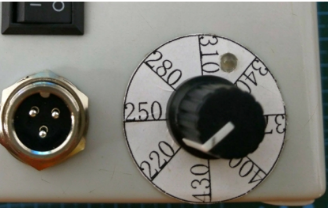
Install the temperature display dial.
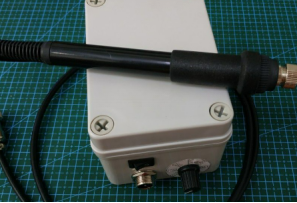
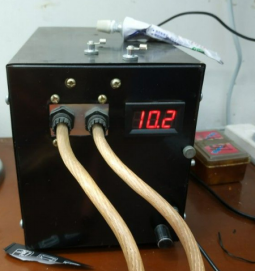
The finished product looks roughly like this. However, a voltage display function is still missing.
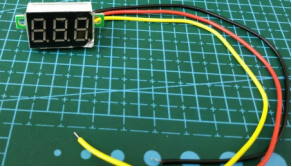
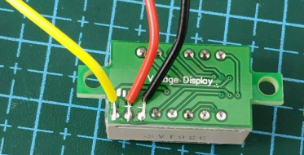
This display has three wires: red for the power supply, black for the negative terminal, and yellow for the voltage signal.
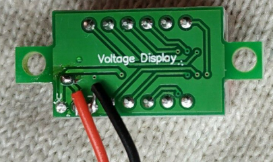
You can directly measure the power supply voltage by connecting the yellow wire to the red wire.
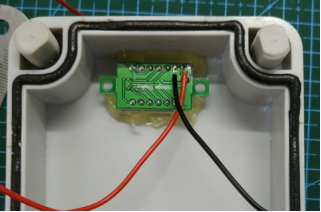
Drill a hole in the enclosure, install the display, and secure it with hot glue.
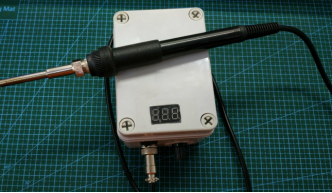
Apply a layer of transparent tape to the surface.
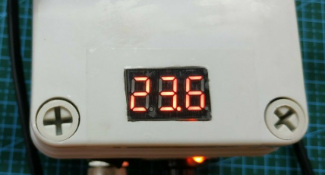
The display shows the voltage during heating.
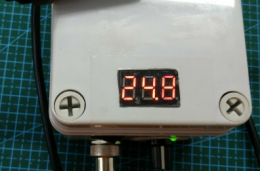
The voltage after heating is complete. The project is finished.


