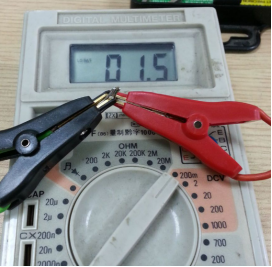
DIY Milliohm Meter Attachment


If you are interested in building a DIY milliohm meter attachment, this article is worth checking out.
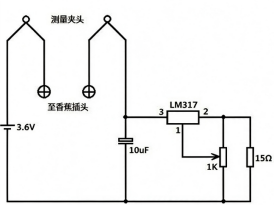
This is the circuit diagram for this project.
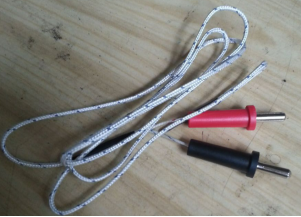
If you happen to have an old multimeter on hand, you can remove its temperature probe to obtain a pair of banana plugs.
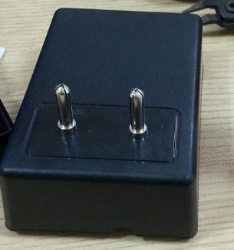
Choose a suitable enclosure, install the banana plugs, and secure them with glue.
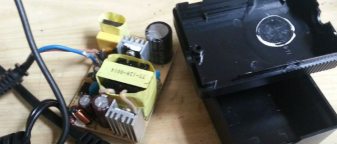
Here is a quick reminder: the standard spacing between multimeter input jacks is 19.5 mm.
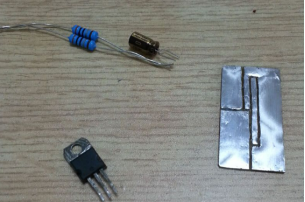
The PCB design is very simple, and you do not need to drill any holes. You can secure it in place with double-sided tape on the back. To prevent the copper surface from oxidizing, you can apply a layer of solder to it. If you do not have a 15 Ω resistor, you can use two 30 Ω resistors connected in parallel as a substitute.
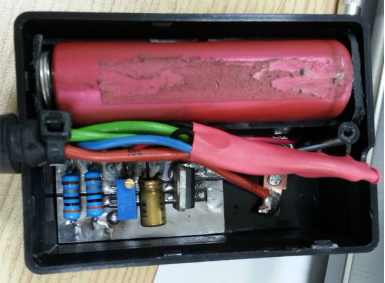
Once assembled, this is what the finished product looks like.
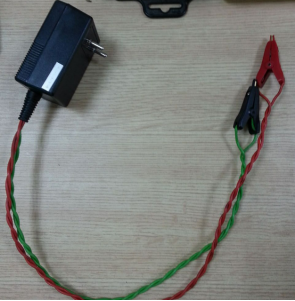
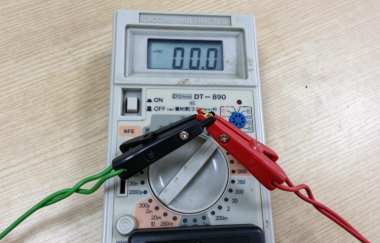
First, perform a short-circuit test.
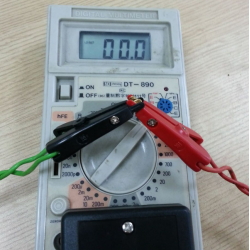
Test a 15 mΩ resistor.