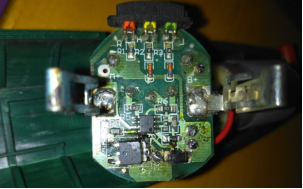
DIY Mini Rotary Tool MOSFET Repair


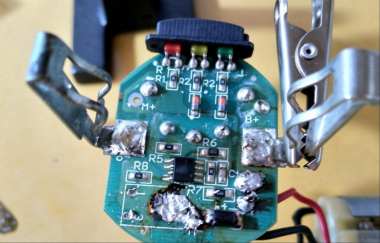
If you have a faulty mini rotary tool that cannot adjust its speed, you can disassemble it for inspection and determine that the MOSFET on the control board has failed.
If you happen to have a replacement MOSFET with the same specifications, you can repair it yourself.
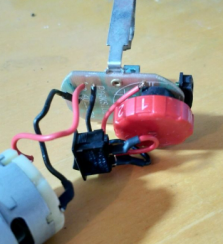
1. First, remove the control board. The entire unit consists of a speed control board and a 395 motor.
2. Inspect the original circuit board. You can see excessive solder buildup in several areas.
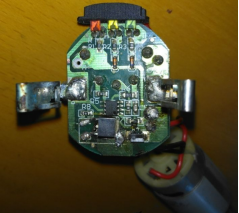
3. Mark the relevant areas to make them easier to identify. Further inspection reveals that the area circled in red on the right has a poor connection, which causes the circuit board to overheat. After removing the excess solder, you discover that no rosin or flux was used during the original soldering process. The solder did not properly bond with the wire, leaving only a small portion of the wire ends attached. The wires themselves also show signs of oxidation. Clean off the remaining solder, apply rosin, and resolder the connections. The overheating problem is then resolved.
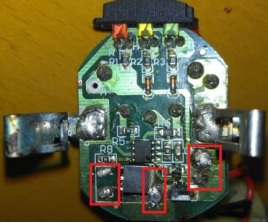
4. Return to the main repair procedure and remove the damaged MOSFET.
After removing it, you can see that the copper traces have been partially lifted and separated from the circuit board substrate.
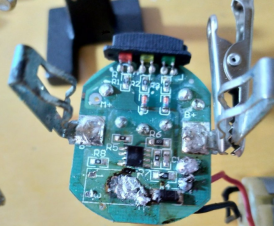
5. Install the new MOSFET and repair the remaining cold solder joints. Power on the device for testing. The tool starts normally, and the speed adjustment, acceleration, and maximum speed functions all work as expected. The repair is complete.