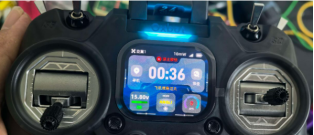
DIY Remote Controller Antenna Upgrade


If you happen to own a NiuBot R1 remote controller, you may find that it feels great to use, but its signal strength could be better. Then, you might come up with the idea of modifying the controller with an external antenna to improve signal reception.
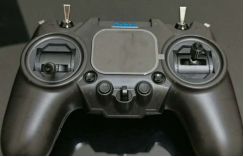
Original Version
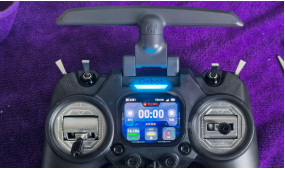
Modified Version
First, disassemble the remote controller. You will find a ring of screws underneath the rubber grip on both the left and right sides.
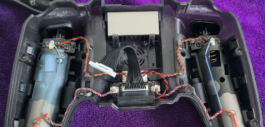
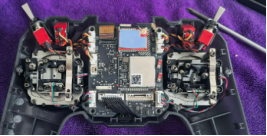
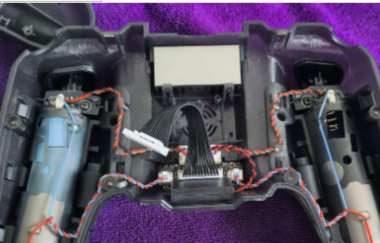
Carefully release the black ribbon cable attached to the back cover. Its connector has a release latch, so never pull it out by force. The internal wiring is neat and well-organized, and the mainboard is finely manufactured. The connectors feature foolproof designs, with different sizes for each interface, so you do not have to worry about plugging them into the wrong ports.
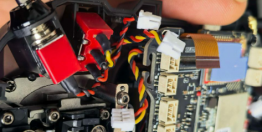
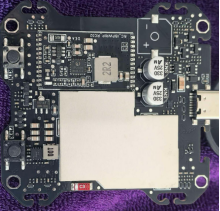
The red component is the remote controller's RF transmitter module. A silicone thermal pad is attached to its surface, allowing it to fit closely against the aluminum alloy heatsink on the back cover. Carefully disconnect the antenna connector from the transmitter module. Then, unplug the surrounding small connectors one by one before disconnecting the screen ribbon cable.
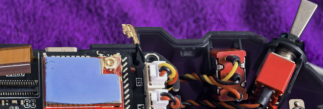
Remove the mainboard and take off the small lighting board. You will then be able to see the built-in antenna.
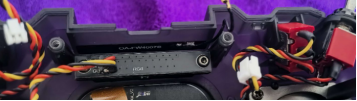
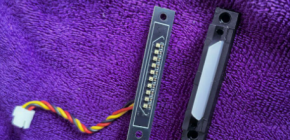
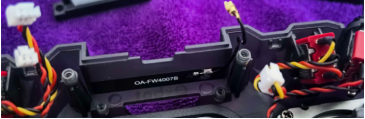
Use a hot air gun to soften the adhesive, then carefully peel off the built-in antenna.
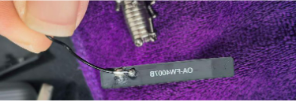
Find a suitable plastic piece and cut it to match the dimensions of the antenna base. Use a marker to mark the hole positions on the plastic piece.
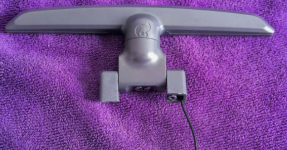
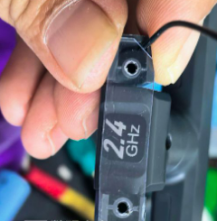
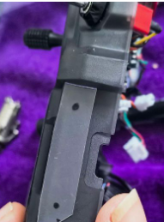
Drill holes at the marked positions. Since the antenna comes with a connector, make the corresponding hole slightly larger to accommodate it.
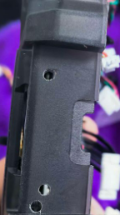
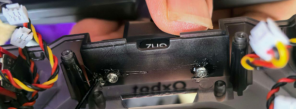
Once everything is properly aligned, secure the antenna with two suitable screws. Apply a little adhesive to prevent the assembly from loosening during subsequent use.
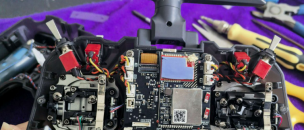
Next, reinstall the components in their original positions and restore the mainboard.
After installation, check the Type-C port at the bottom of the controller. Make sure it does not interfere with the antenna. The modified assembly fits very well.
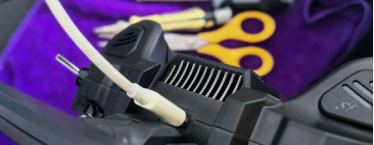
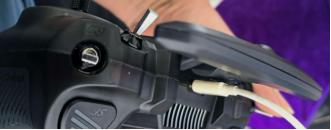
This is how the cable looks when folded. The overall appearance is neat and tidy.
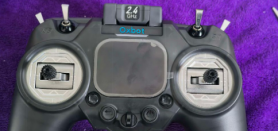
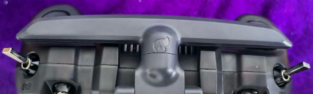
Finally, power on the controller and perform a flight test. Even at the lowest transmission power setting of 10 mW, the remote controller maintains an excellent signal. The modification is a success!