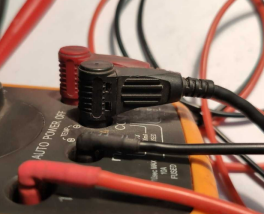
DIY Multimeter Test Leads with 16AWG Silicone Wire


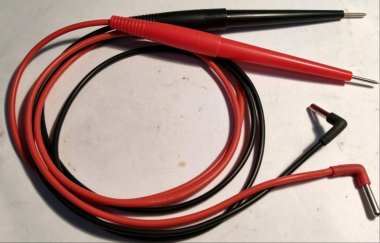
If the internal wire of your multimeter test lead breaks, you can reuse the original plug and make a new pair of test leads with 16AWG silicone wire.
Disassemble the broken test lead and remove the internal copper plug.
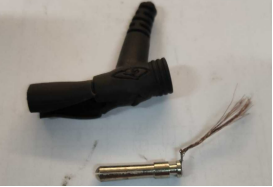
Cut two pieces of brass welding rod, each 10 mm long and 3 mm in diameter, and solder them onto the copper plugs to improve the insertion and removal feel of your test leads.
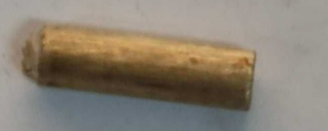
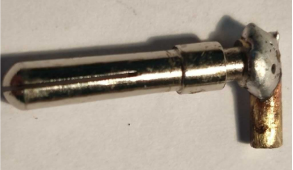
Use a small file to carefully smooth and shape the soldered joints.
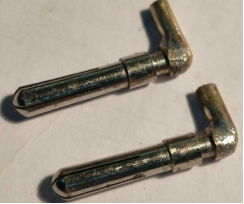
Grind away half of the end of each brass rod to leave enough space for wire connections and soldering.
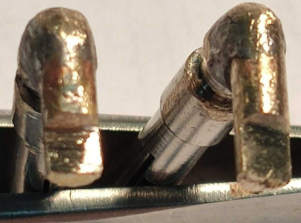
Solder the silicone test lead wires in place. You need to work quickly and precisely during this step. Prolonged heating may cause the previously formed solder joints to melt and come loose.
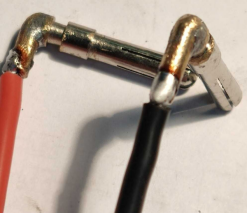
Smooth out any burrs around the solder joints, then cover them with heat-shrink tubing to provide electrical insulation.
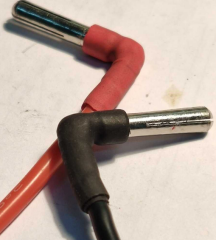
For the test lead handles, use the MF47-compatible probe handles. These handles allow you to hold both test leads in one hand while taking measurements.
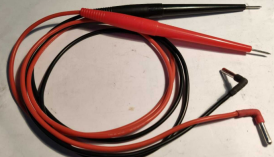
You can compare them with lantern-head-style plugs for reference.
Your DIY multimeter test leads are now complete!