DIY Solar-Powered LED Light


If you often watch TV at night, leaving the background lights off can strain your eyes, while keeping the lights on consumes electricity continuously. You may therefore want to build a lighting system that operates without drawing power from the mains. If you already have a 6V/1A solar panel, a rechargeable battery, and a USB LED light board on hand, you can start this DIY modification project.
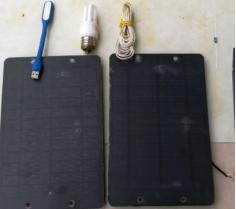
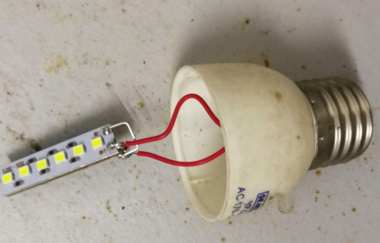
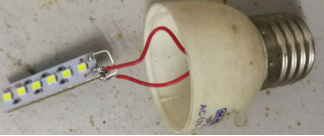
First, prepare all the materials. Both the rechargeable battery and the solar panel are rated at 6V, making them suitable for powering the USB light. To avoid damaging the wall, you can reuse the existing wall lamp position. You will need to modify a screw-base lamp holder. Fortunately, you may already have an energy-saving bulb available. Remove its lamp tube and internal circuit board, then take out the USB LED board and solder it onto the screw-base holder. After measuring and confirming the wiring polarity, you can identify the screw base as the positive terminal and the center contact as the negative terminal. Once everything is connected, power on the light for testing. If the brightness of a single LED board is insufficient, you can add another one. Combining two LED boards provides brightness closer to your expectations. To extend their service life, you can add a diode to reduce the voltage from 6V to approximately 5.3V. During testing, the LED boards draw approximately 40mA, which meets the requirements.
Next, prepare the solar power supply system. When sunlight is relatively weak, a single 6V/1A solar panel produces an output current of only 280mA, which is insufficient to fully charge the battery. You can therefore connect two solar panels in parallel. After connecting them in parallel, the output current can reach 550mA. Based on seven hours of effective sunlight per day, the generated power should be sufficient to fully charge a 6V/4A rechargeable battery.
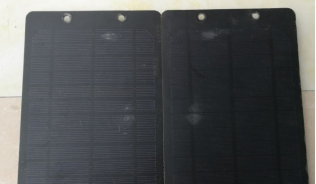
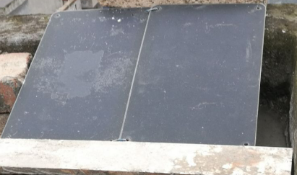
After that, arrange the wiring. Run the cables along the eaves toward the rooftop and secure them properly with cable clips. Place the solar panels directly on the rooftop and hold them in position with bricks. This method is simple and reliable. You can place the rechargeable battery near the secondary window, where the available space is suitable for convenient installation.
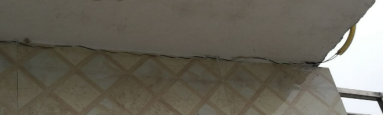
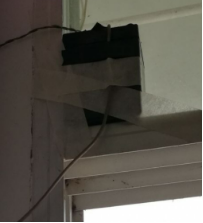
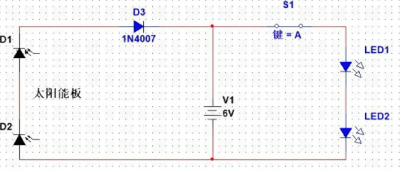
Next, start connecting the wires. Once the solar voltage comes in, connect the negative terminal directly to the battery's negative terminal. Connect a 1N4007 diode to the positive terminal to prevent reverse current discharge.
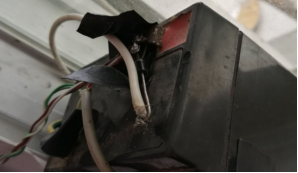
Install the modified lamp into the lamp holder, disconnect the original electrical wiring, and properly insulate and secure the exposed wires. Then, use connecting wires to link the lamp holder to the rechargeable battery. The lamp should light up successfully. After testing it, you may notice that the system lacks an on/off control. Add a switch to solve this problem, and your DIY lighting modification is complete. The accompanying photo shows the lamp illuminated during the daytime.
A simple circuit diagram is also provided for reference.