
Are you tired of dealing with a slow-charging power bank that seems to have a never-ending thirst for more capacity? If you find yourself struggling with a compact but underperforming aluminum alloy-clad charger, fret not! There's a solution that can unlock its true potential and make it a powerful companion for all your charging needs. By following some simple modifications, you can transform this seemingly lackluster power bank into a high-performing beast, capable of delivering the maximum output you desire. Let's delve into the steps and unleash the full power of your trusty gadget!
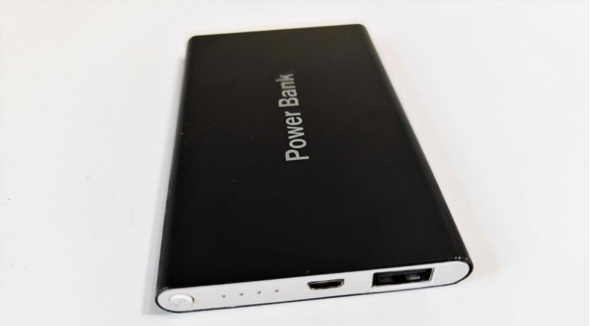
It has an aluminum alloy shell, and its appearance is not bad; mainly, it has a small and compact size.
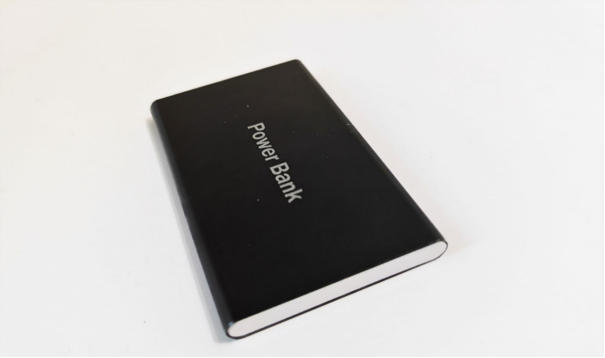
The power bank is labeled as 6000 capacity, but it actually has 606090 batteries, with a real capacity of 4000. Charging and discharging are both at 1A, and it struggles with a slightly heavy load, so some modifications are necessary.
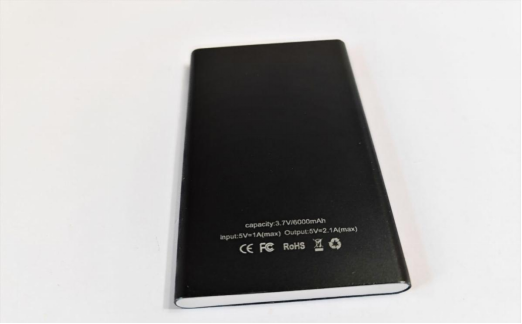
First, dismantle it.
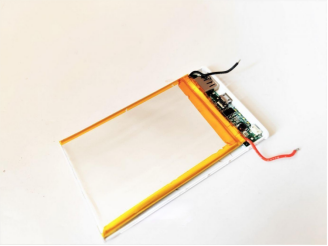
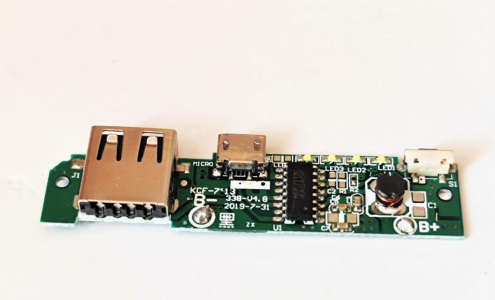
A boosting module.
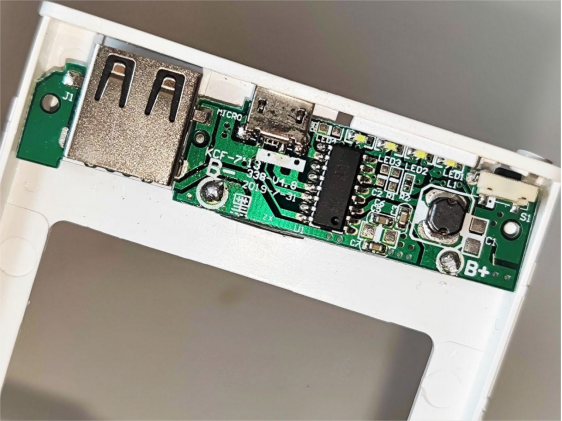
Remove the chip section.
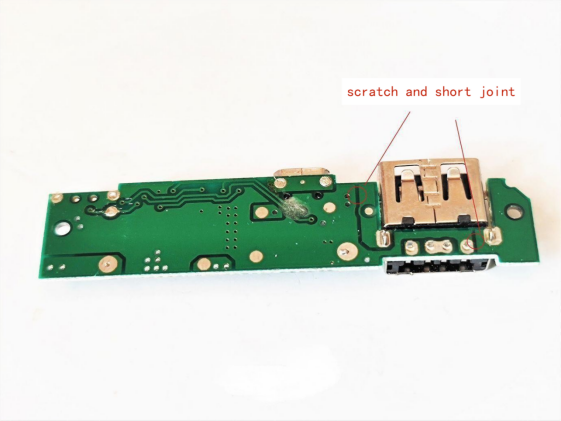
If there is a disconnection between the back U-port cover and the negative pole, scrape it and solder to improve the current flow.
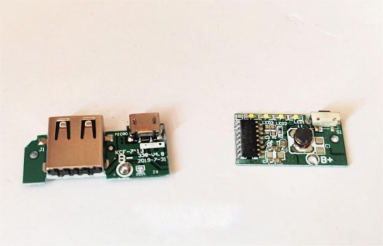
Cut in the middle.
Use the IP5306 integrated charging and discharging board.
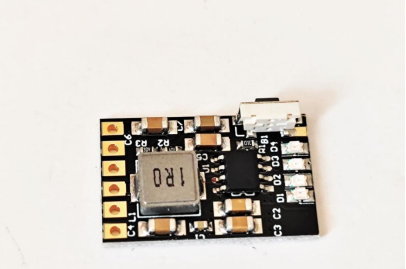
For charging and discharging at 2A or above.
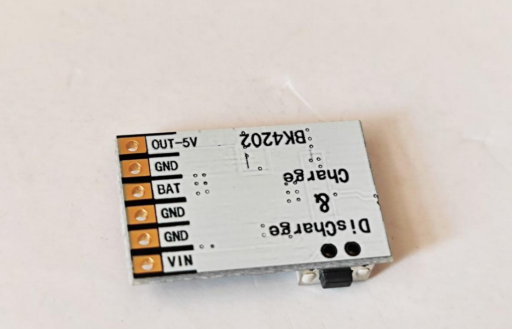
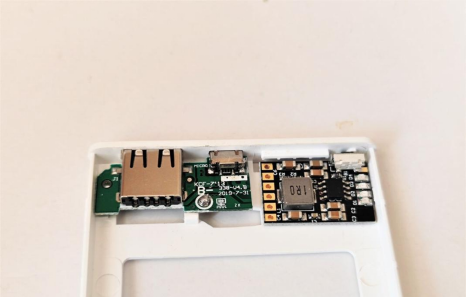
Place everything inside.
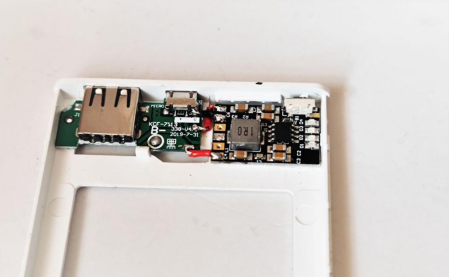
Make the connections and fix them in place.
Test the battery inside.
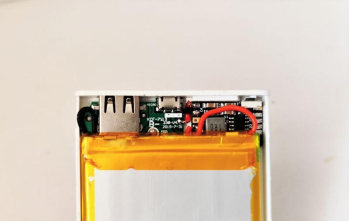
It's found that the internal resistance has increased significantly, causing a severe voltage drop, and the capacity is only left with 2000, making it almost ineffective.
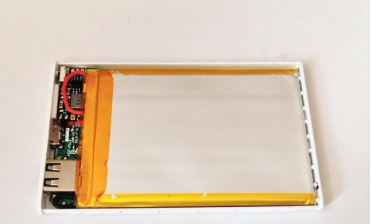
If you notice that the original board has huge wire resistance, you can add solder to enhance current flow in multiple directions and move the four indicator lights' flywires to the corresponding positions on the top.
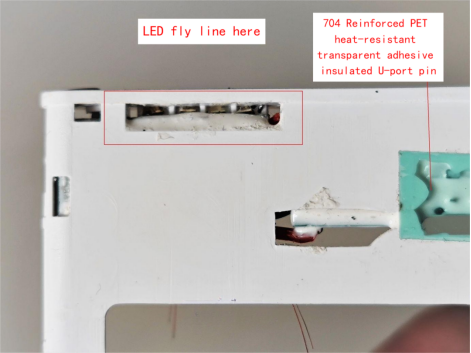
Insert these dividers; there's a risk if the U-port pins are exposed, so add 704 insulation for reinforcement and then apply a layer of high-temperature PET tape on the outside.
Find a spare battery of the same model in stock, test its capacity, and if it's around 4000, there's almost no loss. After the IP5306 is turned off, the static current measures around 10ua, so there's no need for a protection board.
Assemble everything properly.
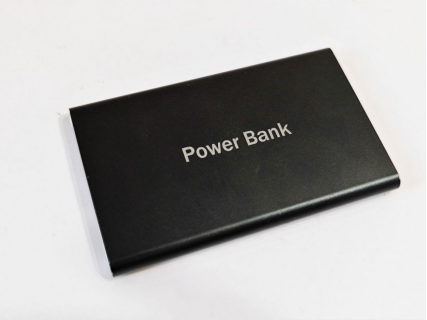
If the test goes well and it can handle charging and discharging at 2A or above, with a maximum output power of 12W, then it can handle 5V smartphones. The IP5306 has high efficiency, and it can charge a 3000mAh phone from 0 to full.
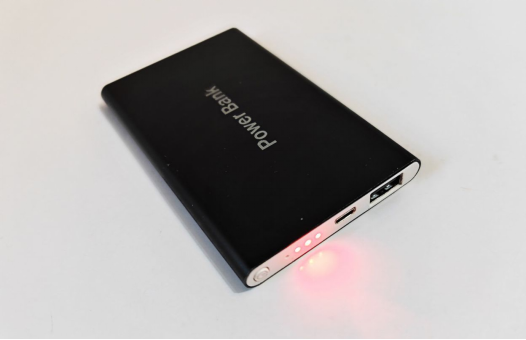
Done!


