
If you're a fitness enthusiast looking to stay active despite hot weather, consider night cycling instead of running. To ensure your safety during nighttime rides, bike taillights are essential. Discover how to create a budget-friendly DIY bike taillight or safety warning light with ease.
For this project, you'll need a programmable RGB LED, a compact battery with a protective board, a spotlight, a battery pack assembled from several batteries, and a taillight.
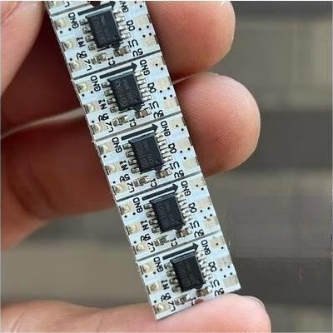
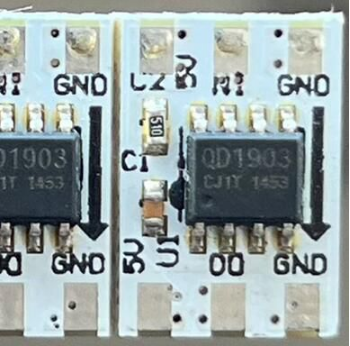
DP1903/QD1903 is a specialized circuit designed to control three-channel LED drivers. This integrated system includes a digital interface, data latch, and high-voltage LED driver circuits. By utilizing an external controller, you can achieve impressive grayscale control and vibrant dot matrix illumination for outdoor screens.
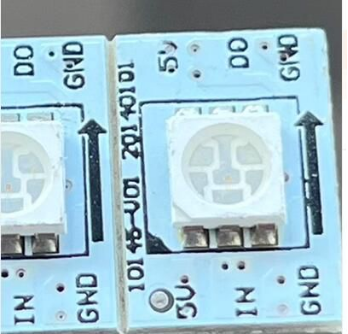
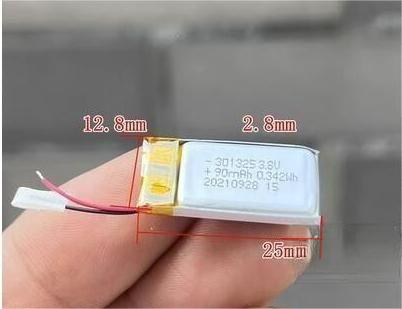
To get started, ensure that the voltage requirements of your small RGB LED are compatible with your components. Confirm its usability with a lithium battery and assess its brightness and power consumption, considering the limited 90mAh capacity of the small battery. Keep in mind that the DP1903-driven RGB LED will also require a microcontroller to function effectively.
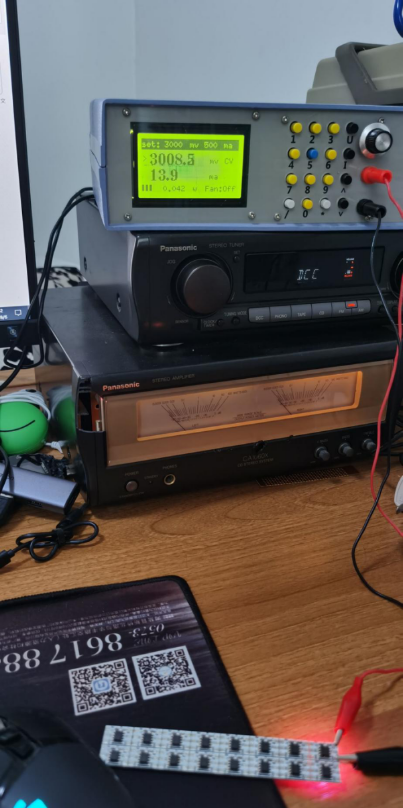
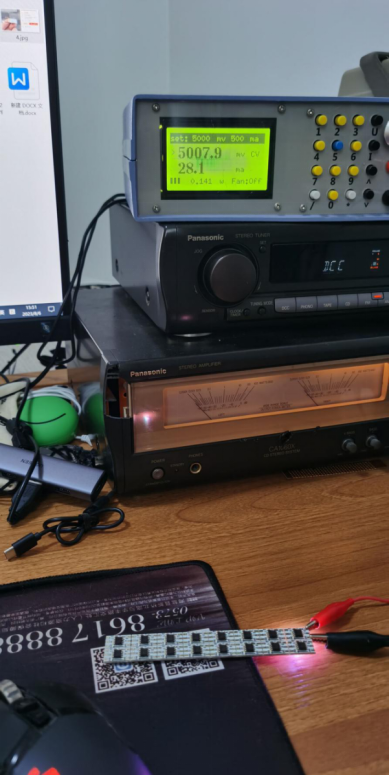
Upon receiving your components, consider repurposing a voltage meter board with an STC8K chip from the 51 series. Connect the small RGB LED using the guidelines from DP1903's manual. If you encounter difficulties, the troubleshooting process might resemble that of a ws2812 chip issue. Once operational, the LED offers satisfying brightness, drawing around 30mA at full capacity and roughly 15mA at 3V. When combined with a microcontroller, it should consume under 10mA, extending its runtime to over 8 or 9 hours.

Opt for the STC15W104 microcontroller, recognized for its cost-effectiveness, minimal pin count, and compatibility with a lithium battery. If interested, you can even design a PCB with one microcontroller driving three small RGB LEDs. This versatile design serves as both a taillight and a small core board, ensuring a backup plan if the taillight element encounters challenges.
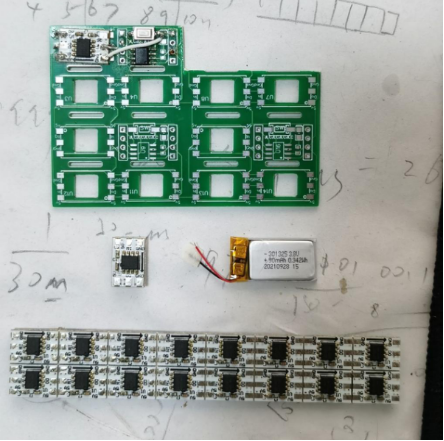
Crafting the PCB and soldering the components is straightforward. With one microcontroller, a small RGB LED module, and a switch, you can create a functional lighting system. While designing, ensure proper wire connections to avoid any disruptions. When programming the microcontroller, be aware of potential power-down mode issues that may arise from a variable staying locked at 1. This might be due to the limited 128 bytes of RAM in the STC15W104 microcontroller. Using Keil, opt for the Small memory model to avoid complications during compilation.
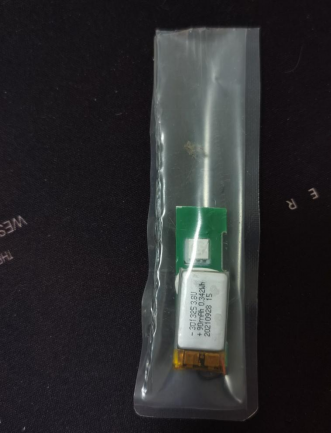
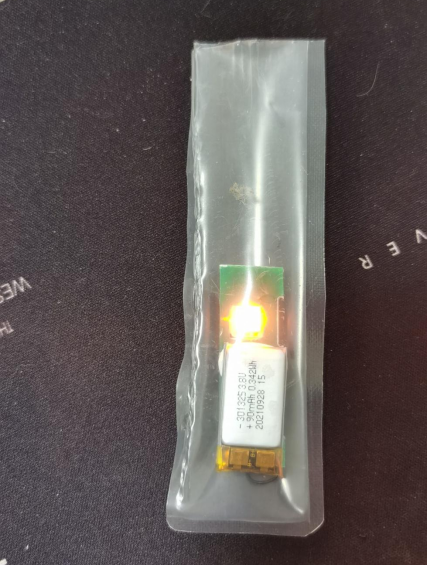
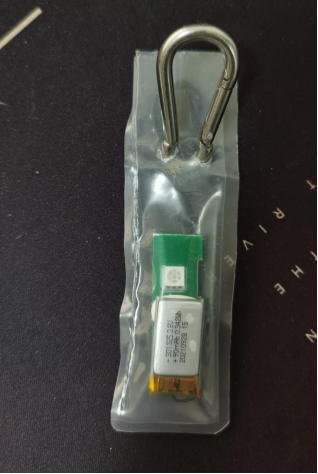
Upon completing the project, you can skip the enclosure step. Instead, use a slightly thicker plastic bag, seal it using a soldering iron, and you're good to go. Attaching the taillight to your bike or bag is easy with fasteners like quick-release buckles, zip ties, or Velcro. Remarkably, a single charge can power the taillight for around 14 hours. Recharging the 90mAh battery is simple using a constant current power supply, and future upgrades can involve a chip like the 4065 for more advanced charging management.
Leveraging the DP1903's daisy-chaining feature opens up exciting possibilities. You can connect multiple units to create captivating effects such as chasing lights, dynamic displays, or even breathing light patterns. This project not only enhances your bike's safety but also offers a chance to delve into microcontroller technology. If you're up for experimentation, the affordable ws2818 light strips can further extend your creative options. Tailor the modifications to your needs, and let your imagination run wild.


