
In this fascinating project, we‘ll delve into the intricacies of creating a compact and feature-packed welding tool that not only promises effortless spot welding but also boasts a range of functionalities to suit every need. From automatic welding levels to customizable pulse parameters and a sleek LED display, this DIY spot welding machine is a testament to ingenuity and creativity.
How to Make a Spot Welding Machine from Scratch?
First, start by preparing the PCB.
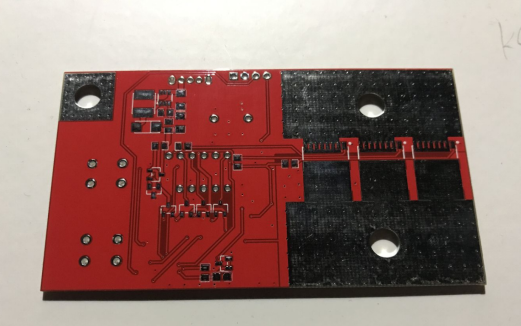
The PCB size is 90*50mm, as shown in the comparison with a coin.
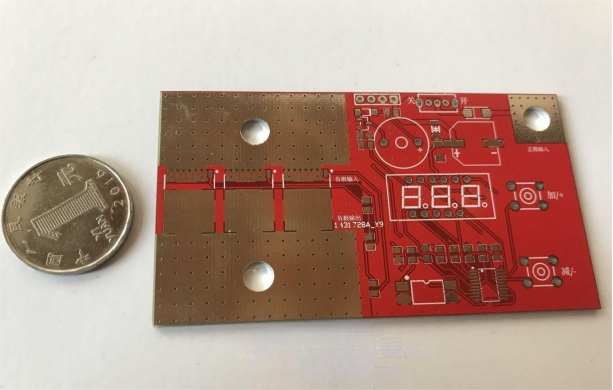
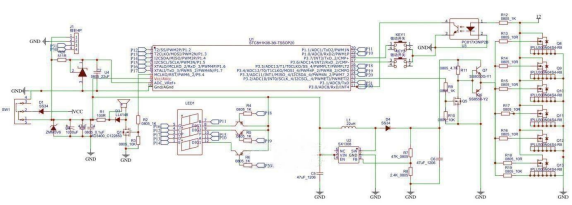
For the MCU, you will be using a 20-pin STC8H1K08 with a 10-bit ADC. You'll need 6 pieces of 4N04R MOSFETs, 3 on the front and 3 on the back. These 6 MOSFETs theoretically support 1800A. With the appropriate capacitors and a spot welding pen, you'll have enough for welding batteries. In fact, for the first board, only 4 MOSFETs were used, which proved to be sufficient. Considering the thin traces on the PCB, it's essential to design it with traces on both sides to distribute the current.
Optocouplers are used for input detection, and an SX1308 boost converter, controlled by a level-shifting circuit, is used to drive the 4N04R MOSFETs. The boost circuit is designed on the back of the PCB. The 6 4N04R MOSFETs are wired with equal-length traces, and each MOSFET gate is equipped with a resistor. So far, there haven't been any instances of MOSFET failure.
Previously, an RGB LED was used to display the welding levels, but it proved to be limited in functionality and unable to display all the necessary information. This time, a three-digit LED seven-segment display is used to show various functions. It's added to a previously designed board.
The main features include:
1. 30 automatic welding levels - no need to configure pulse parameters; simply select the level to start welding.
2. In cases where automatic mode is insufficient, you can switch to manual mode and configure three pulse parameters: pulse width adjustable from 1 to 99ms, pulse interval adjustable from 0.1 to 9.9ms, and pulse count adjustable from 1 to 99 times. This is convenient for various thicknesses of connections.
3. Power supply voltage display for monitoring the welding output voltage.
4. Recording of the number of welding cycles.
5. Adjustable buzzer sound for keypress or welding activation.
6. Restore default settings.
7. Automatic saving of pulse parameters, eliminating the need to reconfigure parameters every time the power is turned on. As long as you don't restore the defaults, both automatic and manual configuration parameters will be stored, and data will not be lost when switching between them.
8. Adjustable welding trigger delay.
9. Auto power-off.
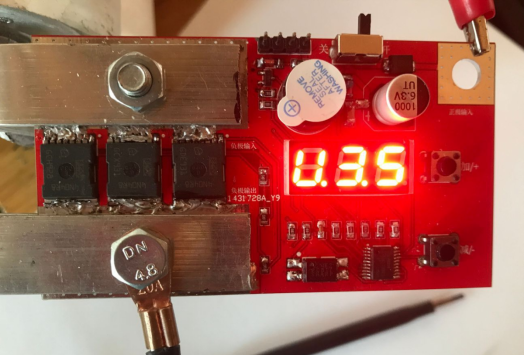
Regarding capacitors, it's important to note that spot welding machines typically use square capacitors from Korea or round capacitors from the United States. If using round capacitors, the internal resistance is higher, and connecting two in series may damage one of them. Square capacitors are a better choice.
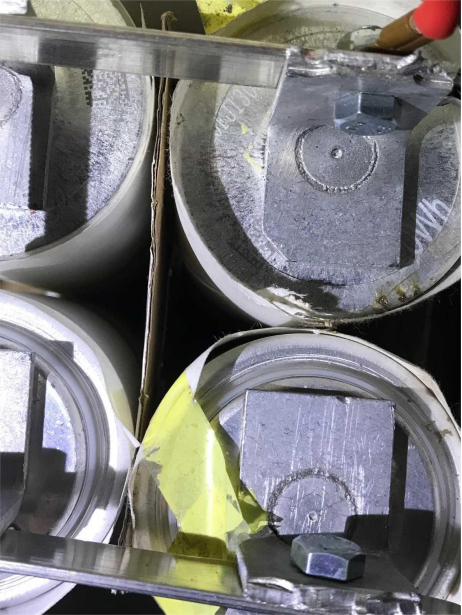
Use copper bars to connect the capacitors together.
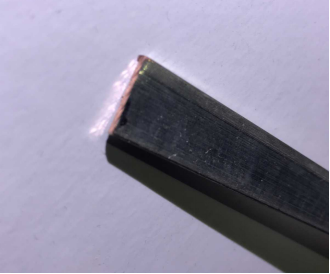
Use 2*15mm copper bars. You can use these for busbars on the PCB as well. For capacitor connections, you only need 4 pieces of 40mm.
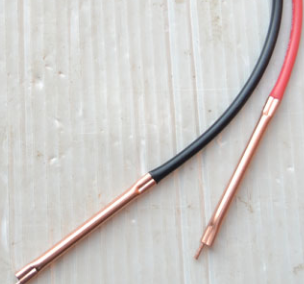
You can purchase ready-made 10AWG spot welding pens.
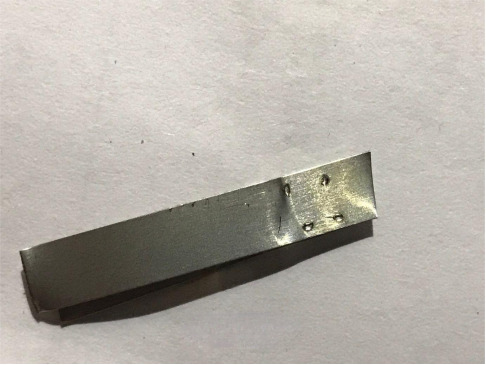
For welding, use 0.15mm nickel-plated steel, stack two pieces, and use a 3ms double-pulse spot welding. The output is timed using the highest-priority timer.
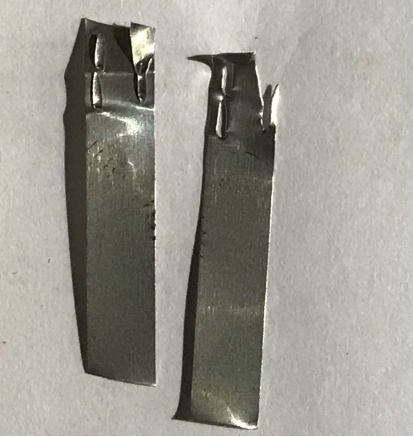
Every weld point should be secure.
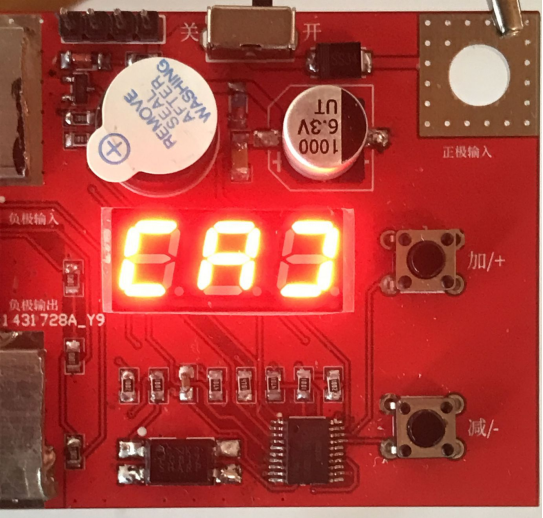
First Page Menu:
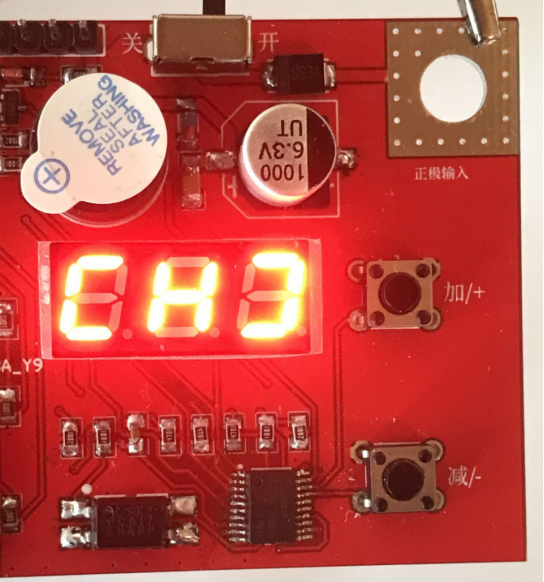
Two buttons with the following functions:
· Button Plus/+: Short press on the default page enters the menu selection page. Long press in the default page is used to reset the welding cycle counter. On the menu page, short press is used to cycle through menu options, and if you navigate too far, long press returns to the previous menu. In parameter configuration, short press increases parameter values.
· Button Minus/-: Short press on the default page is used to toggle between voltage and welding cycle displays. Short press on the menu selection page confirms the menu selection. In the parameter configuration page, short press decreases parameter values. After adjusting parameters, long press returns to the menu selection page. In auto shutdown mode, either button can wake up the system.
The menu in auto mode displays [A], [d], [E], [F], [U], [H]:
· [A]: Welding level settings, 1-30 levels.
· [d]: Welding pen trigger delay time, 0.5S-3S range.
· [E]: Buzzer output settings, four modes: welding output, keypress output, simultaneous output, mute.
· [F]: Auto shutdown delay settings, 1-30 minutes.
· [U]: Automatic return after parameter modification: 1. Return to display voltage, 2. Return to display welding cycle, 3. Turn off the LED display, 4. No automatic return.
· [H]: Switch between auto mode and manual mode and restore default parameters. Entering "33" switches between auto and manual modes, while entering "66" erases all settings and restores default parameters.
In manual mode, the menu displays [A], [C], [d], [E], [F], [U], [H]:
· [A]: Pulse width parameter settings, 1-99ms.
· [C]: Pulse interval parameter settings, 0.1-9.9ms.
· [d]: Pulse count parameter settings, 1-99 times.
The rest are the same as in auto mode.
This spot welding machine has been designed with these features to provide flexibility and control for various welding applications.


