
If there Is your OPPLE charging desk lamp's MICRO USB port loose and in need of an upgrade? We have a solution for you. In this guide, we will walk you through the steps to improve both the battery capacity and charging circuit of your lamp.
Step 1: Disassembly
Begin by carefully disassembling the lamp to access its internal components.
Step 2: Battery Replacement
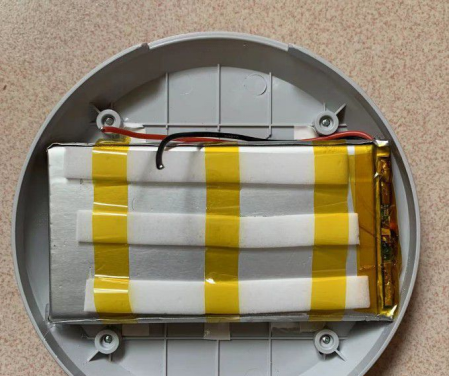
Replace the lamp's original 1800mAH 18650 battery with a high-capacity 12000mAH polymer battery. This upgrade will significantly extend the lamp's operating time, allowing it to shine at its brightest for up to 20 hours.
Step 3: Upgrading the Charging Circuit
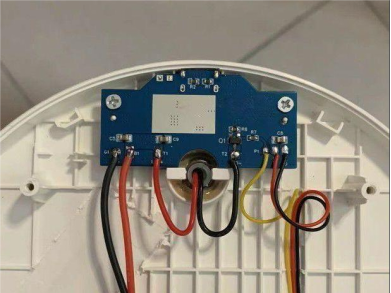
Swap out the lamp's existing linear charging circuit (model: 2SES01NG) with a high-current IP5306 charger. This replacement provides a charging current of approximately 1.6A (varies with the adapter used), ensuring efficient and faster charging.
Lamp Design Overview
Take a closer look at the lamp's design to identify areas that may be prone to issues, such as the MICRO USB port.
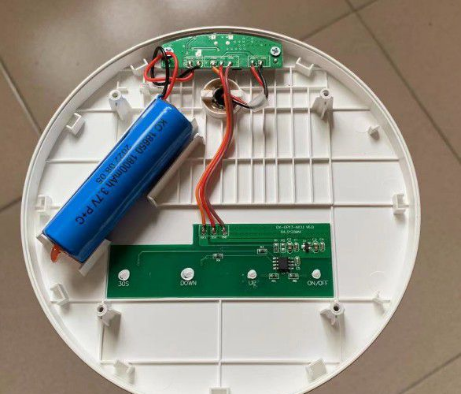
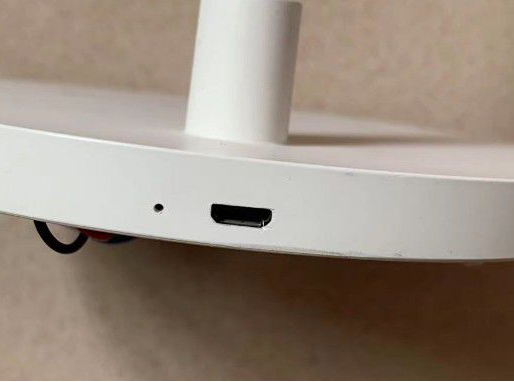
Step-by-Step Modification Process
· PCB Examination: Inspect the Printed Circuit Board.
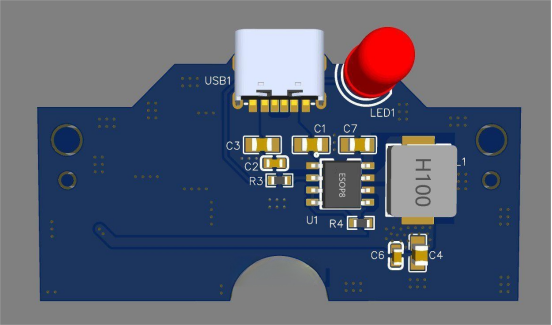
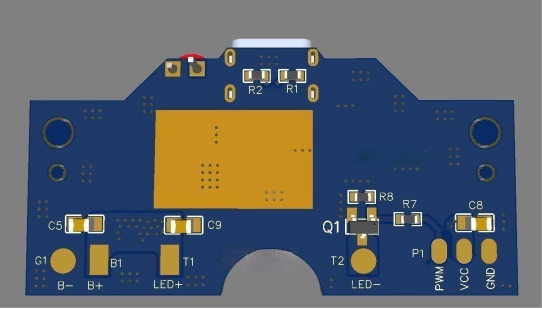
· Prototyping: Create a sample to test modifications.
· Soldering: Skillfully apply soldering paste and attach components.
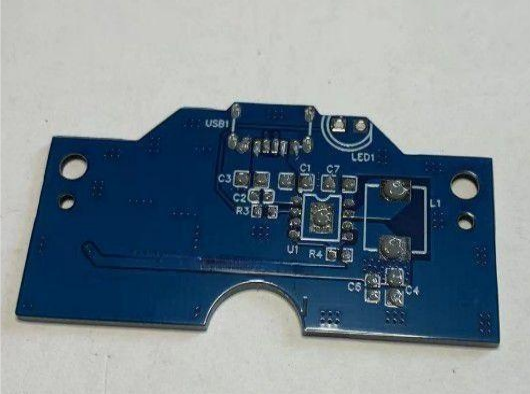
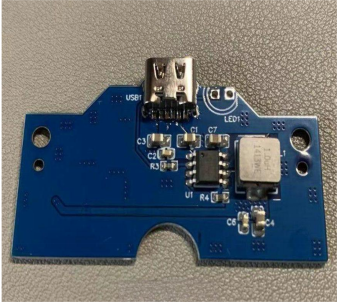
· Hot Air Soldering: Utilize a hot air gun for precise soldering work.
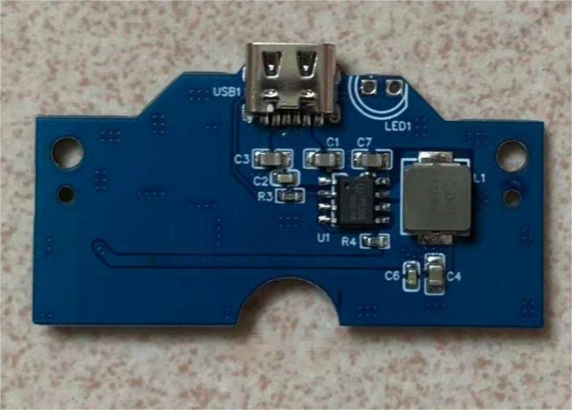
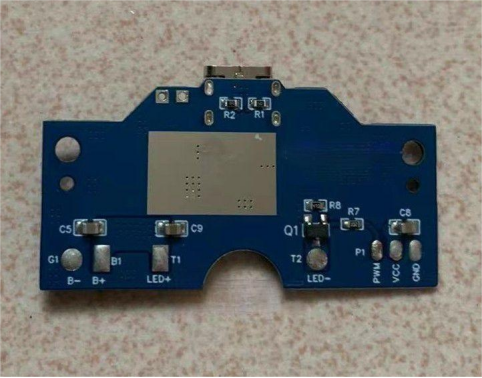
· USB Port Installation: Prepare and mount the new USB port on the PCB.
· Battery Upgrade: Replace the original 18650 batteries with two 6000mAH batteries.
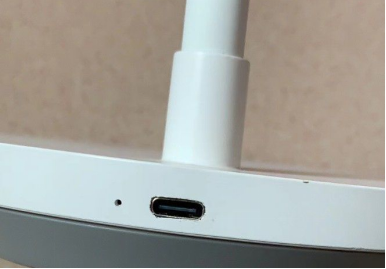
· TYPE-C Charging Port: Verify the functionality of the external TYPE-C charging port.
· Successful Activation: Ensure that the lamp powers on as intended.
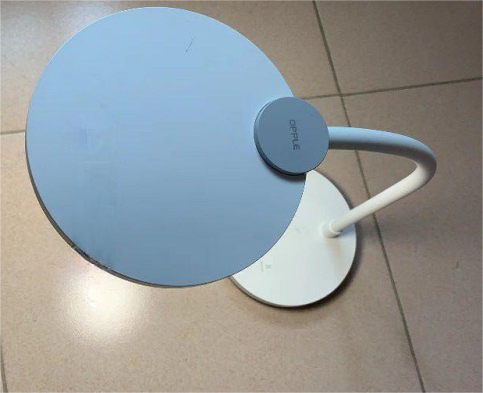
In conclusion, these modifications enhance the performance and durability of your OPPLE charging desk lamp. The upgraded battery and charging circuit, along with a careful assessment of design elements, result in a more efficient and reliable lighting solution. Follow these steps to enjoy improved functionality from your lamp.
Optimize your lamp today with these expert recommendations for a better lighting experience.


