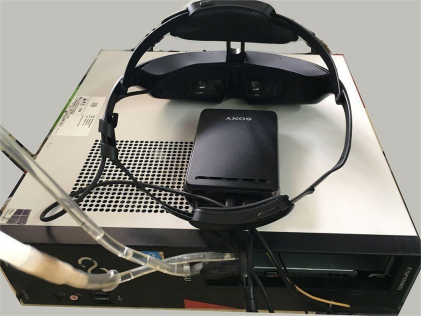
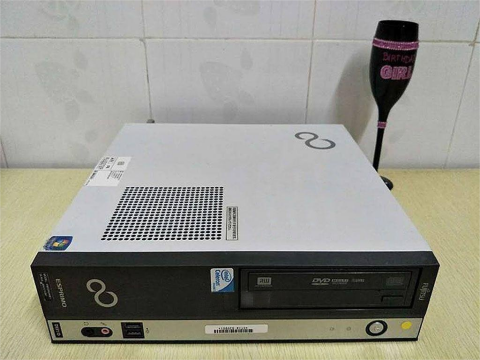
If you possess an idle Fujitsu H77 mini PC D582 featuring an Intel Core i5 3570S CPU, coupled with an ultra-quiet cooler, 4GB of RAM, and a fanless GT610 graphics card, consider a transformation to bring it back into practical use.
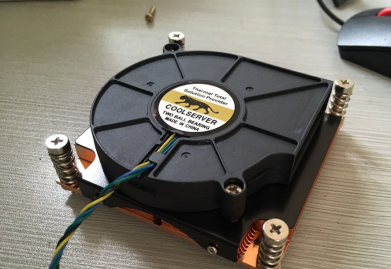
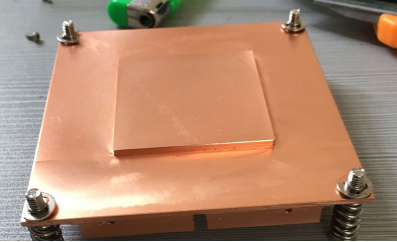
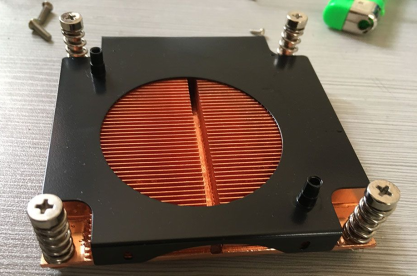
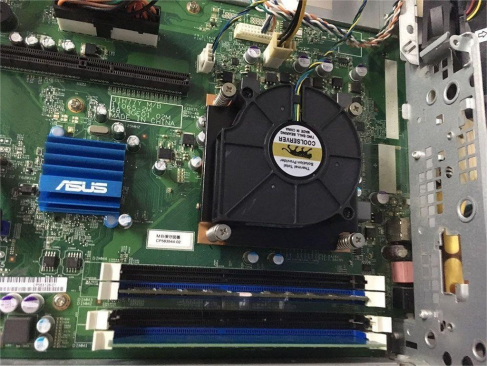
In cases where you lack a cooler and a graphics card, the solution lies in acquiring a slim turbine cooler and installing it strategically, ensuring optimal cooling with exhaust directed towards the North Bridge and graphics card.
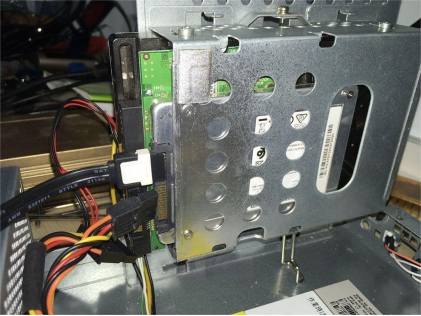
Let's begin by addressing the storage and memory components. Utilize a 512GB Intel SSD as the primary drive and a 1TB Western Digital drive for housing media files, software, and more. Mount the secondary drive, with room below for an SSD, though it may necessitate drilling new screw holes.
For memory, a single 8GB stick is sufficient, offering a dual-channel configuration that allows the system to boot to the desktop in a mere 8 seconds.
Moving on to the sound card, the built-in option does not support multi-channel or digital output and requires replacement. Consider obtaining a Creative SB0770 sound card. Given that the D582 offers just one PCI slot, and it resides in close proximity to the PCI-E graphics card, the addition of a shielding cover is advisable to prevent interference.
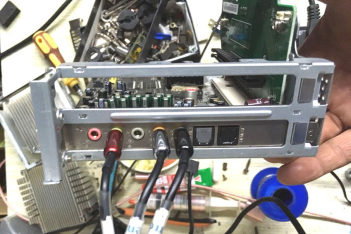
To facilitate this, secure a backplate from a 7-inch display along with four 2cm copper pillars. Remove the sound card's mounting bracket, place it on the shielding cover for alignment, drill holes for the pillars, secure them with nuts, and proceed to install the shielding cover.
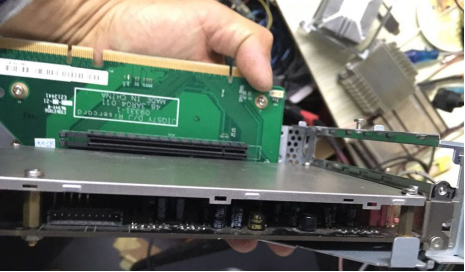
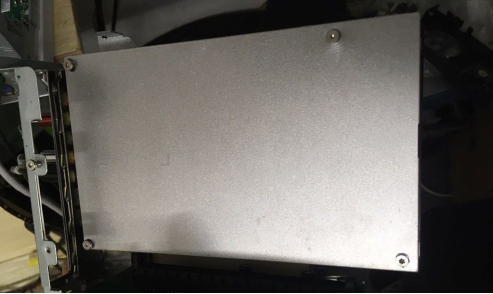
The next challenge lies in the graphics card, specifically an Asus GTX1065, which occupies two slots. Given the D582's sole PCI-E slot, modifications are necessary.
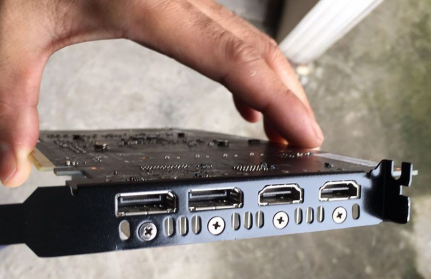
Initiate this process by addressing the bracket. Remove it, secure it with wooden clamps, truncate half of it using an angle grinder, ensure smooth edges, and apply a coat of paint.
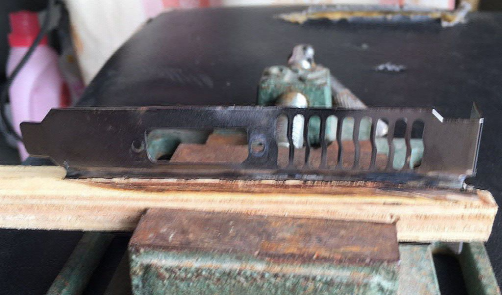
Subsequently, dismantle the graphics card cooler, thereby exposing the motherboard.
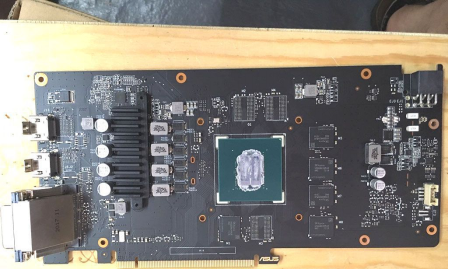
The DVI port's height is an issue; hence, its removal becomes imperative. Pry open the shielding on top and perform several bends until it breaks off, then proceed to cut all the pins.
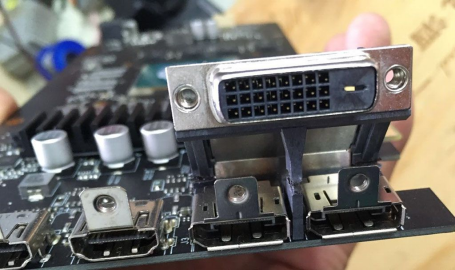
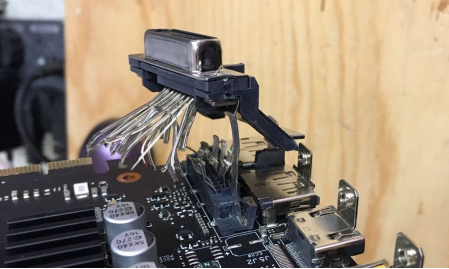
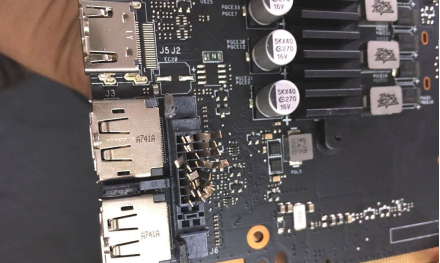
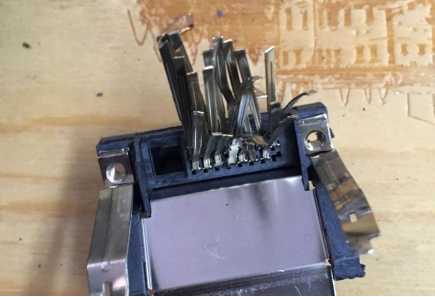
To finalize this step, utilize chrome iron and tweezers to remove the broken pins and eliminate excess solder. Typically, a temperature of 200 degrees suffices for chrome iron; however, this instance demands a higher temperature to effectively melt the solder at the grounding point.
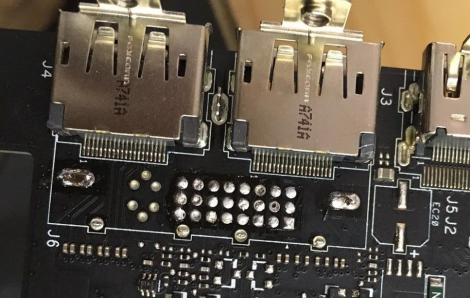
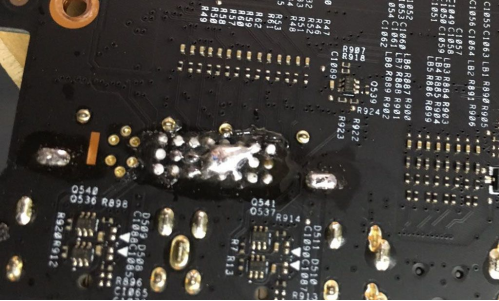
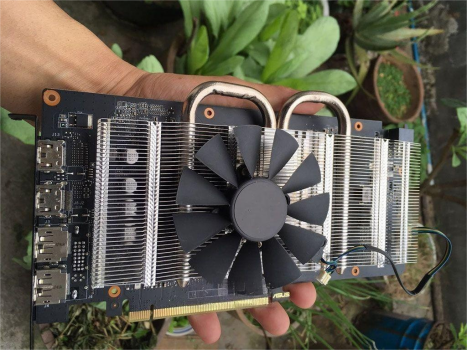
Reinstall the cooler, sans the casing due to its excessive height. Remove a fan from an alternate casing and securely position it at the center using small screws. This modification completes the assembly process, and you can proceed with the installation of the PC.
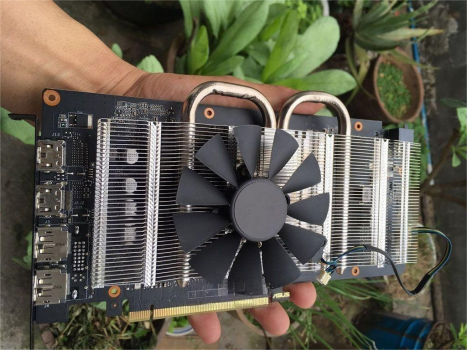
Next in line is the power supply, necessitating the acquisition of a 400W Delta server power supply with a different interface. Disassemble the circuit board and accommodate it within the Fujitsu power supply case.
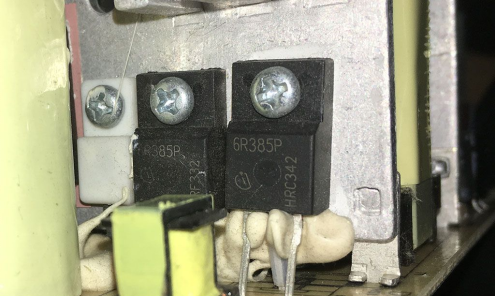
The original power supply case exhibits a relatively elevated external interface, which must be modified to provide ample space for the power supply board.
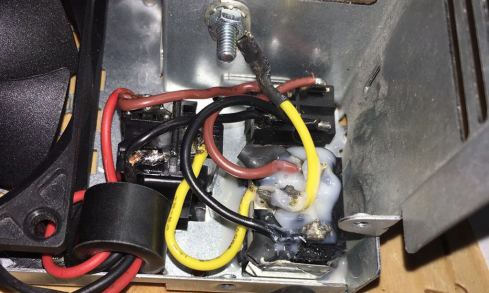
Conclusively, connect all the wires. In instances where the server power supply lacks -12V, rendering the sound card's op-amp inactive, the inclusion of a negative pressure module becomes essential. Retain the -12V for this purpose.
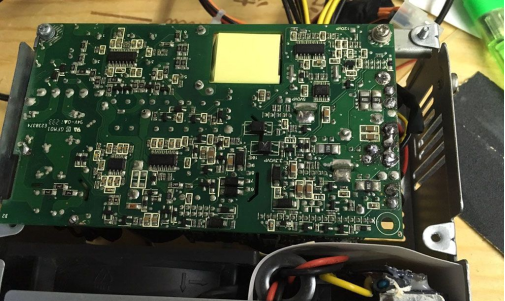
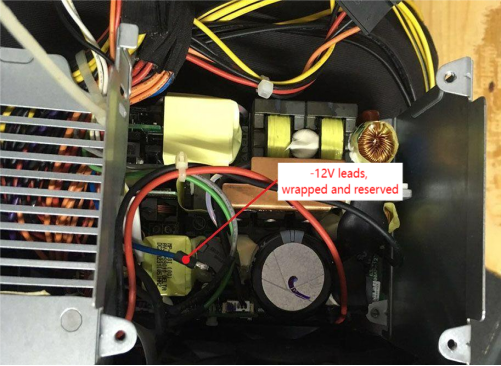
Conduct thorough testing of the setup. If, upon startup and system entry, the power supply fan experiences a slowdown, followed by cessation, and subsequently a power drop and restart, consider attaching the original small fan (connecting only the yellow line for speed monitoring).
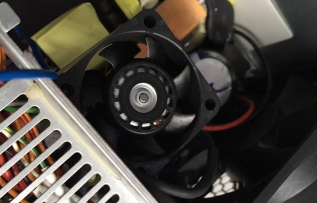
During gaming, if the CPU and power supply fans persistently operate at the lowest speed, maintaining temperatures below 40 degrees, while the graphics card fan accelerates after a few minutes, ultimately reaching temperatures exceeding 70 degrees, it signals the necessity for liquid cooling.
In the event that a liquid cooling head is available but a suitable reservoir is lacking, a temporary solution entails the use of a stainless steel bottle from a CO2 generator for testing purposes. In idle mode, the graphics card temperature remains consistent at 25 degrees, mirroring room temperature.
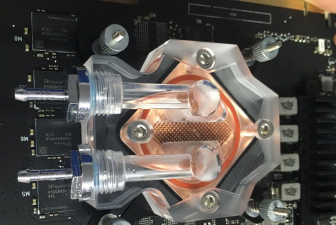
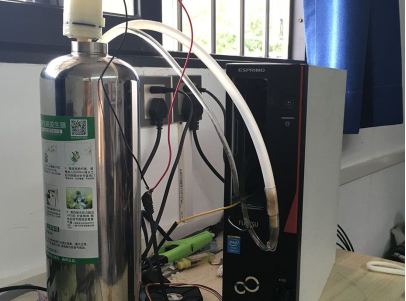
Similarly, during gaming sessions without auxiliary cooling for the water source, the graphics card temperature should not exceed 38 degrees, fluctuating between 33 and 38 degrees during operation. Absence of notable temperature increase in the discharged water may indicate a shortfall in the thermal conductivity of the water cooling head.
In scenarios where elevated temperatures are observed on the graphics card and motherboard, typically around 50 degrees, and the intention is to leverage the CPU fan for cooling, but it operates at a sluggish pace, contemplate the addition of a supplementary small fan for enhanced cooling. Alternatively, explore the prospect of constructing a compact, custom water cooling system that can be accommodated within the optical drive bay.
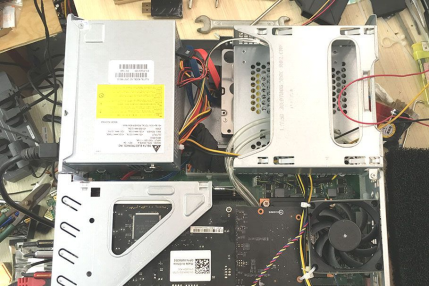
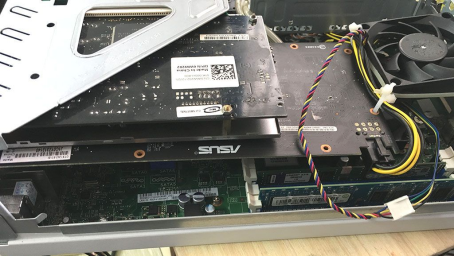
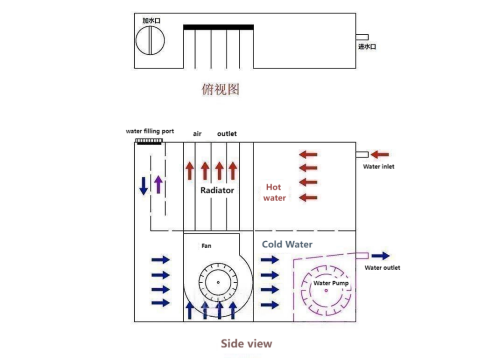
Finally, presented below is a conceptual design and a simplified schematic for a water cooling system, complemented by compatibility with a Sony HMZT3 head-mounted display.
