
If there Before embarking on the journey of transforming your mini notebook with an external Thunderbolt graphics card (eGPU) dock, it's essential to consider the recent developments in Intel's production capacity. Intel's output has seen a significant decline of 60%. Additionally, while Thunderbolt 4 offers some improvements, the enhancements in the context of eGPUs are relatively limited. Thunderbolt 4 mainly elevates performance from the Thunderbolt 3 standard by increasing both one-way and two-way transfer speeds to 40G. For those using a Win3 with its compact screen, an external monitor becomes a necessity when connecting an eGPU. Consequently, there's often little need to prioritize bi-directional data transfer capabilities.
In light of these considerations, the choice of using a 3rd-generation Thunderbolt core board becomes particularly relevant for this modification.
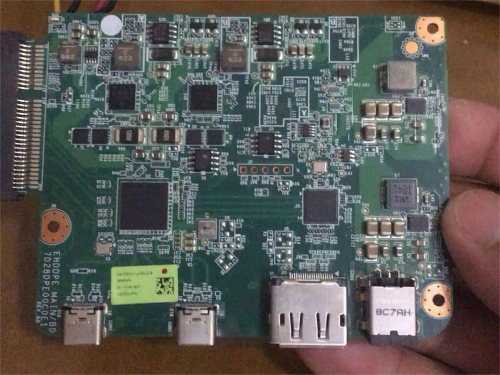
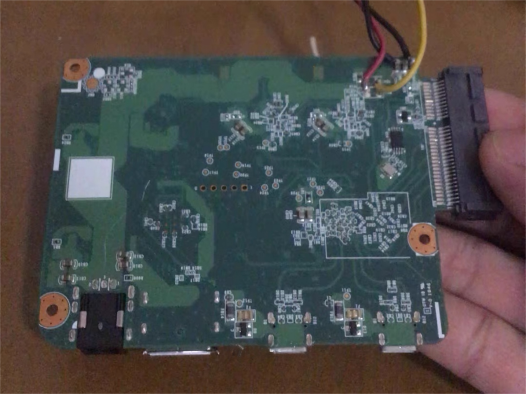
Let's dive into the steps involved in upgrading your mini notebook with an external eGPU dock:
1. Prepare the GPU Slot:
Secure a Fujitsu G42 mini PC's GPU slot and make necessary modifications to ensure a perfect fit.
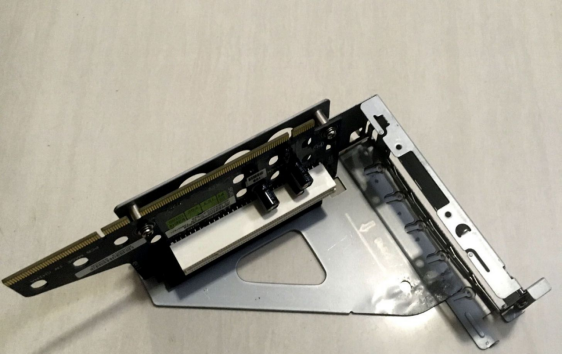
2. Modify the Power Supply:
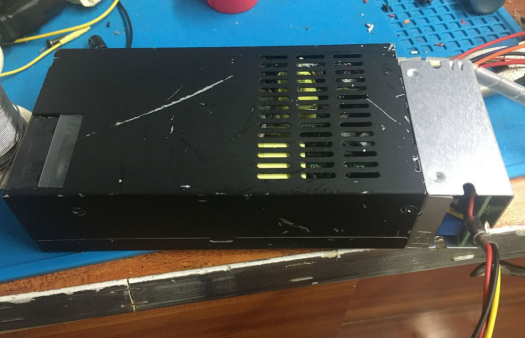
· Opt for a Delta 1U power supply unit.
· Remove all superfluous wires, retaining only the 12V, switch signal, and standby 5V connections.
· Preserve the GPU's 6-pin connector.
· Incorporate a voltage converter to transition to 20V.
· Securely fasten the converter to the end of the power supply unit with screws to create a unified assembly.
3. Extend GPU Connector Cables:
Lengthen the GPU connector cables as needed.
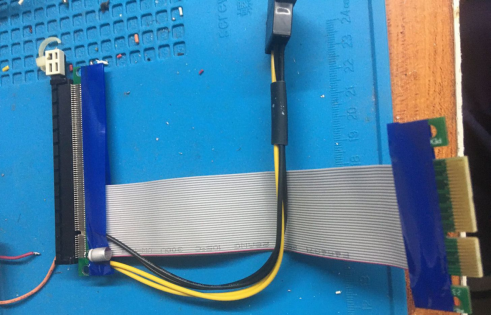
4. Assemble the Components:
· Assemble the modified GPU slot and power supply unit to ensure compatibility.
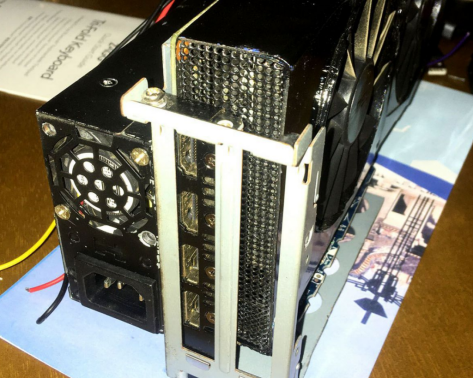
· Trim excess parts from the bracket that hinder installation and apply protective paint.
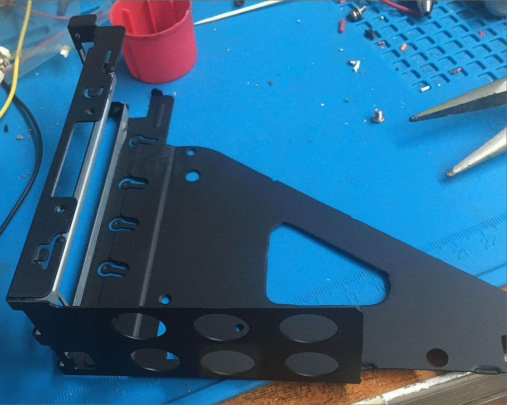
· Drill two new holes to facilitate attachment of the power supply and GPU with hard drive screws.
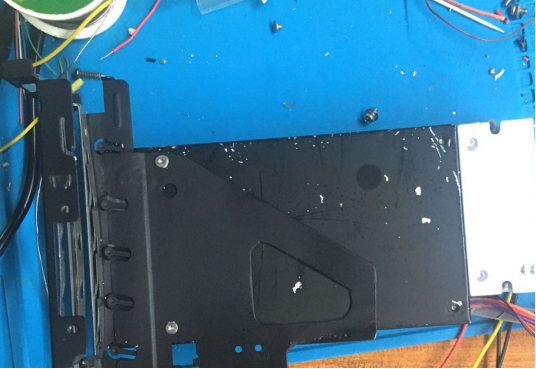
5. Construct the Base:
· Employ a wooden board as a stable base for the assembly.
· In case the GPU adapter cables or spatial constraints pose challenges during installation, consider procuring a 90-degree adapter for a suitable fit.
· Once the proper positioning is confirmed, secure the GPU slot and circuit board using epoxy adhesive.
· Secure the Thunderbolt board to the base with three screws and three plastic standoffs.
· Power up the setup and conduct a thorough functionality test.
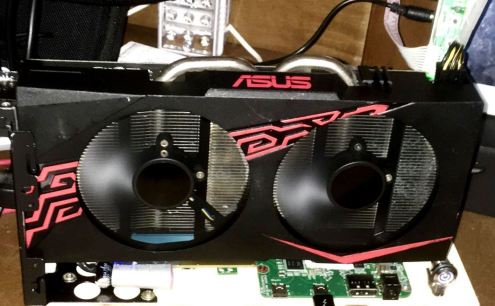
6. Create the Front Panel:
· Craft a sleek front panel using black acrylic glass.
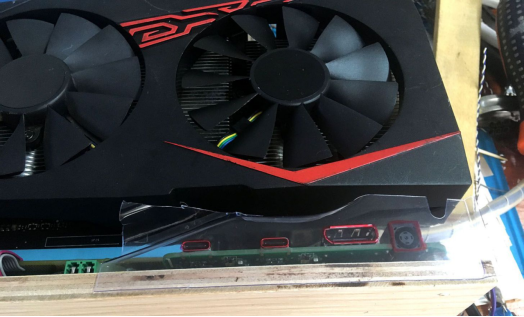
· Utilize a transparent plastic sheet as a template for precise placement.
· Mark hole locations using an oil-based pen.
· Carefully cut out the holes with an art knife and affix the plastic sheet.
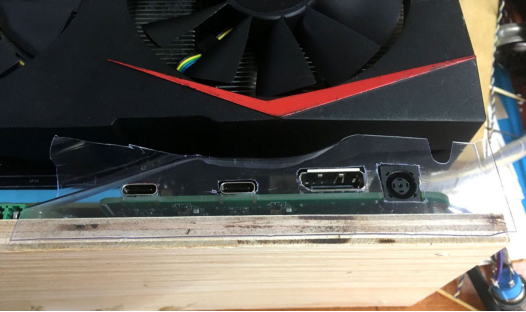
7. Finalize the Setup:
· Position the plastic sheet on the acrylic glass and outline cutting lines.
· Drill holes using an electric drill, and employ a hacksaw to complete the openings.
· Smooth the edges with a file for a polished finish.
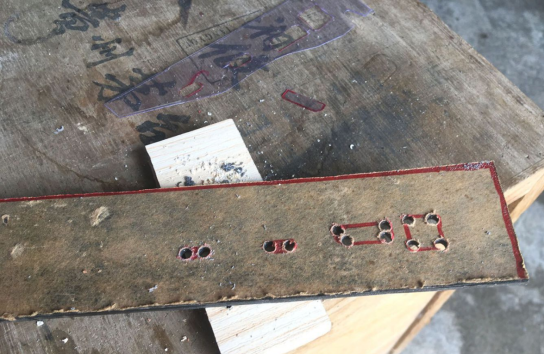
· For the power switch, select a 12mm integrated mechanical switch and install it by drilling a hole.
· Note that the switch features a built-in indicator light that connects to the 5V standby power, providing a visible indication of the power status even in low-light conditions.
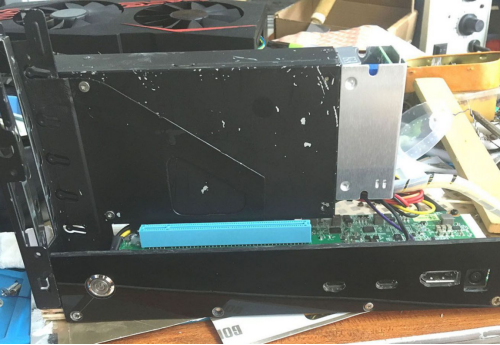
This meticulous process results in an upgraded mini notebook setup that combines the power of an external Thunderbolt graphics card with the portability of your mini notebook, offering enhanced performance and versatility.
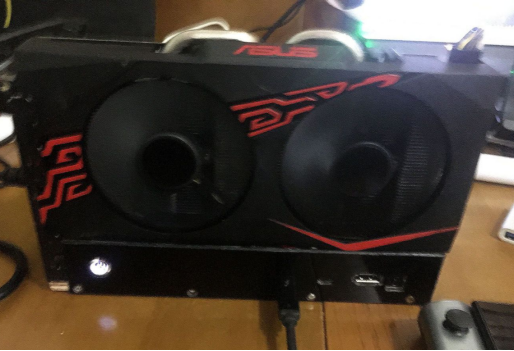
Experience the ultimate transformation, and take your computing capabilities to the next level with this comprehensive guide.


