
If you own a compact speaker that requires a 5V power supply to operate, you might have encountered issues with unwanted noise when connecting it to a computer's headphone output while drawing power from the same computer's USB port. This noise could be attributed to a ground loop problem, where the power ground and signal ground interact unfavorably. In this comprehensive guide, we will outline how to address this issue by either providing a separate power source or employing an isolation transformer for signal ground isolation.

Optimizing Audio Transformers:
When it comes to optimizing audio transformers for enhanced audio performance, there are two primary options to consider:
1. Single-Panel Transformers: These transformers, due to their limited performance, tend to suffer from notable low-frequency losses.
2. Double-Panel Transformers: Building upon the single-panel design, double-panel transformers incorporate a resistor-capacitor filter to attenuate mid-to-high frequencies. While this results in a more balanced three-frequency output, it can lead to a slight reduction in overall volume. However, the impact on sound quality is minimal.
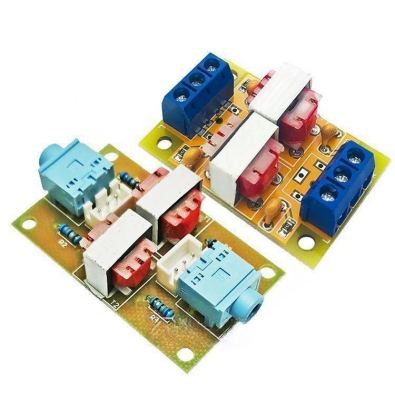
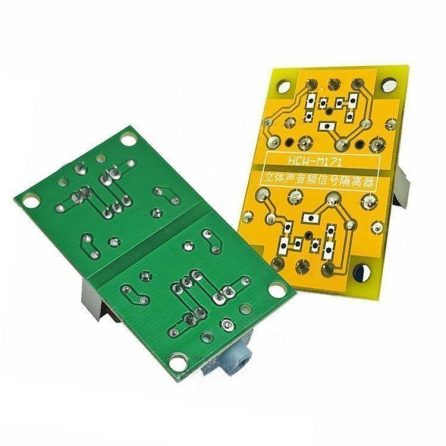
Standard Isolation Transformer
Circuit Diagram:
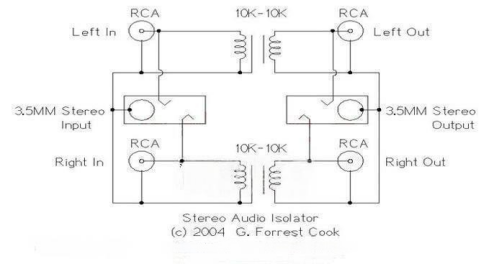
Building Your Isolation Transformer:
To construct your isolation transformer, follow these steps:
1. Selecting a Suitable Enclosure:
Begin by finding a small enclosure or box that can accommodate the necessary components.
2. Preparing the PCB:
Cut a small piece of single-panel PCB to fit inside the chosen enclosure. If the enclosure is too small in height, consider trimming the PCB to ensure a proper fit.
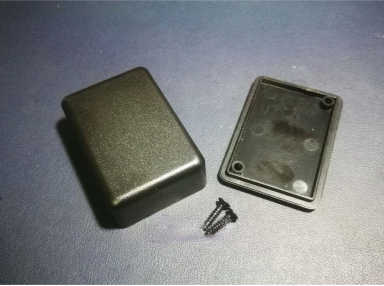
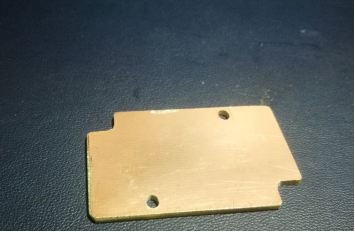
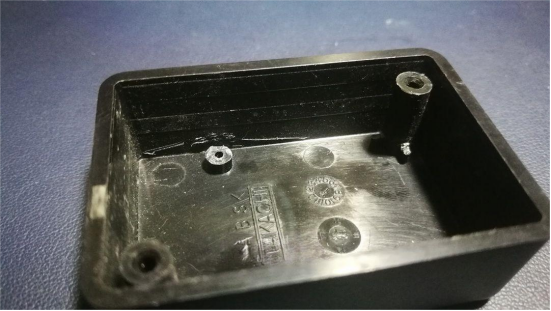
3. Component Placement:
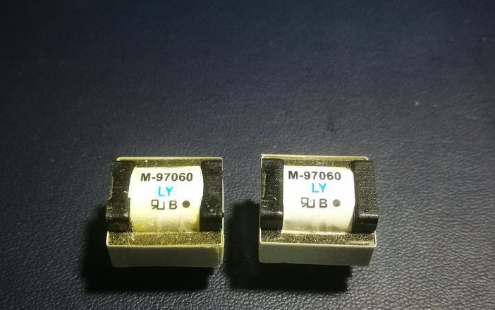
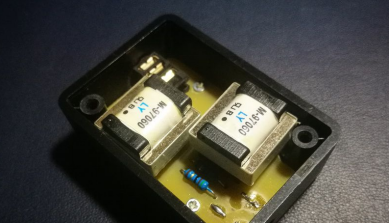
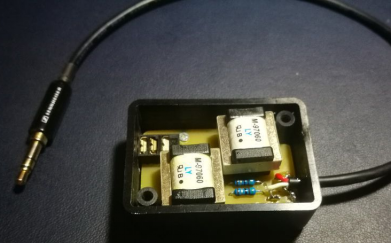
Position the components within the enclosure, including the transformers. Slightly angle the transformers to provide adequate spacing within the enclosure. Note that only one headphone jack should be used to ensure everything fits within the enclosure.
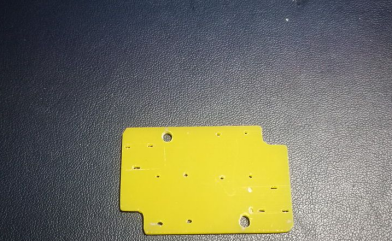
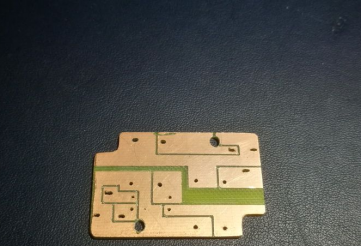
4. Carving the PCB:
Utilize a small electric drill and an engraving knife to carve the PCB, creating the necessary pathways for components and connections.
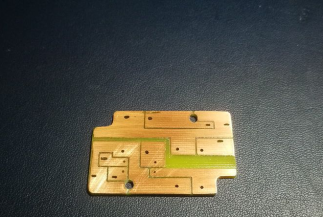
5. Protective Coating:
Apply a three-proof paint or protective coating to safeguard the PCB and components.
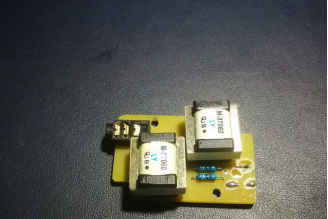
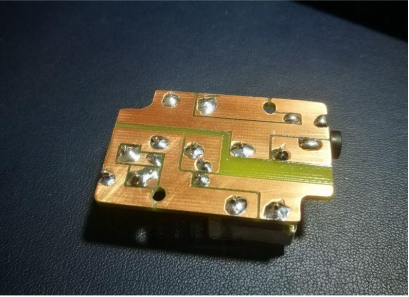
6. Soldering Components:
Carefully solder the components onto the PCB. Pay special attention to connecting a 51-ohm resistor in series with the end of the 91-ohm transformer. This resistor is essential for safety, as the transformer has a minimal power rating, with a maximum current of only 10mA.
7. Assembling the Enclosure:
Place the PCB with components into the enclosure and secure it in place.
8. Wiring the Input Audio:
Solder the input audio wires and use adhesive to secure them in place at the wire holes.
9. Final Assembly:
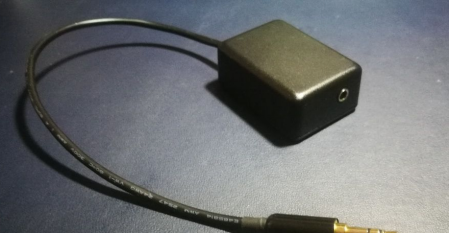
Close the enclosure with its lid securely.
Testing and Results:
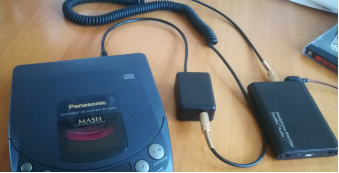
Connect the Line Out from your portable audio source and listen through headphones. In tests, you should observe a noticeable reduction in noise, with sound quality remaining comparable to a direct connection. Although there might be a slight decrease in volume due to the added resistor, the overall audio experience should be significantly improved.
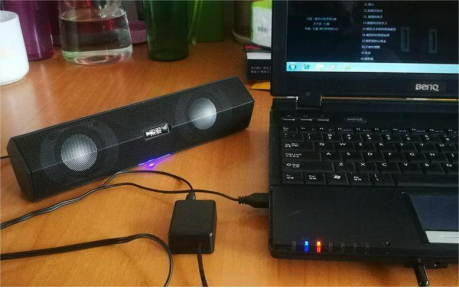
Conclusion:
By following these steps, you can effectively eliminate noise and enhance audio quality when using small speakers in conjunction with computers or portable audio sources. For those seeking further audio quality improvements, additional modifications may be explored.
This guide provides a comprehensive solution to a common audio problem, ensuring a more enjoyable listening experience with your compact speakers.


