
Welcome to our comprehensive guide on how to enhance your PS4 controller by adding a Type-C port. This modification is designed to provide a more convenient and modern connectivity solution. Below, you'll find step-by-step instructions along with essential information to ensure a successful upgrade.
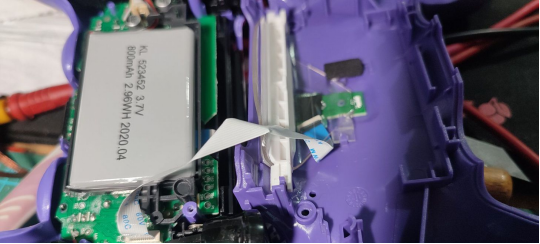
This diagram records the orientation of the wires. The small green circuit board on the right side beneath the transparent light guide is what you're modifying.
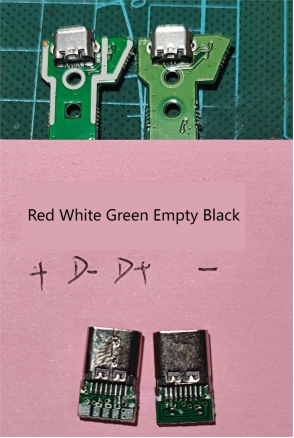
Take it apart, mark the wires, and start by buying a Type-C port from an online source. The board comes with two 5.1k ohm resistors, which are crucial. Do not attempt this modification without these resistors, especially if you have an original controller, as it can easily damage the chip. Remember, do not proceed without those two 5.1k ohm resistors on the Type-C board; it's essential to avoid damaging the chip.
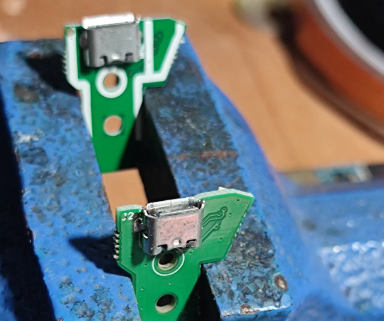
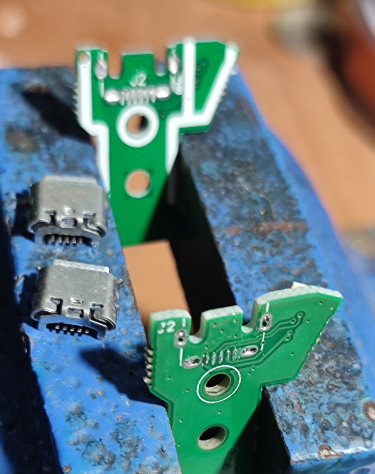
Get everything ready.
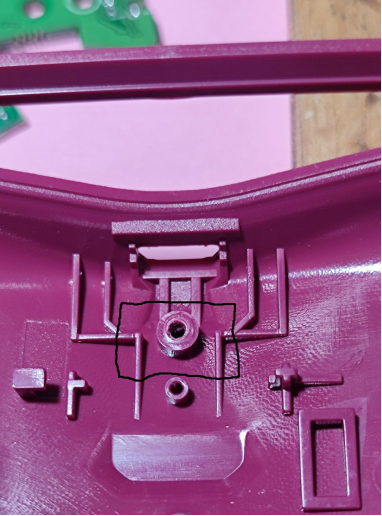
Once the controller is disassembled, remove the black frame's central section.
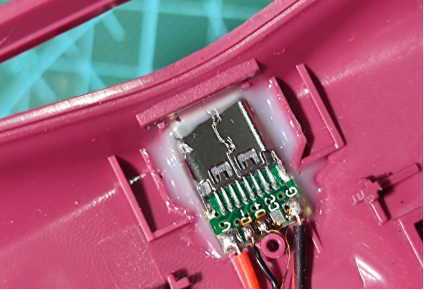
Prepare the Type-C port, insert it, and secure it in place.
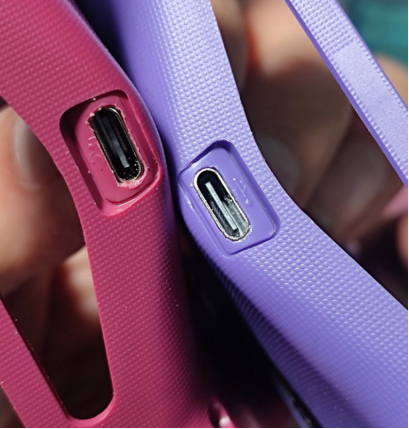
After attaching it, this is how it will look from the outside.
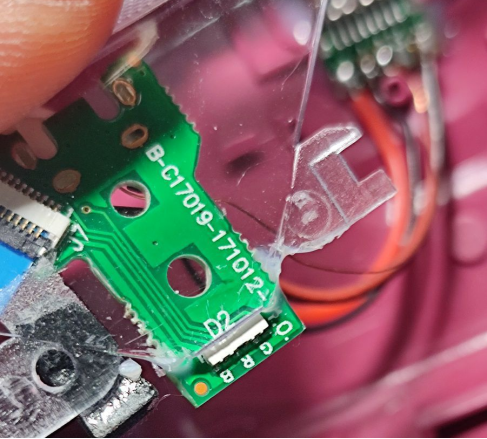
To ensure it doesn't interfere with the LED light, you need to secure the light in place. Use a clamp to hold it in position, and then apply some AB glue. The original location won't accommodate it anymore, so you'll need to place it elsewhere.
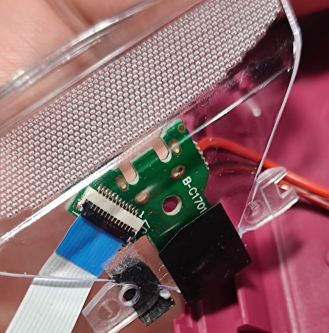
The black adhesive is from the original assembly; cover the original spot with it to block light, and it works quite well.
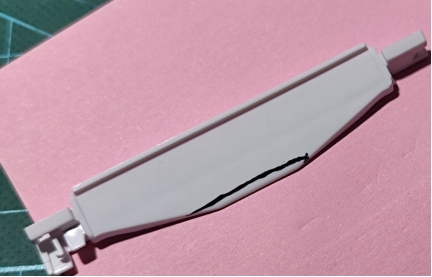
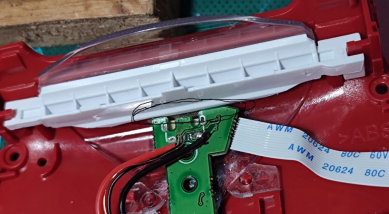
During reassembly, if you find that this part doesn't fit, you'll need to cut the area indicated by the black line in the image to make it fit. It's the part inside the black circle in the image. Once modified, you can reinstall it in its original position.
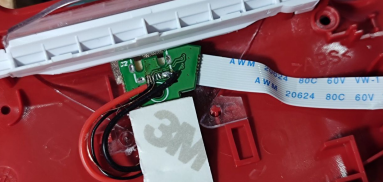
If possible, add a layer of foam to secure the circuit board; it reinforces its stability. The layers are as follows:
1. Foam padding
2. Green circuit board (inverted with LED facing down, snug against the light guide)
3. Transparent light guide
4. The black adhesive strip that came with the controller
5. The attached Type-C port
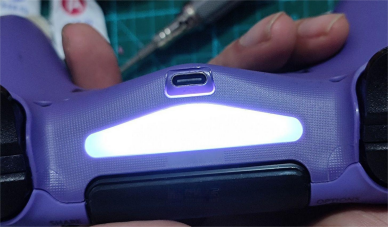
The result of this modification is a white LED light. Please note that the left and right areas may appear slightly dimmer compared to the original setup. However, this trade-off is justified by the enhanced convenience of having a Type-C port on your controller.


