If there Ensuring a successful Tmall Genie stereo sound upgrade involves acquiring essential components and using specific tools. Here's a step-by-step guide:
Required Components:
1. Decoder Board: This is a critical component for the upgrade.
2. Fine-tip Soldering Iron: Necessary for precise soldering of delicate chip pins and wires.
3. Solder Paste: Facilitates soldering and helps prevent soldering errors.
4. Hot Glue Gun: Used to secure solder joints and the decoder board.
5. Ultra-thin Single-core Wires (in five different colors): Matched to chip pin thickness for high-quality soldering.
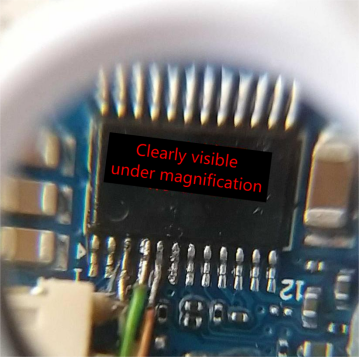
6. High-powered Magnifying Glass: Essential for inspecting and ensuring the reliability of soldered connections and identifying any soldering issues.
7. Hand Drill: Needed to create holes for AUX output.
8. 3.5mm Audio Cable: Required for connecting the Tmall Genie's AUX output to the amplifier's input.
Let's begin the modification process:
Step 1: Disassembly
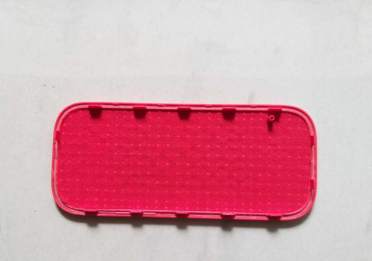
· Use a blade to carefully score along the seam between the Tmall Genie's panel and its casing. Make sure not to cut too deep, about 1 millimeter is sufficient.
· Gently pry at a corner and work your way along the seam to remove the panel.
Step 2: Accessing the Components
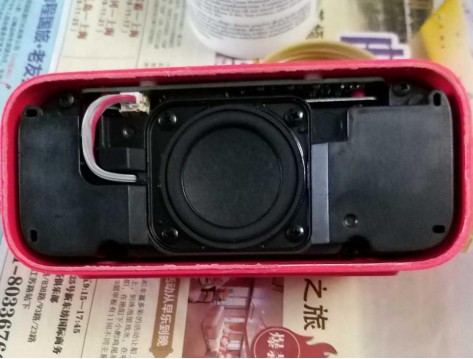
· After removing the panel, you'll gain access to the speaker and sound cavity.
· Unscrew the screws securing the sound cavity and unplug the sound cavity connector to remove it, revealing the mainboard and power board.
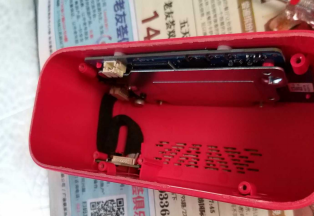
· Removing the screws that secure the power board allows you to take it off.
· Unscrew the mainboard screws, and gently peel off the adhesive pad from the top of the casing. This will enable you to remove the mainboard. To protect the adhesive pad from debris, cover it with plastic wrap.
Step 3: Working with the Mainboard
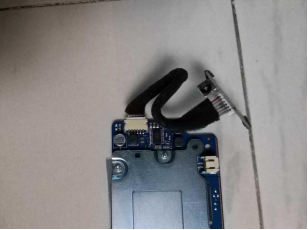
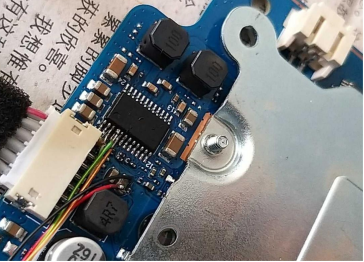
· After removing the mainboard, you'll have access to the chip and its pins.
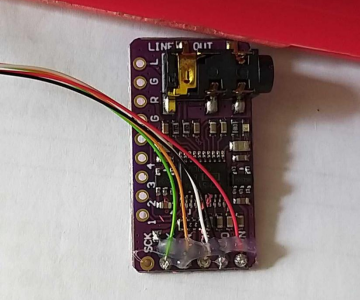
· Follow the provided wiring diagram for the decoder board and proceed with the soldering process.
Please note that this is a meticulous task that demands precision and attention to detail. When soldering, ensure that you pre-tin the wire ends and chip pins. In case solder bridges occur, promptly clear them. Solder paste is valuable for both tinning and removing solder bridges. Post-soldering, use a high-powered magnifying glass for a thorough inspection.
Step 4: Testing and Finalization
· Connect the wires for a trial run. If you detect any noise, solder the two points on the bottom right of the SCK on the decoder board to eliminate it.
· Once you've verified that everything is working correctly, use a hot glue gun to secure the soldered connections.
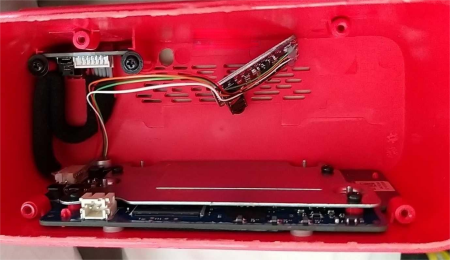
· Create a hole in a suitable location to facilitate the AUX signal output from the decoder board. Secure the decoder board in place with glue.
· Reassemble all the components.
To conclude, perform a stereo sound test by utilizing the Tmall Genie mobile app to play stereo audio content. You should now experience a high-quality stereo sound output.
